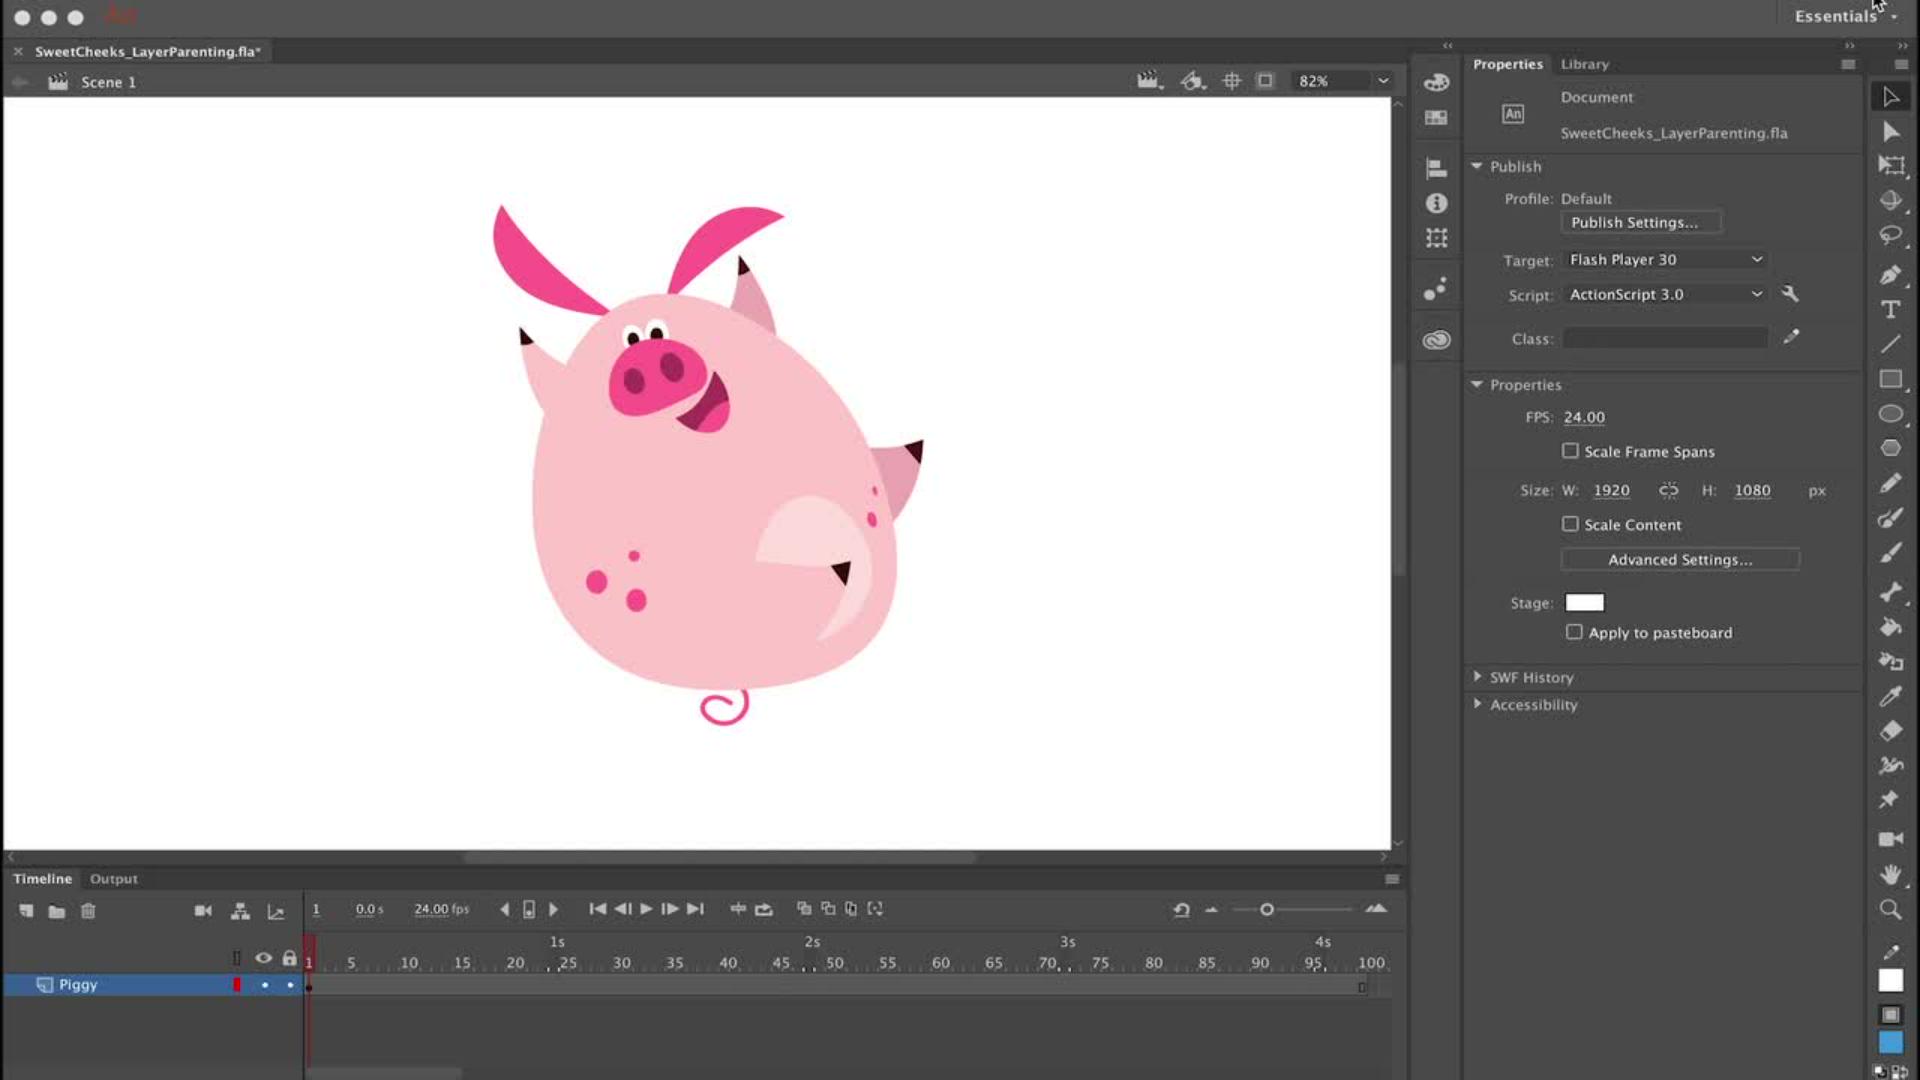
So, in this video, I'm going to show you how I set up this character using layer parenting.
So, as you can see inside, this symbol are all the symbols that make up this character in each of these symbols are all on their own layer.
So, before I even start using layer parenting, I want to edit the center point of each of these symbols because by default to the center point which is represented by this little white circle is always in the direct center.
But naturally as we know, body parts don't always hinge at their center point.
We want to move the center point so that these arms and legs and other body parts all rotate in a more anatomically correct way.
So, just go over to the Tool bar and select the Free Transform Tool or hit Q on your keyboard.
Now when you click on a symbol, you'll see the white center point in the middle.
So, you can see when I rotate the symbol, it's rotating based on where the center point is in the middle which isn't going to work.
So, let's click and drag it to say more towards the hip and give it a little test and rotate it as far as we can, but we can see this might not work so well.
So, I'm going to move it a little bit more there and give it another test and that looks pretty good to me.
So, repeat the same procedure by clicking each symbol and editing that center point so that each of these limbs and all these various assets of your character are going to hinge correctly.
What's really important is to do this first before you create any additional keyframes and start animating.
So, the first step is to convert all your objects to symbols and then edit the center point of each symbol.
Now the next step is layer parenting.
So, click the Show Parenting view icon in the Timeline and this will open up the layer parenting view in the Timeline.
Now this is a pretty simple character.
The next step is to determine what is going to be your parent symbol.
And for this character, that parent symbol is going to be the torso or the body.
And that means that all of the other symbols will become children of the body symbol which is the parent symbol.
So, I'm going to click on a leg and it's going to highlight the layer that the leg is on and knowing where these layers are.
I'm going to click first on the Pig_leg layer which is going to be my child layer and drag it to the Pig_torso layer.
And instantly, the hierarchy is made so that now the leg symbol is a child of the torso which is the parent symbol.
So, repeat this procedure for all of the other child symbols by clicking on the layer that they're on and dragging it to the parent layer.
So now, with all of my layer parenting done I can just click on the parent symbol which is the body or the torso and click and drag it around reposition it.
I can use the Free Transform Tool to rotate it and I can also move all of the child symbols independently if I want.
And so, with all this setup the fun part comes where we can start animating.
So, I'm going to go down the Timeline and click and drag vertically to select a range of frames across all these layers and then I'm going to hit F6 on my keyboard that's going to insert keyframes.
And in this frame is where I'm going to reposition my character by clicking and dragging him down out of view at the bottom of the screen outside the stage area.
So now, what I want to do is apply a classic tween to all of these layers and the easiest way to do that is I like to click and drag diagonally from the top layer to the bottom layer.
And this creates a big highlighted region.
And if I right click anywhere over this highlighted region, I can then select Create Classic Tween from the context menu.
And that applies a classic tween to all these layers in one fell swoop.
Now with this highlighted region still selected over what is now my classic tweens I go over to my Properties panel and in the Tweening section if I click on Classic Ease, that'll bring up a menu allowing me to select Ease In.
And then I'm going to double click on Cubic and this will apply the cubic easing in to every single one of these tweens across all these layers.
And now you'll see when we play back our animation our character starts falling and gradually increases speed.
And this simulates gravity and it gives the animation just a little bit more realism.
So, that's the basics of layer parenting and it's a cool new tool for Animate that will greatly increase your animation workflow.


