Adjustment layers in Photoshop on the web control color and lighting without changing the original image.
In this video, I'll introduce you to Adjustment layers, then I'll show you some helpful tips for using them in your daily work.
If you'd like to follow along with me, be sure to have the Adjustment layers file open in Photoshop on the web.
Or if you prefer, you can apply these techniques directly to any image of your own.
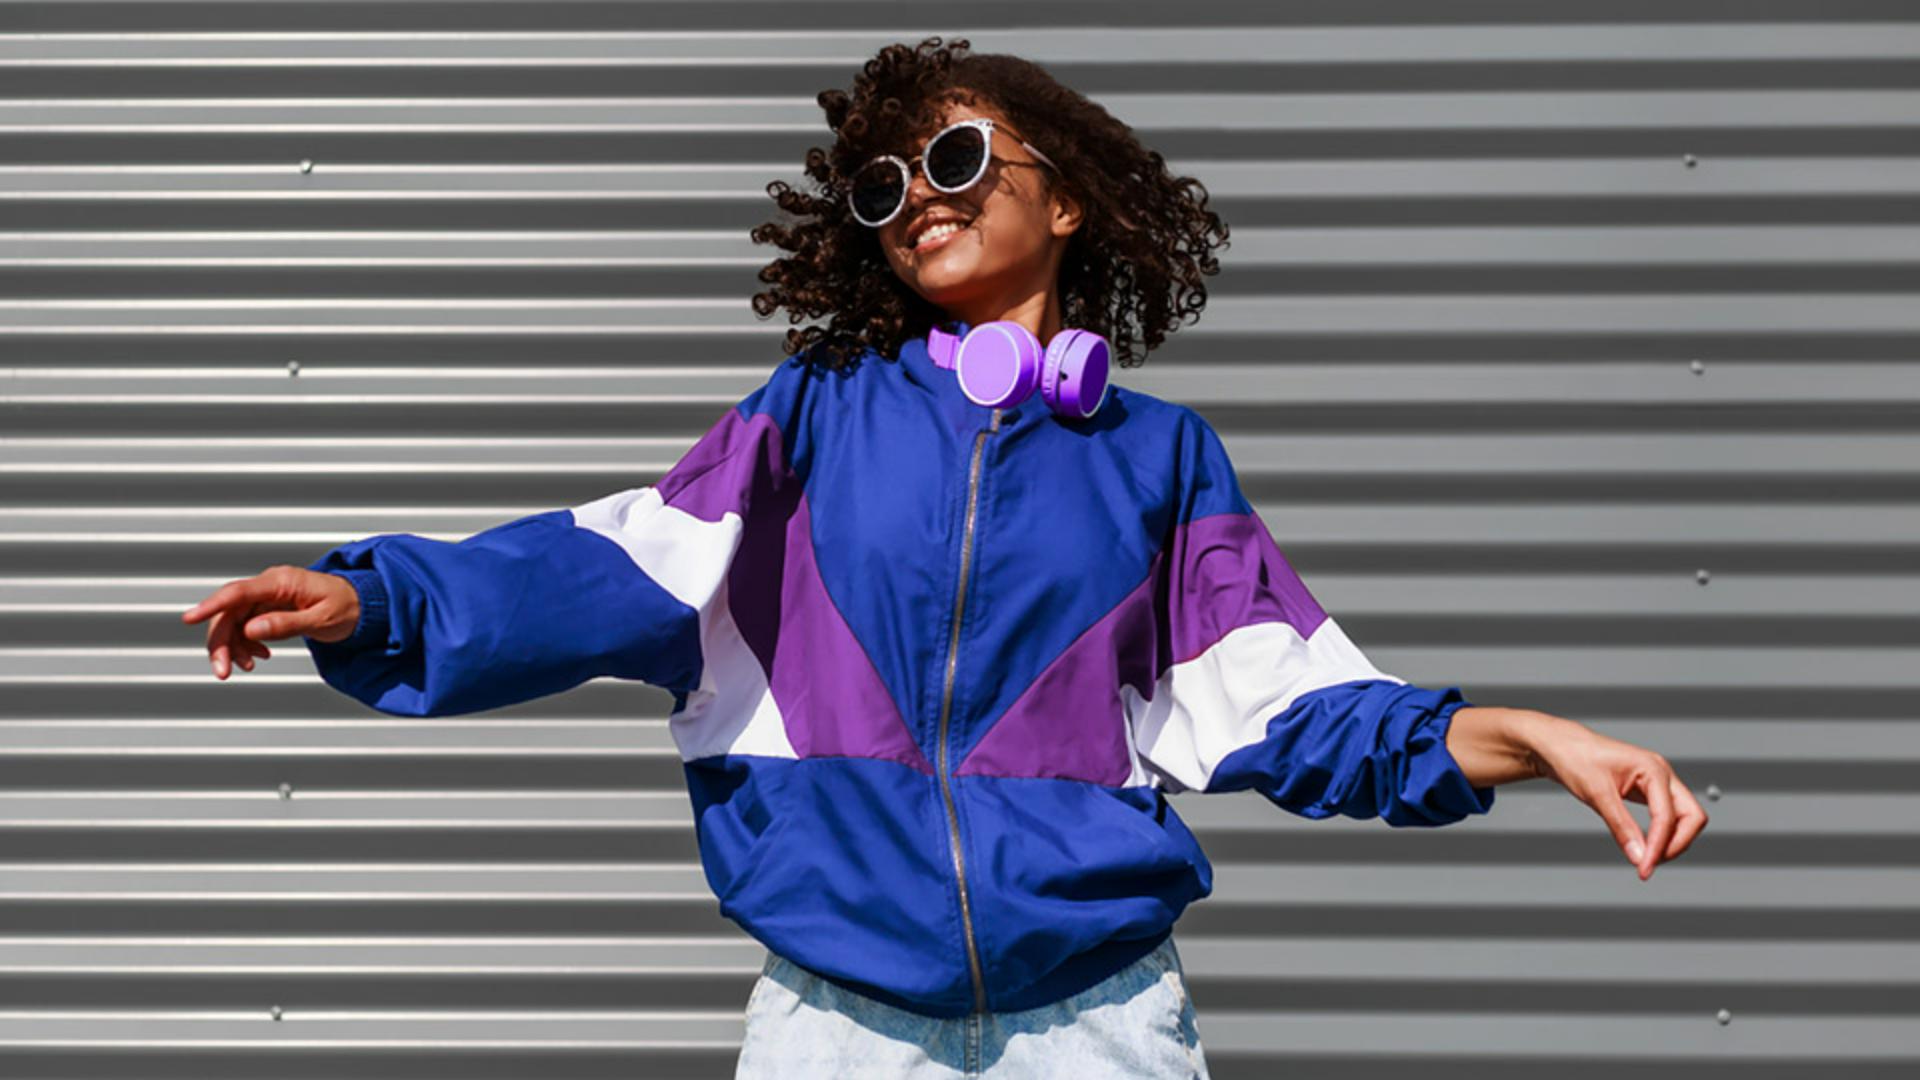
I've opened the sample image and I can see the content here on the canvas.
When I look at the Layers panel, I see I have two layers, there's the woman with her arms open and then above that some pink headphones.
I can toggle visibility on and off for each layer by clicking on the Visibility icon here towards the left.
Now the first thing I'd like to do here is lighten up this image overall, and an Adjustment layer will work really well for that.
I'll start by making sure I have the current topmost layer selected the Headphone layer, then here towards the top of the Layers panel I'm going to click on this second icon to open up the adjustment layer drop down.
Next, I can select from any one of these effects I'm going to start with Brightness/contrast.
When I select it from the list, notice that Photoshop adds a new layer just above my selected one, and opens up a Properties pop up window where I can play with some of these settings.
I'll start by increasing the brightness by pressing on this slider.
As I do so notice that the change is applying only to the headphones and not to the woman.
That's not what I wanted.
So I'm going to go ahead and undo the change I've made by clicking the Back button here a few times.
Once again, with the headphone layer selected, I'll click on the Adjustment icon.
And this time, I want to make sure that the clip Adjustment layer option is toggled off.
Now when I adjust the Brightness, it'll apply to all of the layers below, not just the first one, and things are starting to look a lot better.
When I click off to dismiss the Properties pop up, I can see the changes I've made here in the Layers panel represented by an Adjustment layer.
The icon in the square here indicates the type of adjustment I've applied.
In this case its Brightness/contrast.
And the white square to the right is actually a mask, we're going to talk about that in just a little bit.
Now that the overall image is a bit brighter, I want to adjust just this red color in the woman's jacket, something known as selective color adjustment.
With the woman layer selected in the Layers panel.
In the Adjustment layers drop down, I'll go ahead and select Hue/saturation.
This time the Properties pop up gives me specific options for Hue/saturation.
In the dropdown, it defaults to Master basically affecting all of the colors.
I know I want to target the red part of her jacket.
So in that drop down, I'll switch from Master to Reds.
Now when I play with the Hue slider, I see the red throughout start to change.
Her jacket is looking better, but it's also affecting the red color in her face and her hands.
That's okay, we're going to fix that next.
When I click off the Properties pop up, notice that I have a second adjustment layer now above the woman layer.
The icon on the left lets me know that it's adjusting Hue/saturation as compared to the one above that indicates it's adjusting Brightness.
Now I mentioned earlier that Adjustment layers control color and lighting without permanently changing the original image.
That means I can easily see it before and after of any adjustments I've made.
By toggling on or off the Visibility.
I can also go back and make some additional changes.
Perhaps I want to revisit the brightness change I've made when I click on the Brightness icon here in the Adjustment layer.
Notice the Properties icon that appears to the right.
Clicking it, will bring up the Properties pop up where I can come in and adjust my Brightness levels once again.
Well the green hands and face on this lovely woman are starting to really bother me.
So let's go ahead and correct for that now.
When I look at an Adjustment layer in the Layers panel, I can see the icon on the left and on the right a white square.
That square is actually a thumbnail preview of an Adjustment mask that's being automatically applied to the layer.
One way I can control the Adjustment mask will be to simply paint on it with black to hide the color change where I don't want to see it.
Which brings me to a really terrific feature the Contextual taskbar here below my image.
As you work in Photoshop, you'll start to realize how really handy this can be.
It notices what I'm doing on the canvas and dynamically suggests the most relevant next steps for my workflow.
Notice that I can choose here to either subtract from my current mask or add to it.
I want to subtract so all I need to do is click on that button.
And then with the Brush Tool, start removing parts of the white mask.
Now you can be as neat or messy at this as you'd like.
Because I'm changing just her hands and face, I can go with a pretty large brush size, I can adjust the brush size in the Brush settings area of the Toolbar, I can also use the left and right bracket key on the keyboard to increase or decrease the brush size.
I'm going to go ahead and just keep painting her hands and feet here and return them back to their original hue.
If I get carried away and I accidentally over paint the area, I can undo my change or just come back down to the Taskbar and select Add to mask and add that part back.
It's a bit small but notice how the thumbnail on this Adjustment layer updates to indicate the mask changes that I'm making here on the canvas.
From here, I can continue to fine tune my work.
In addition to being non-destructive, I can apply multiple Adjustment layers to the same image so I can continue to experiment, turning them on and off or changing the settings.
Once I'm totally satisfied, I can download my image to my computer using this Download button here on the upper right.
Any changes that I've made are automatically saved to Creative Cloud, so I can always just come back later and pick up where I left off.
As you might guess, I've only really touched on all the ways you can leverage Adjustment layers in Photoshop on the web.
I encourage you to give them a try.


