Introduction
[Cyn Lagos]: Ever wondered how to add a touch of moving magic to your posters?
Today we're diving into the world of animation right within Photoshop.
Hi there, I'm Cyn Lagos, a visual mentor, passionate about pushing the boundaries of design, photo, and video.
And guess what?
Photoshop was my first animation playground.
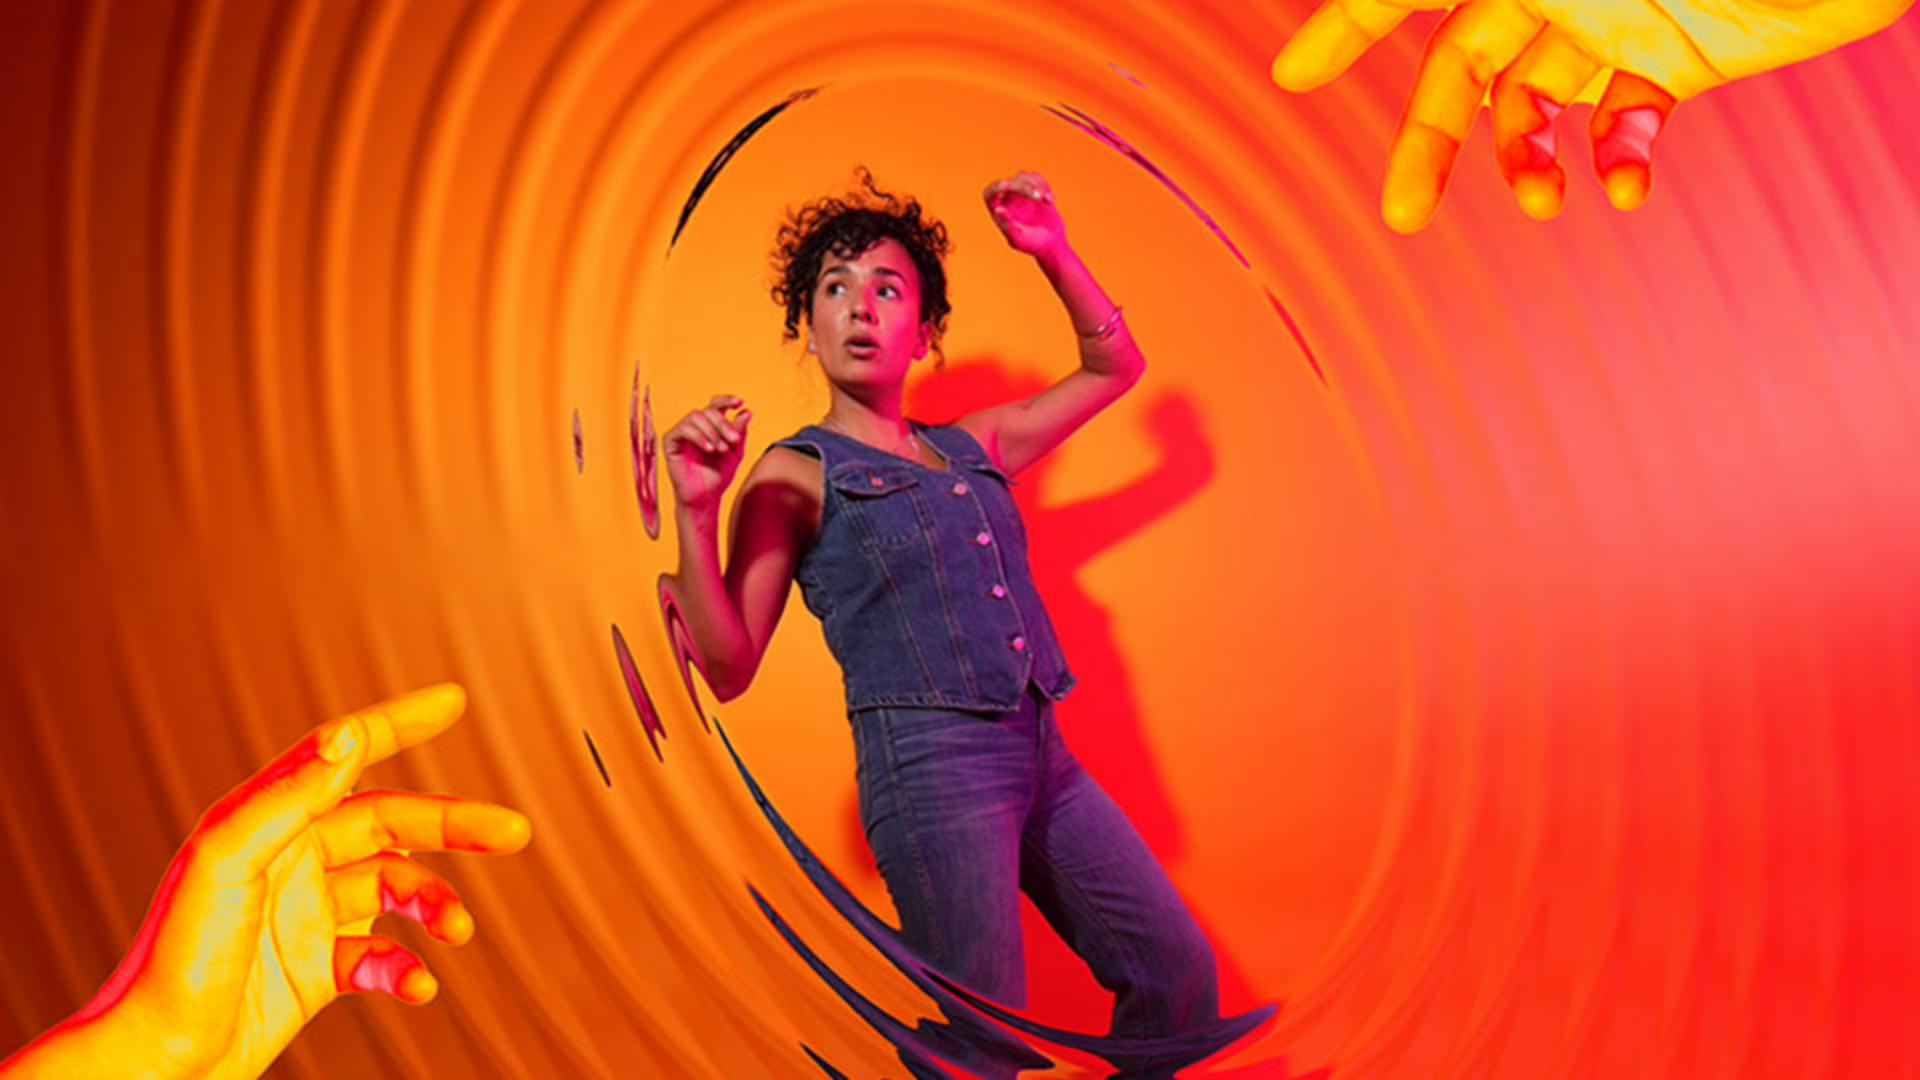
We'll be working with this poster design, a blend of photography and typography ready for animation.
Let's get started.
Setting up the video timeline in Photoshop
First, let's unlock the Timeline.
Go to Window, Timeline.
In the center, select Create Video Timeline from the dropdown options and click it once to enable it.
You will now see your artwork layers as layers on your Timeline because they are directly linked to one another.
Pro tip: I often color code my layers for easy navigating.
On the Layers panel, right-click the Eye icon and select your favorite colors.
You will now see the color label also reflected on the Timeline.
On the left, click the dropdown arrow to reveal the standard animation options, Position, Opacity, and Style.
See animation effects can be anything you already do in Photoshop.
You can scale, move objects, and even reveal elements one at a time, just as you do when you're exploring your static artworks.
First, let's unlock a secret menu
Unlocking animation controls with Smart Objects
by converting all our layers to Smart Objects.
Right-click your layer on the Layers panel and select Convert to Smart Object.
Because our layer is a Smart Object, back on the Timeline we've unlocked a new property, the Transform option.
Let's begin animating
Animating text using keyframes and transforms
by selecting the Headline layer on the Timeline and clicking the Stopwatch next to Transform.
This will create a bookmark which tells your video that this is a key moment.
We call these Keyframes.
Next, move the Keyframe, the small diamond shape, 10 frames ahead in the Timeline.
Now, without moving the Playhead, we will scale our title layer as small as we can while holding Option or Alt until it's no longer visible.
Next, Photoshop does all the work by filling in the gaps between the Keyframes.
At this point, you can press Play to preview the animation.
Want it slower?
Move the Keyframe further apart until it feels right.
To make the transition smoother, you can repeat the same steps with the Opacity property on the same layer.
This will ease the visibility and make a smooth transition.
You can explore these properties and more across all your layer elements.
Exporting animations as video or GIF
Now, once you're ready to export, go to File, Export, Render Video... for an MP4 or Save for Web (Legacy)... for a GIF.
And that's it.
Photoshop animation tools are waiting for you to explore.
Don't be afraid to experiment and have fun bringing your ideas to life.
Thanks for learning with me.
See you on the other side.


