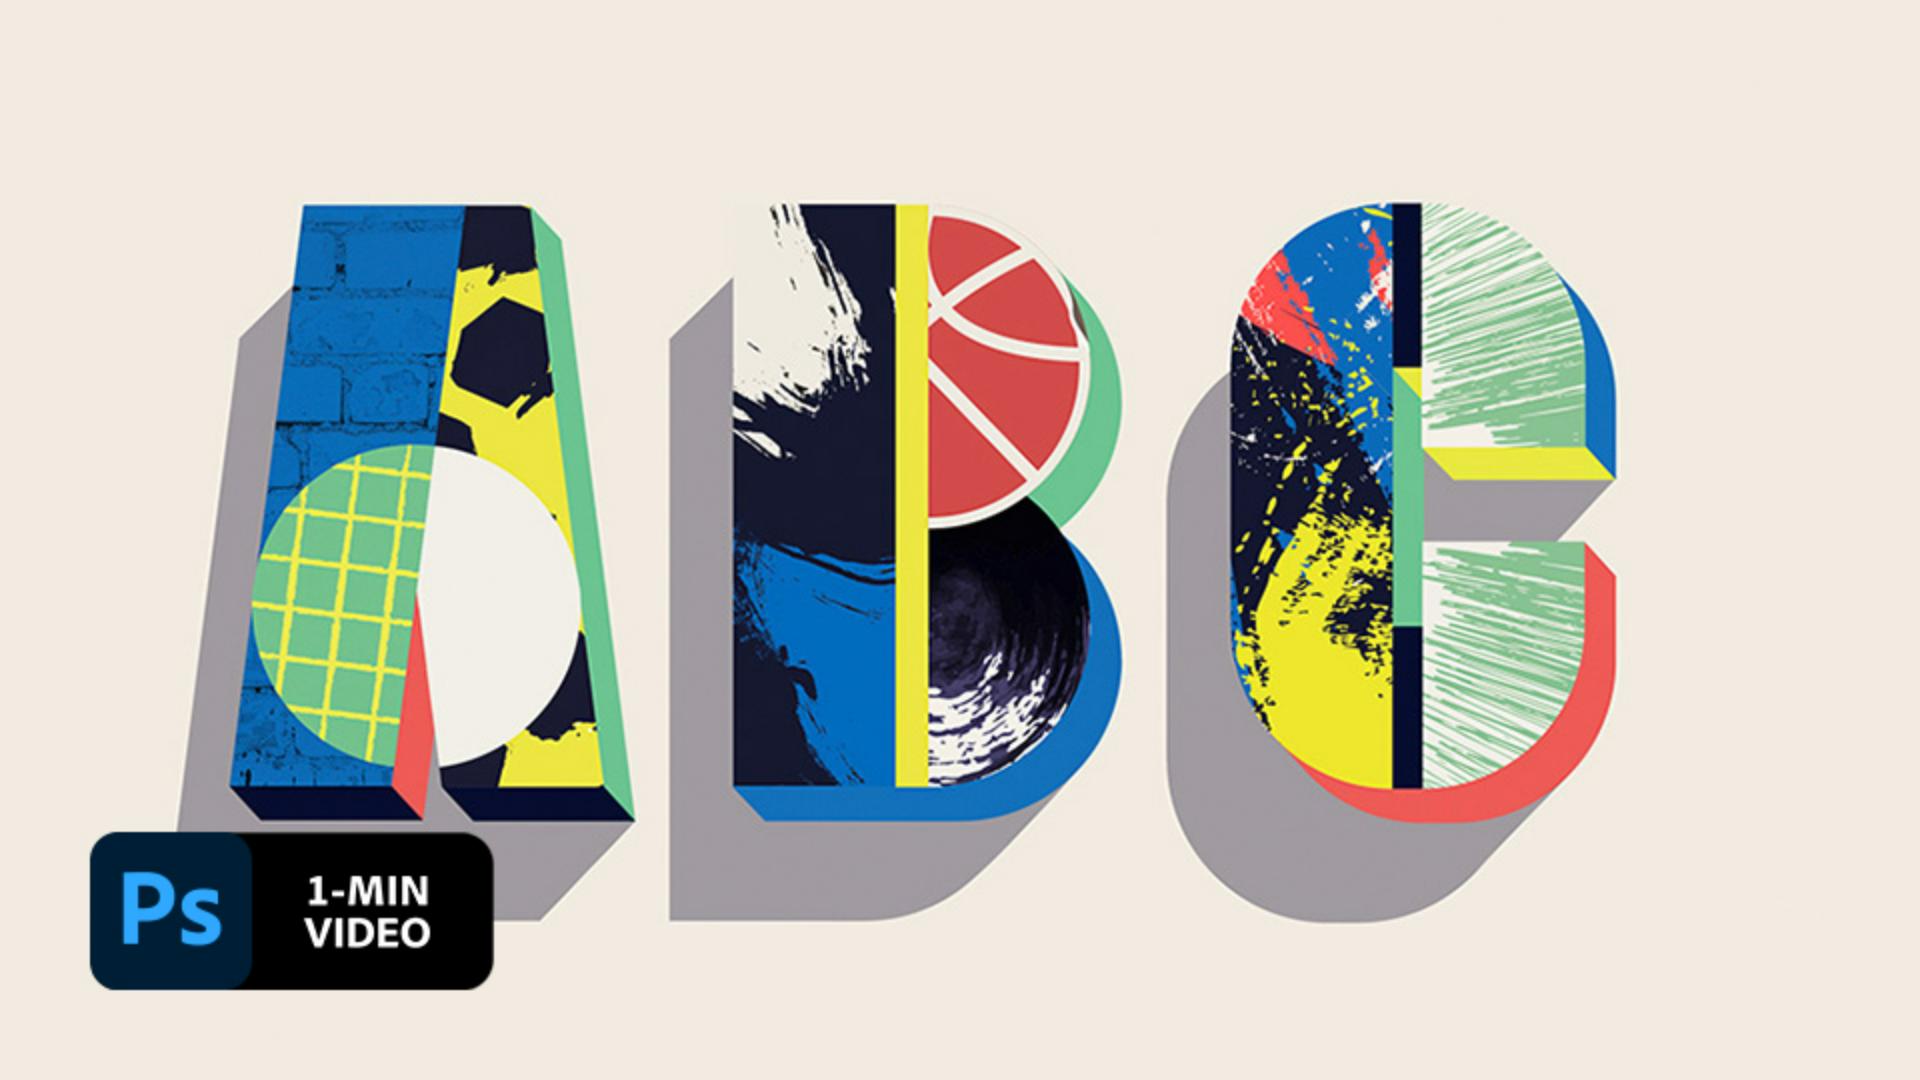
How to mask a texture in Adobe Photoshop
Creating eye-catching work is second nature for Austrian illustrators Birgit Palma and Daniel Triendl. In this short tutorial, see how you can achieve their bold, colorful aesthetic with a few tools in Adobe Photoshop.
Birgit Palma and Daniel Triendl are the Austrian illustration duo who express visual experimentation through bold colors and geometric shapes. The artists have enjoyed working online together remotely from Barcelona to Vienna since 1985.
Step 1: Frame it
Choose the Frame tool and draw a rectangle over the blue portion of the B.

Step 2: Give it texture
Open the library you created earlier (Window > Libraries) and drag the Brush 1 texture to the selected frame.

Step 3: Edit the texture
Double-click the texture image inside the frame and use Control+T (Windows), or Command+T (macOS), to change its size and position. Or select the texture thumbnail in the Layers panel and use Control+T or Command+T.

Step 4: Make a custom frame
Use the Pen tool to make any shape into a frame. Trace the part of the letter you want to use as its own frame. When your selection is complete, right-click on the new shape layer in the Layers panel and choose Convert to Frame. Then, fill it with the texture you want from the Libraries panel.

Hang it up
Apply fun images as textures to create unique works of art.

Note: Project files included with this tutorial are for practice purposes only.


