Acrobat
Why and how to redact a PDF.
Secure your data by using Adobe redaction tools before sharing PDFs.

Make sure private information stays private.
Whether you’re running a business or just managing personal documents, you’ll sleep better at night if you take a few extra steps to protect sensitive content before you share electronic documents.
With Adobe Acrobat Pro, you can easily black out credit card numbers, national insurance numbers, addresses and other personal details in forms you share electronically. Concealing sensitive information is especially helpful to ensure safe communication between businesses and customers, medical providers and insurance companies, schools and students and, of course, law firms and courts.
In addition to text and images, PDFs contain data about the data they contain or metadata. Metadata can include the name of the author of the document, the document description, keywords and dates and times of creation or modification. A PDF might also contain elements like JavaScript that can change and unexpectedly modify the formatting. All of this is info you might want to keep private. By removing it through PDF redaction, you can ensure your PDF is safe and your formatting is consistent.

Use cases for redacting PDFs.
You may be most familiar with redaction in legal or government-related documents. When court documents are published or shared with other parties, sensitive or private information is redacted. This includes information that could pose identity theft risks, information relevant to ongoing investigations, classified information and information deemed otherwise unnecessary and too private for the public. Courts specifically mandate that certain personally identifiable information (PII) be redacted, so redaction is used especially often in legal settings. Sensitive or identifying images might also be redacted, sometimes including just faces in images.
Besides being useful in legal settings, PDF redaction can be used to protect similarly sensitive information in professional communications between businesses or clients. Businesses can protect trade secrets and proprietary information when sharing documents. Certain financial information may also be kept secure by redacting it in a PDF.
In the medical field, PHI (Private Health Information) may need to be redacted to comply with laws like HIPAA. Because HIPAA requires clients to be informed when their PHI is shared illegally, privacy is especially important and PDF redaction can be a useful tool to ensure security.
Some methods of redaction, such as changing the font colour to white or using a black marker on physical documents, are unreliable and may not secure the information you need to keep private. PDF redaction, on the other hand, is a secure method many industries rely on.
How to redact a PDF in 7 steps.
With the Redact tool in Acrobat, you can permanently remove text and graphics from your PDF document. First, make a copy of your PDF so you don’t accidentally lose something you want to keep. Then, go into Edit Mode and follow these steps to select text or images and redact them.
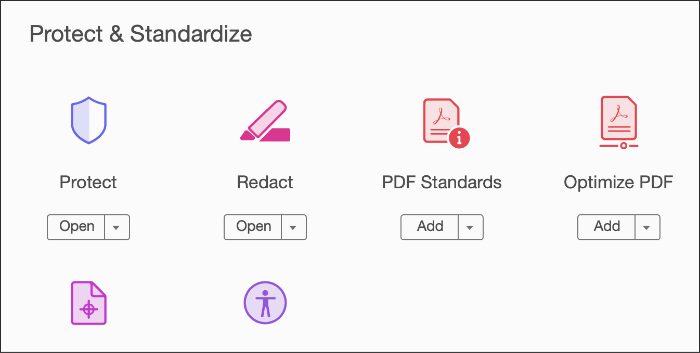
1. Select Tools › Redact.
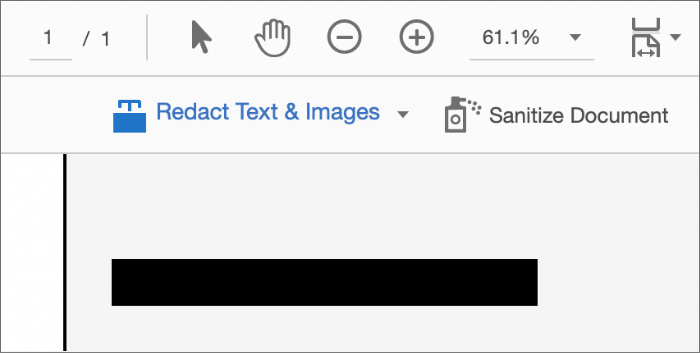
2. Use the crosshair to draw rectangles over the text or images you want to permanently remove from the PDF. (Type Command+Z on a Mac or Control+Z on a PC to undo any mistakes.)
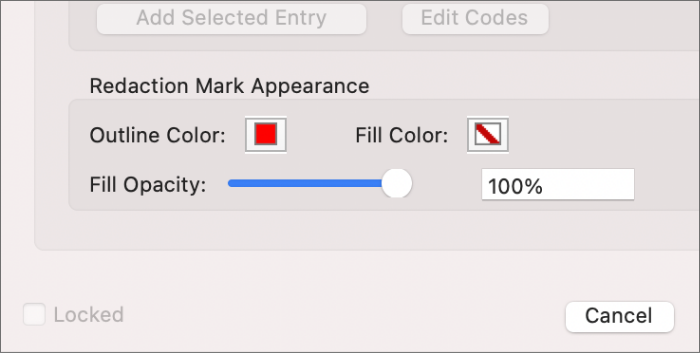
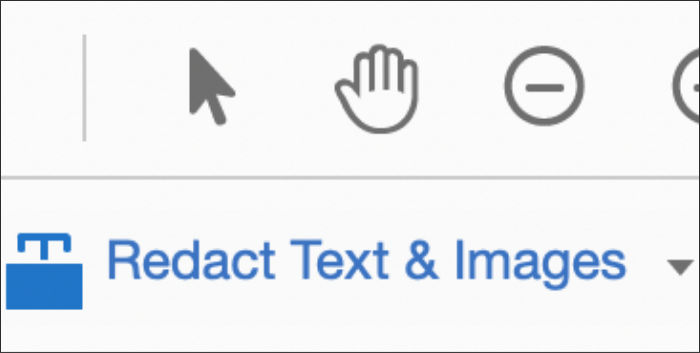
3. Optional: If you don’t want a black box, select your preferred redaction marks. Click the drop-down menu next to the Redact Text & Images box and select Redaction Tool Properties. Pick outline and fill colours for the redacted area or click Use Overlay Text. Add customised text in the field, choose from US Privacy Act and FOIA codes or import new codes. Click OK when you have your selections.
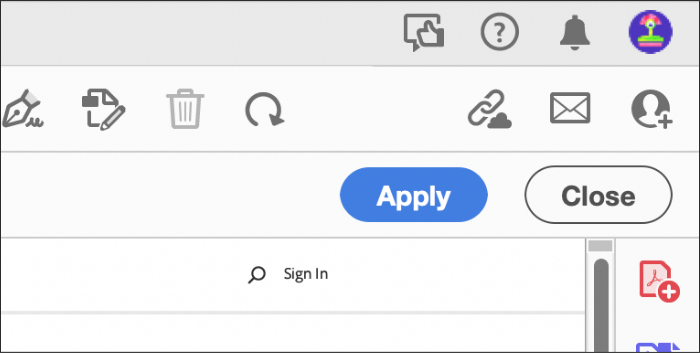
4. Click Apply. A pop-up will appear warning you that once you click OK, the redacted information will be permanently deleted and you won’t be able to retrieve it.
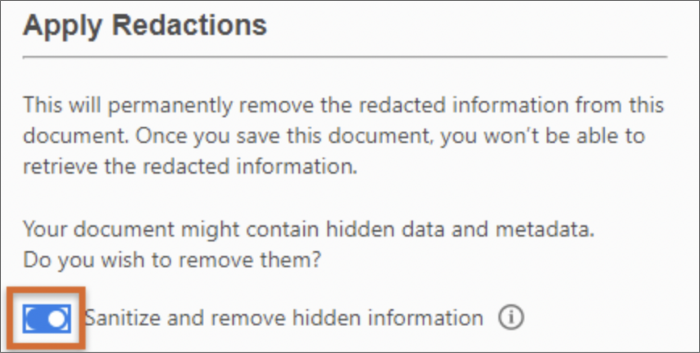
5. In the same pop-up window, select whether you want to remove the hidden data and metadata as well. Sanitise the PDF by leaving the toggle button on. (Read more about sanitising documents below.)
6. Click OK to apply the redactions.
7. Save as a different file name to avoid overwriting the original PDF.
Remove every instance of a word or phrase.
US courts require that mentions of National Insurance numbers, names of minor children, dates of birth and financial account numbers be redacted in legal filings. You can make quick work of these redactions with the Find Text tool in PDFs that contain searchable text.
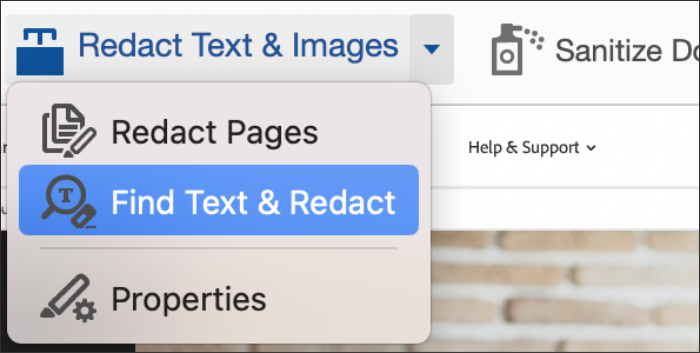
1. Select Tools › Redact › Redact Text & Images.
2. Click the drop-down menu and choose Find Text & Redact.
3. In the Search dialogue box, search the current PDF or all PDFs in another location.
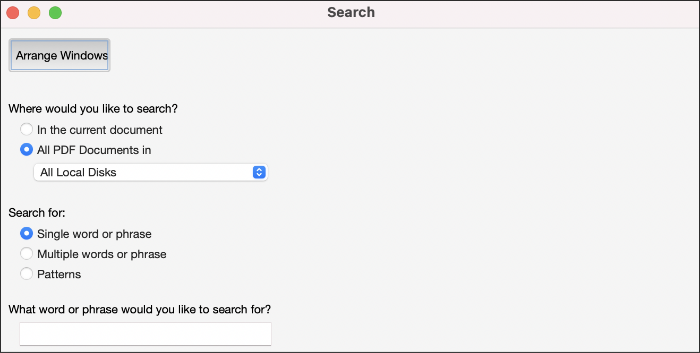
4. Pick your preference:
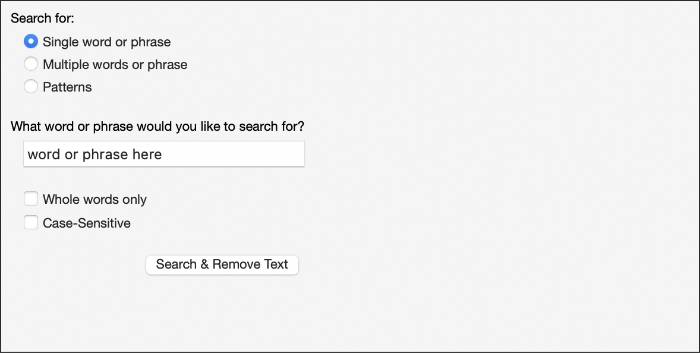
- Single word or phrase Just type the word or phrase in the text field.
- Multiple words or phrase Search multiple words or phrases. Select Words, type each word in the New Word Or Phrase text field and click Add. (You can also import a text file with the list of words or phrases to search for.)
- Patterns Search for patterns like phone numbers, credit card numbers, email addresses, National Insurance numbers or dates. Choose one of the available patterns. You can change the language version of the patterns by clicking Edit › Preferences on a PC or Acrobat › Preferences on a Mac.
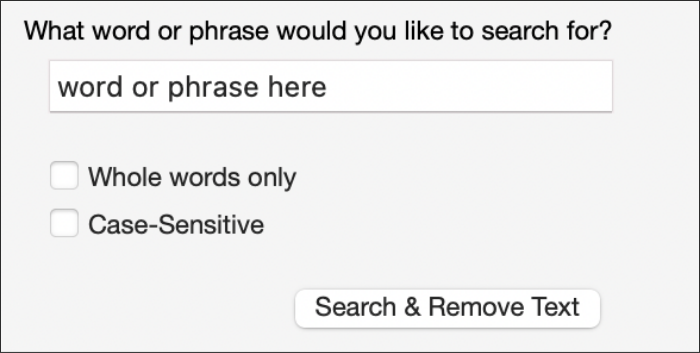
5. Click Search & Remove Text.
6. Click the plus sign (+) next to the document name to see all occurrences of the word or phrase and select all.
7. Click Apply to remove the items marked for redaction. The items aren’t permanently removed from the document until you save it and you can save the file with a different name to avoid overwriting the original file.
Sanitise your documents.
When you sanitise PDF files, you remove all visible and hidden sensitive information so your PDF is free from content you want to keep private.
The removed information might include metadata, embedded content, attached files, scripts, hidden layers, embedded search indexes, stored form data, comments and annotations, hidden data from previous document saves, obscured text and images, unreferenced data, links, actions, JavaScript and overlapping objects.
Sanitise your document in the final step of the PDF redaction process above or just follow these quick steps:
1. Choose Tools › Redact.
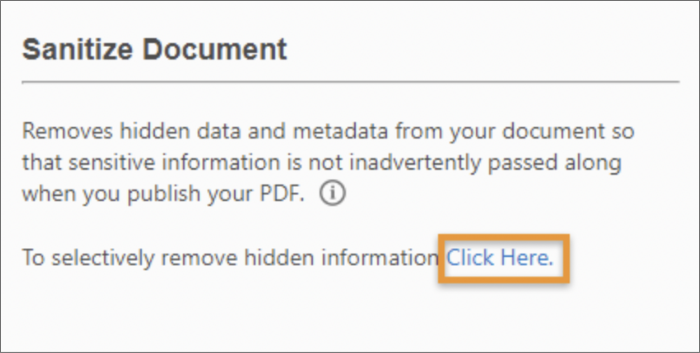
2. Click Sanitise Document in the top toolbar.
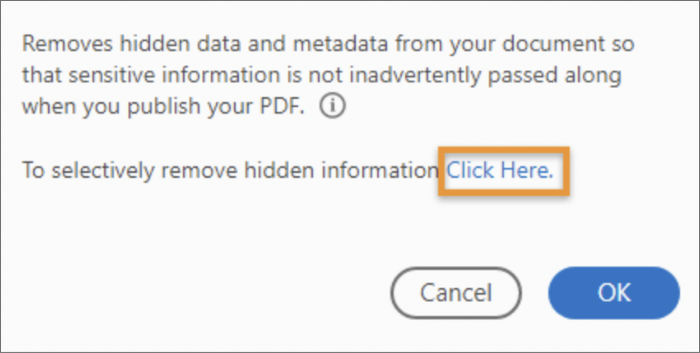
3. Choose to selectively remove hidden information or remove all by clicking OK.
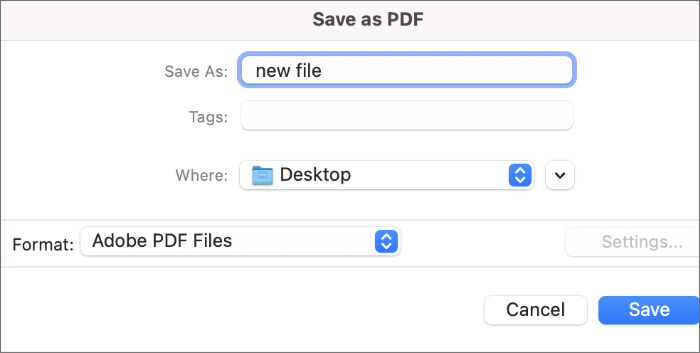
4. Choose Save As… and save the file with a different name to avoid overwriting the original.
Add redaction and other security measures to your workflow.
BBy redacting portions of your PDFs, you can make sure sensitive information never slips through the cracks. Whenever you have to convert a Microsoft Word, Excel or other file format into a PDF, you can use Adobe’s redaction tools to redact information before you share.
You can also password-protect your PDFs and prevent any copying or editing of your original file. With Acrobat Pro, you’ve got all the tools you need to keep your sensitive information safe.
