Introduction
Welcome.
I'm Jess, a Motion Designer and Director excited to teach you on your After Effects journey.
We're going to create pre-comps.
We can use them to organize, group and repeat animations.
Learn how powerful they are and how quickly they can add delight to a scene.
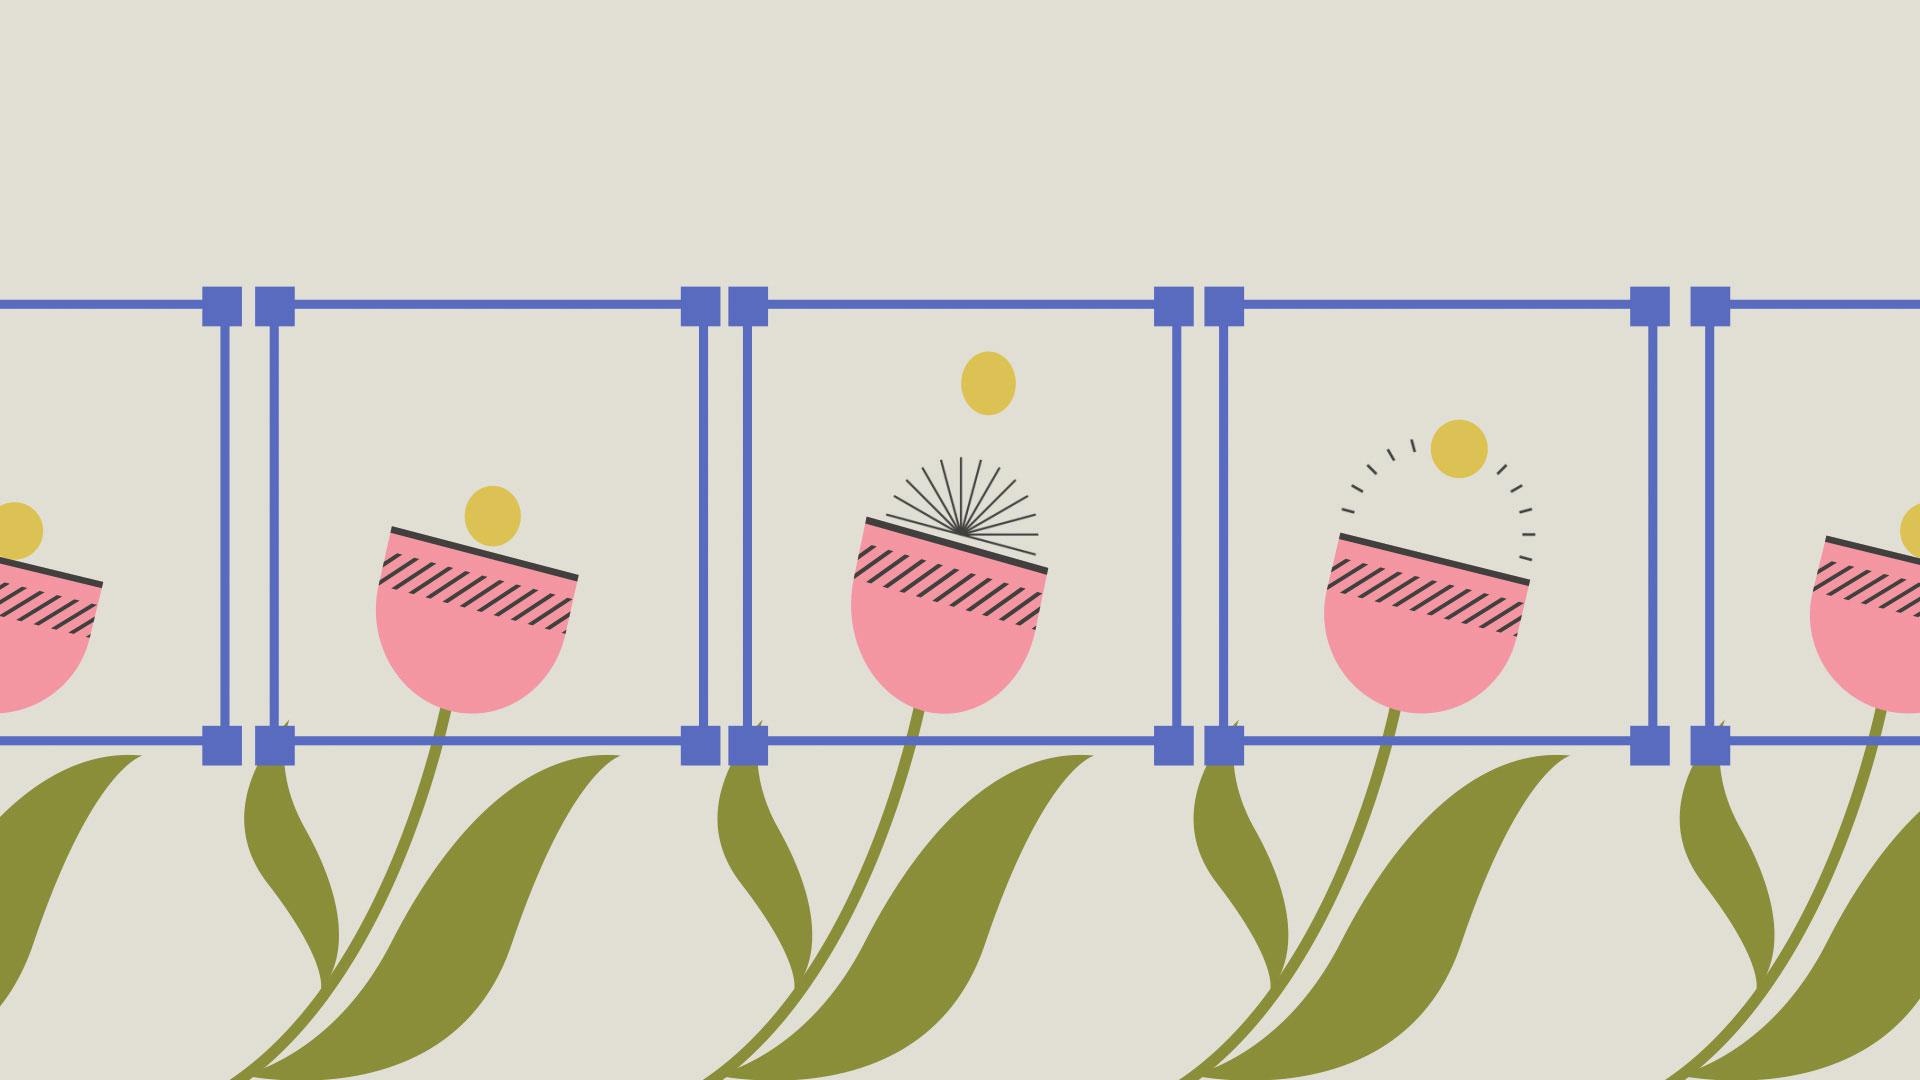
There's an animation on this flower,
Understanding why and when to use pre-compositions
and I want the same motion on all four of these flowers.
I could copy and paste these keyframes to each layer, but if I make a revision, I'll have to diligently reapply the changes to every single layer.
This might be manageable with a couple of instances, but there's a way more efficient way with pre-comps.
Pre-comps are a way of grouping and reusing animations within After Effects.
Select the two layers that are animating Flowerhead 1 and Flowerbud 1.
Creating a pre-composition from animated layers
Right-click and select Pre-compose...
After Effects will prompt some options.
This grayed-out option leaves attributes in our main composition.
Any effects and keyframes will be applied to the pre-comp, and our artwork will be moved inside of the pre-comp.
By moving all attributes to the new composition, all of our artwork and keyframes will be tucked inside the pre-comp.
Clicking the Checkbox for Adjust composition duration will make the duration of the pre-comp the same length as the layers we're pre-comping.
For this example, we'll leave it unchecked.
The pre-comp will be the same length as the main composition.
Let's give our pre-comp a layer name by typing it up here: Flower Animation.
Duplicating, aligning, and blending pre-comp instances
Now I can duplicate this pre-comp with the shortcut Ctrl D.
Move and scale it to match the other flowers in the artwork.
The anchor point for this layer is currently in the center of the pre-comp.
This is making it more difficult to match the artwork.
Use the Pan Behind Tool by clicking Y on your keyboard to move the anchor point to the bottom of the flower.
The flower should scale and rotate around the anchor point's new location.
We should change the Blending Mode of this layer to help us see the artwork underneath.
If you don't see a column called Mode, click on the Toggle Switches/Modes button at the bottom of the Timeline, or right-click on the Menu bar at the top of the Timeline, go to Columns, and check Modes.
Using the dropdown, set the Blending Mode to Difference.
To line this up, we'll want to get the artwork as close to black as we can.
Keep duplicating and adjusting the pre-comps to line up with the flowers.
We can change the Blending Mode from Difference back to Normal.
Since we no longer need the static layers underneath, we can hide the visibility of them by clicking the Eye icon in the Timeline panel.
When I play this back, you can see all of the flowers are animating.
They're all playing the animation grouped inside the pre-comp.
We can make changes to the animation and those changes will apply to all instances.
Updating a pre-comp to affect all instances
Double-click the Flower Animation pre-comp to reveal its Timeline.
In the Project panel, there's a composition called Flower Lines.
Let's drag this from the Project panel into the Timeline below the two layers.
Some animating lines have been added to this pre-comp.
Open the main composition by clicking on the tab called Main Composition in the Timeline panel.
The new addition has been applied across all instances of the flower animation pre-comp.
We can now slide and stagger these pre-comps on the Timeline
Staggering and animating pre-comps for added complexity
to make this animation more interesting and complex.
We can add another layer of complexity by animating the properties of the pre-comp.
For example, we can animate the Scale of this pre-comp to make the flower grow on.
The pre-comp will retain the animation neatly tucked inside.
Hopefully, now you can see how you can leverage pre-comps to create complex animations with less effort when working in After Effects.
Happy pre-comping!


