Have you ever really needed to use a shot in an edit that you thought was just too shaky, or blurry, or need some fine-tuning with its exposure?
Or better yet let's just say all of the above.
Well we've all been there.
And thankfully with the Warp Stabilizer VFX effect the Camera-Shake Deblur effect, and Lumetri scopes there are ways to fix footage that you thought might have been totally unusable.
And that's what we're going to do in this video.
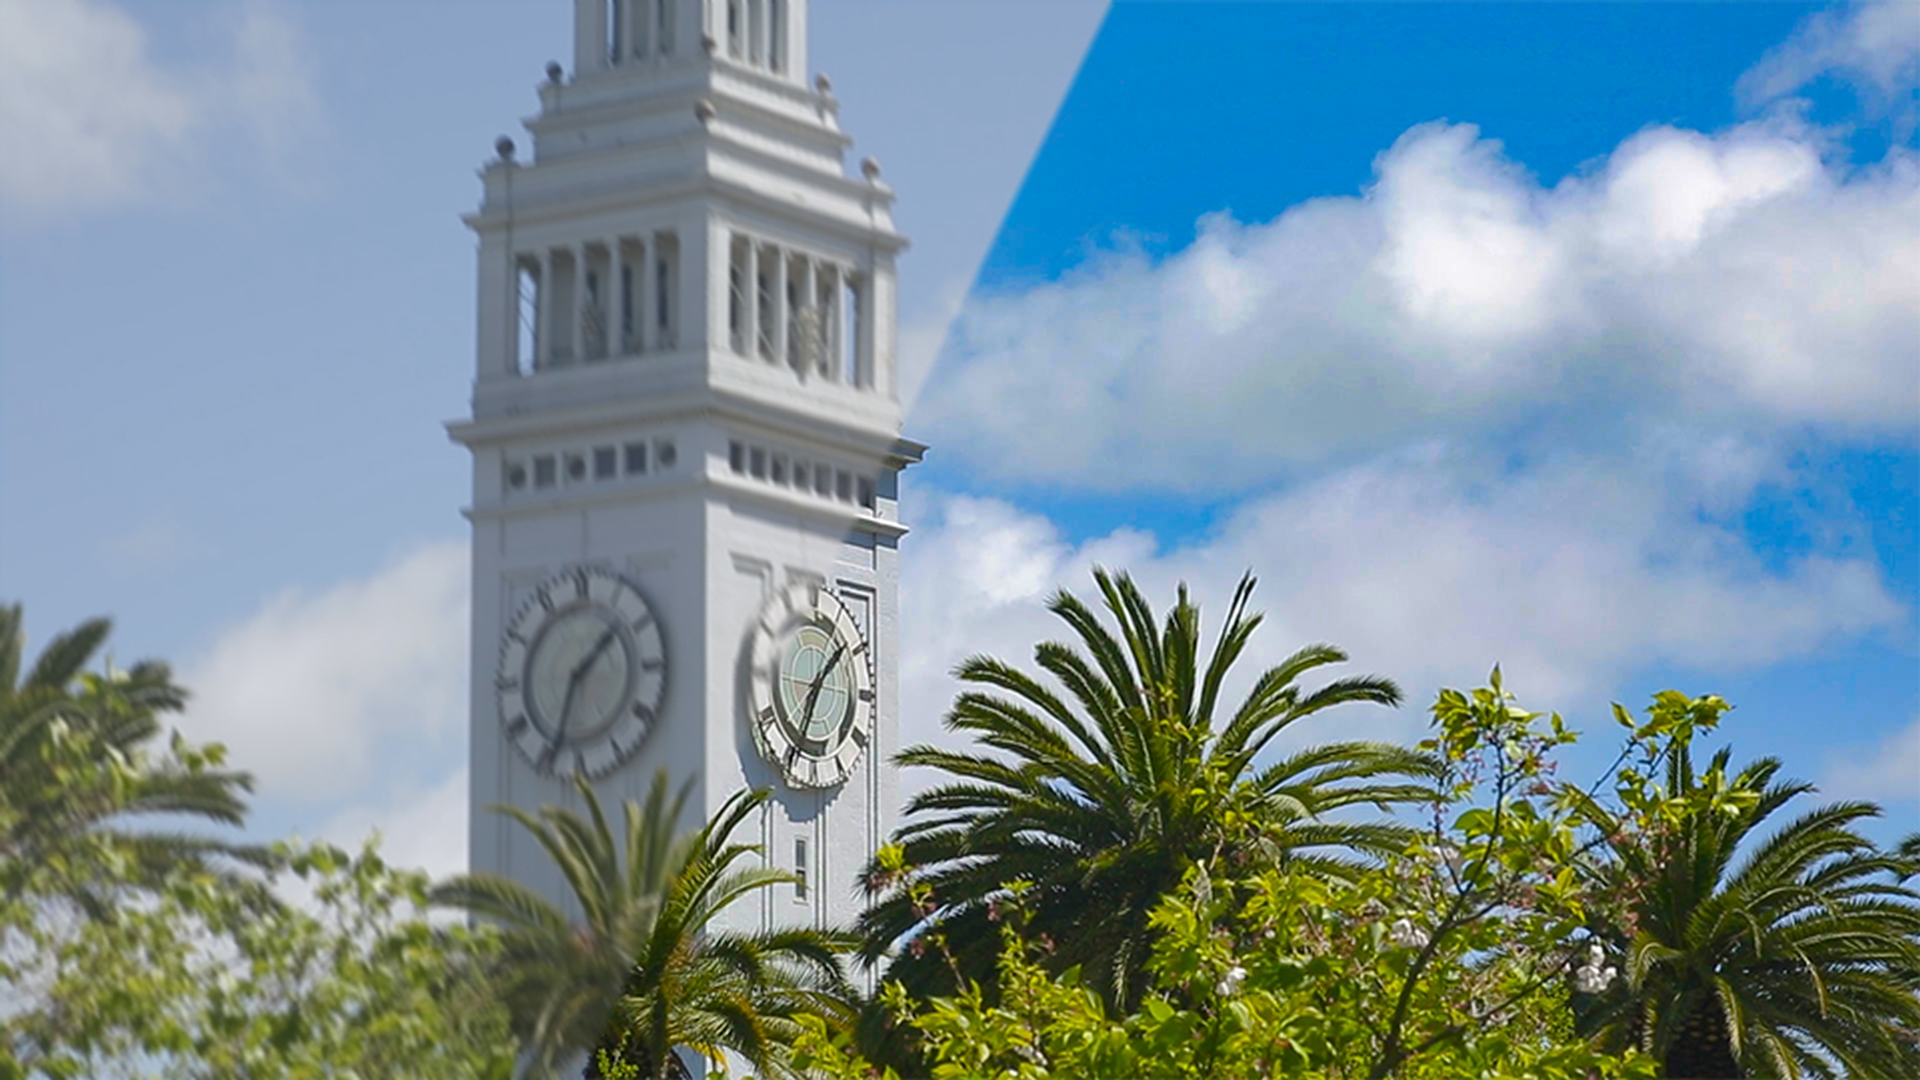
Now I was given this footage for a project and it has to be used since the director liked the composition.
And it's a key establishing shot giving the viewers a great reference for time.
Also, the crew didn't have a tripod so unfortunately this was shot handheld.
So, you can see there's a fair amount of camera shake and it appears to be a little overexposed.
Now all that being said there's one thing to consider whenever you attempt to repair any footage: there's always a recommended process.
So, when I see this footage I'm thinking first let's fix the shake.
Second let's fix any potential artifacts and then once it's nice smooth and clear as possible then it's time to move on and finish with some color correction.
Fix shaky footage
So, I'll press the spacebar to stop playback here for a second.
Making sure Layer 1 is active.
I'm going to go over to my Effects & Presets and I'll start to stabilize this by using the Warp Stabilizer VFX effect.
So, in Effects & Presets let's click once in the search field and type VFX.
To apply the effect simply click on it and drag and drop right into the composition panel and that effect will automatically be applied.
As you can see the effect is analyzing the footage in the background and if you come over to the upper left corner in the Effect Controls panel you'll get a status update as to how fast the analysis is happening, how many frames have actually been analyzed and every once in a while, it'll give you a time reference as to how long it might take before it's finished analyzing the footage.
Once it's finished processing, change the Result drop down menu to No Motion, since it was a lockdown shot.
And notice it doesn't have to reanalyze the footage.
It just stabilizes with the new settings.
Now let's go back down to the timeline and click once to make sure it's active.
And press the spacebar again to begin playback.
And let's look at the results of our stabilization.
As you can see it looks exponentially more stable.
In order to see more detail on the image, let's press the spacebar to stop playback and change the magnification to 200%.
Press and hold the spacebar as you click and drag the image to better view the clock.
Now let's click in the top part of the timeline to scrub the playhead to see if we can see any blurry frames.
I'll stop on 13:24:51:05.
And you'll see we have a blurry frame.
So, I'm going to press Shift + 1 to add a marker into the top of the timeline.
I'm just marking this as blurry footage for this one frame.
I'm going to go ahead and move down the timeline here and see if there's another frame.
Yep I see another one right here at 13:24:51:18.
I'll press Shift + 2.
And what you want to do is just kind of move through the footage and identify some of the different frames that are a little blurry.
So here I found another at 13:24:52:07.
So I'll say Shift + 3. now I find marking at least 3 different frames a good reference for what we're going to do next.
Fix blurred frames
Because in the past once you stabilize this, if you had this blurry shot it would be problematic.
But there's a wonderful effect that you can use to fix this.
So, if I go back over into my Effects & Presets, I'm going to type D E B L U R - for deblur.
And it's the Camera-Shake Deblur effect.
So, I'll click on that, dragging and drop it right on to my composition.
And what it's going to do is look at the clip and it will analyze the frames forward and backward in relation to where the current time indicator is.
So right now, it's looking at 5 Frames and it's blending all those frames, the sharp frames on either side, over top of the blurry frame.
And since I added these markers with 1, 2 and 3, all I have to do is press 2 on the keyboard to move to the second marker.
And it will take a second here.
And you'll notice now this is nice and sharp.
Now if you want to double-check the results of what you've done you can toggle the visibility of the effect here in the Effect Controls panel.
You can also press 1, 2 or 3 on your keyboard to move to the different markers, continue to toggle the effect on and off to view your results.
It's important to note that you can increase the Strength.
But I want to give you this one tip: instead of increasing the Strength to a value over 100%, sometimes the Deblur effect works a little better, if you just duplicate the effect in the Effect Controls panel.
Just select it and press Command or CTRL + D to duplicate.
That will work a little bit better than just trying to do it all at once with one Camera-Shake Deblur effect.
Now with the effect applied, press 2 to make sure we're all looking at the same frame
Fix overexposure
and we're ready to move on to fix the overexposure of this shot.
What I'd like to do is go up under the Window menu and change my workspace to the Color workspace, because in here I can access the Lumetri Scopes.
And notice now things are optimized a little bit more so I can actually see more of my footage and focus on what scopes I'm going to work with.
Just so I can see the entire shot I'm going to change the magnification of this clip to Fit.
And if you come down to the lower right corner of this panel, there is a wrench icon that you can use to access some of the different presets.
And I'll use the preset Vectorscope YUV/ Parade RGB / Waveform YC.
So, when I click on that I'm going to get three different scopes.
This first scope here allows me to look at the saturation and the color values of the shot itself.
So, you can see I've got this area here - this is called Trace and this is the video values of what's in this shot. and the colors are leaning towards yellow.
This first area here is yellow, this next one is red, we have magenta, we have blue, cyan and green.
And in general, you would like to have the Trace inside of this shape in order for things to be nice and safe.
Here I'm going to hover over the right side of these scopes and make it a little bit larger.
And let's look at the Parade RGB.
This is the brightness value of the luminance within the red channel, the green channel and the blue channel.
And brightness goes from 0 to 100%.
And then over here this is the saturation of the color from 0 to 255.
Now this one down at the bottom is the Waveform YC Scope.
And what this is, is it's showing me the brightness of the image and the saturation all together at once.
So, if you notice here on the left-hand side the brightness is also known as luminance.
So here it goes from 0 to 100.
And on the right side this is the saturation from 16 to 235.
Now these settings will change a little bit depending upon what you choose.
And this pull down here in the lower right I can be in 8 Bit space, float space or HDR.
Since I'm working in HD footage I'm going to go ahead and leave this in 8 bit space.
And there's one other thing I can do, if I come back to that wrench and click one more time down here there's an option for Colorspace.
Since I'm in HD, I want to make sure that I'm in REC 709 Colorspace.
These scopes are important, because as I make adjustments to the Color Correction I want to see exactly what the video values are going to be for the signal coming out of this clip.
Because each person's computer monitor might have a slightly different color setting.
So, this way I can actually see what the colors are going to be here in the vector scope or I can come down here in my Waveform monitor with the brightness and saturation.
So, let's get started with some color correction.
I'm going to go here to my Effects & Presets and I'll search for Lumetri - L U M E T R I - there it is - Lumetri Color.
And I'll just click on it drag it and drop it.
And now in the Color panel I'll go to my Basic Correction.
It's always a good idea to start with a basic correction and fix your exposure first.
So here I'm going to look at my Exposure and I mentioned earlier it was overexposed.
So, I'm going to bring that down just by clicking and dragging.
And notice as I'm moving down the values in the scopes are moving.
So, I want to move the brightness down a little bit.
So, I'll bring that down -0.4.
It's a minor adjustment.
Now the contrast is a little flat.
So, I'm going to go ahead and increase the Contrast.
And notice what happens when you increase contrast.
The brightness in the top of the image and the bottom of the image will move apart.
So, this is increasing the difference between the dark part of the image and the lighter part of the image.
Now over here in the RGB Parade I didn't really talk about this too much, but what this is doing is it's giving me the overall balance of the image.
And you can see since I've got a lot of blue sky here blue is the most saturated or the largest range of values I have in this image.
So, if I want to adjust that I can go back over here to the Tint section and if I click and drag, let's say to the left, notice I'm increasing the green value.
If I go back the other way I'm increasing red and blue.
You can also adjust the temperature in a similar fashion.
So here if I bring the Temperature over to the right a little bit I'm bringing the blue down and I'm integrating a little more red into the shot.
Now I'm looking at the bottom of the image and you notice here that none of these pixels are really truly dark.
A value of 0 would be 100% black.
And I would like this to be a little darker.
So, I'm going to go down here to the black levels and I'll click and drag to the left on the number value to bring the black values down.
And you want to be careful - notice here in the lower right corner as I make this adjustment I don't want to push it too far, because if I go beyond it notice it sort of flattens out.
This is called clipping or crushing your black levels and I don't want to do that.
I just wanted to barely kind of touch.
Okay.
So, if I toggle my color adjustment off and on you can see I've got a lot more contrast and I have a little bit more definition in the clouds.
But I can add yet a little more definition by bringing the brightness of the clouds down a little bit.
So here I'm going to go to my white levels.
And I'll bring those down just a bit and I'm looking around this 213 value.
I just want it to be a little lower than that or let's say 90% brightness.
I'll bring it down to say 85% - that's fine.
And then here in the Highlights section I'll increase my highlights.
It never set flattens out the clouds If I decrease the highlights notice I'm getting a lot more definition in the clouds.
So, I'm just adding a little space between the top part of my pixels and then some of the other not quite as bright sections of pixels.
So now if we toggle this off and on you can see not only do I have a little bit more contrast, but I definitely have more definition in the clouds.
Now since I've done this my overall signal is a little dark.
So, I'm going to go ahead and bring the Exposure back up.
And notice exposure is very sensitive.
When I bring the exposure back up now things are a little bit brighter overall.
Now once you actually have the brightness and everything adjusted in your image using the basic settings, you can go on under the Creative section and apply more adjustments.
Honestly what I usually do is get my main adjustments set up in the Basic settings and then when I go to Creative I'll go to the Look section if I want to apply a specific style.
So, if I click on this drop down menu let's say I want to make this look a little more like a vintage faded 70s look I can choose this Fuji ETERNA 250D Kodak 2395 (by Adobe) setting.
And when I do that now notice it has a little bit more of a vintage feel.
The black levels aren't truly black.
And if I really want to fade this a little bit more I can come down to the bottom of my Lumetri Color settings and here under Vignette I could actually add a vignette.
So here I'll add a vignette if I drag it to the left it makes the edges darker, if I drag it to the right it sort of washes out the edges a little bit.
So here I'll drag it back to the left.
There we go, and so if I just want to see this one Creative adjustment I could toggle it off and on and I actually kind of like it on.
It's added a nice gold highlight in the trees and I have a nice vignette around the edges.
So, remember whenever you need to make adjustments or fix any unusable footage the key thing to remember is the process.
You want to stabilize the footage first, then fix the artifacts, then go ahead and make your color adjustments.
And while you're making your color adjustments go ahead and use the Color workspace.
That way you can reference the Lumetri Scopes so you can see the true output signal of your video as you make your changes.


