We've shown you how to turn your sketch into a print-ready Illustrator file.
Now let's lay our graphic on blank merch and play around with scale and color choices.
We have our graphic here in Illustrator and our merch, which we traced and made into our template.
Right now I'm just playing around with some colors and seeing what I like.
We can explore color by using a color feature that helps us get some quick results.
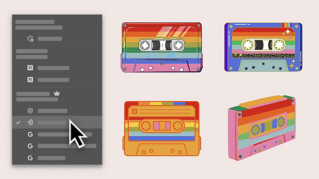
Select the whole artwork from the Edit menu, choose Edit Colors and then Generative Recolor.
This color feature lets you type a prompt with the color vibe you're going for.
I'll type 70s colors to see what we get.
I can click any variation to see if I like the look.
After playing with the colors a bit more, I landed on the bright banana yellow colors, which happens to be our brand color.
It's that simple laying out your graphic onto merch.
Now stay tuned for this next part where I'll show you how to get your file ready for the screen print.


