Introduction
Let's talk about the best ways to save your photographs in Photoshop.
Hi, Jan Kabili from Adobe.
In this tutorial we'll cover saving your photographs in the formats you'll use the most, PSD, JPEG and PNG.
The workflow that we'll be using
Saving a master file in PSD format
is to save a master version of the file in the PSD format, because that will retain all your edits.
Then you'll make copies of that file in other formats like JPEG or PNG if and when you need them for a particular purpose.
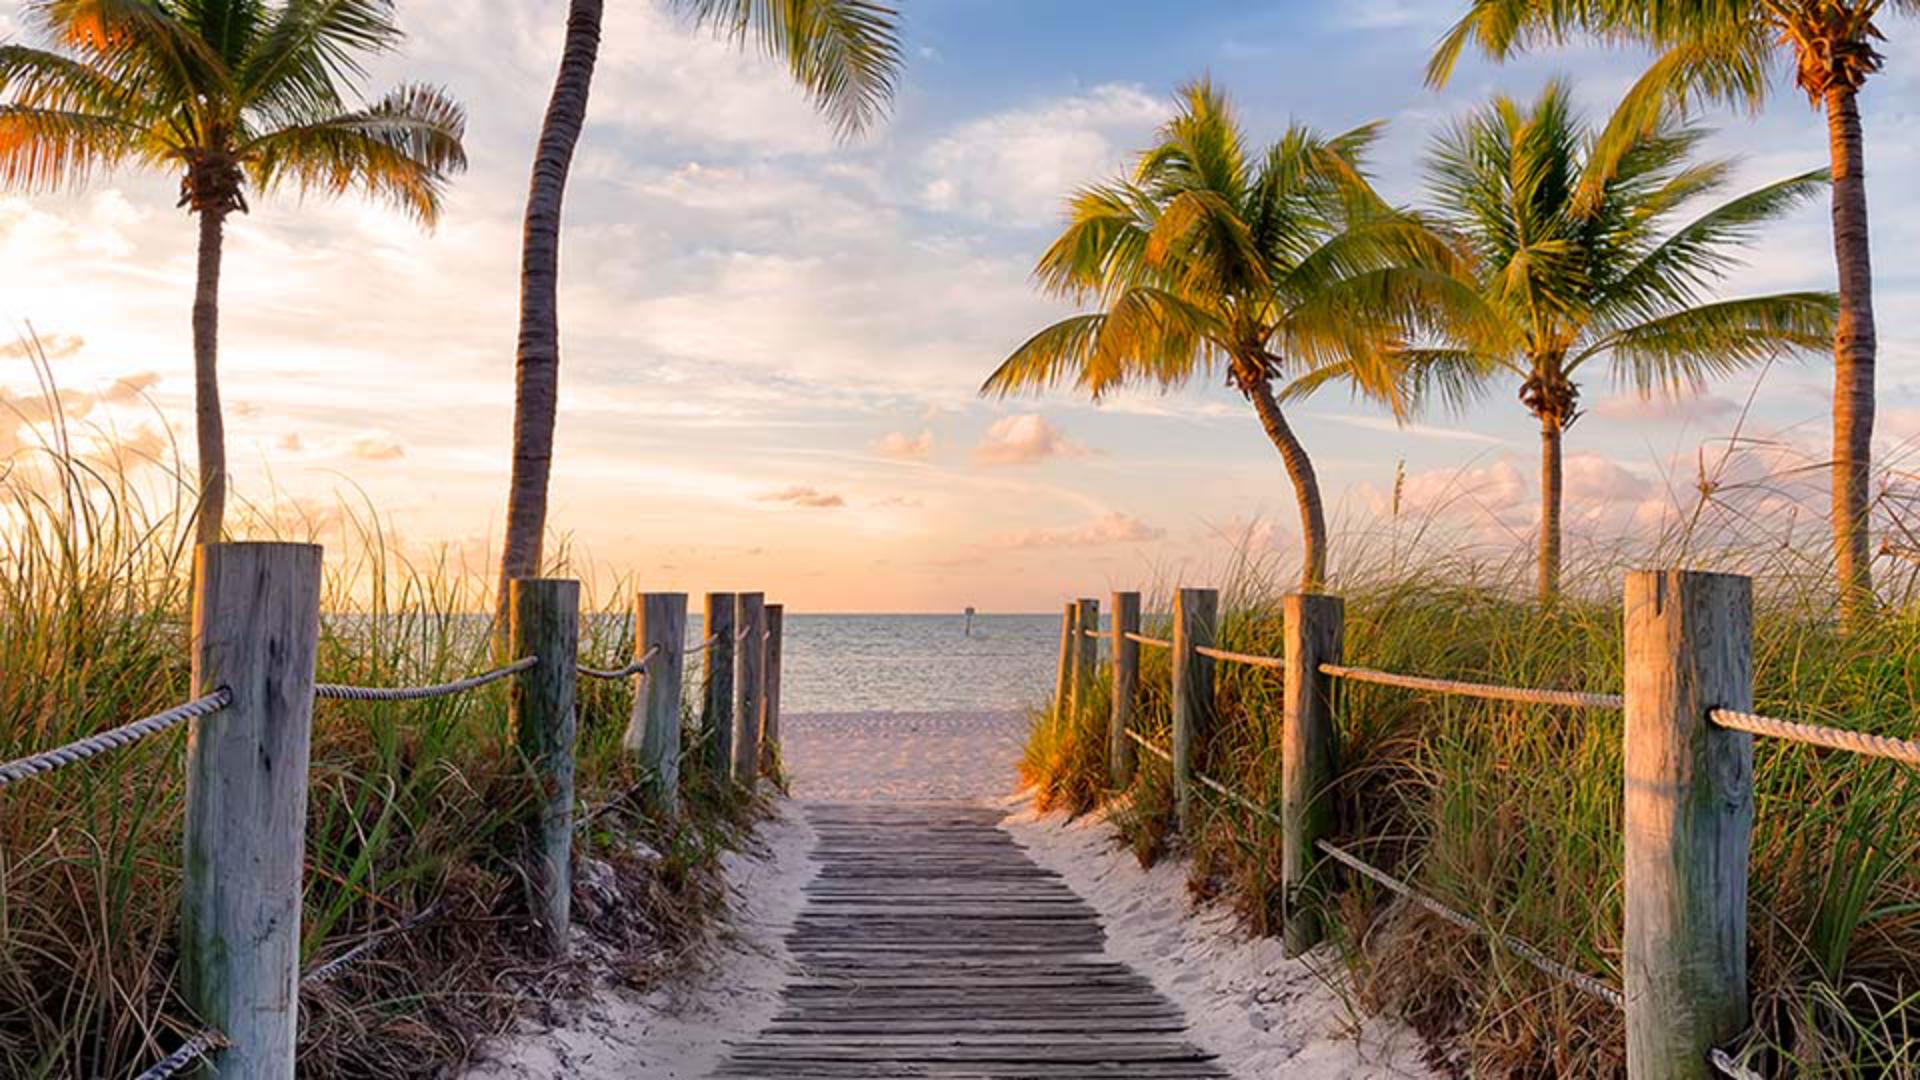
For example, here's a photo that was captured as a JPEG.
I'll add a quick edit, a Photo Filter adjustment layer that will warm up the photo.
Now let's save a master version of this file in a format that will preserve our adjustment layer.
Go to the File menu and choose Save As...
In the Save As dialog box, which looks a little different in Windows, go to the Format menu or the Save As type menu and look for the format you want.
Notice that this menu is showing only formats that will support this file with the features that we've added.
And in this case, we added a layer.
So these are formats that support layers.
Of these, the one you'll use most is Photoshop.
This will create a PSD file PSD or Photoshop document is the native Photoshop file format, and it retains all the added special to Photoshop like adjustment layers, masks, smart filters, and so on.
So choose Photoshop and then click Save and click OK at the prompt.
Remember we started with a JPEG, now we've saved another version of this file as a PSD, and this will be your master version.
So as you continue to work, maybe adding another adjustment layer or whatever you want to do to the file while you're editing, save it from time to time by going to the File menu and choosing Save or using the keyboard shortcut Command S on Mac or Control S on Windows.
Creating JPEG copies for sharing
Now let's say that you want a copy of the master version to upload to the web.
You can't put a PSD on most websites.
Instead, you need a JPEG or PNG file.
Let's see how to save this edited file as a JPEG.
Again, choose File, Save As..., go to the Format or Save As type menu and notice that it doesn't give you the option here to save a JPEG.
That's because this file includes features, layers, that aren't supported by the JPEG format.
So now what?
Well, if you hover over this little i, this little information button, you'll find out the answer.
It says: Use Save a Copy for JPEG or PNG.
So we'll click the Save a Copy... button.
That opens another dialog box the Save a Copy dialog box.
And here, when we go to the Format menu, we do have the option to save as JPEG.
So we'll select that and click Save and then click OK for the JPEG options.
So now we not only have the PSD master version of this image, we also have a JPEG copy.
And if I open that in Photoshop, you can see that it has the nice warm color that we used when we edited our PSD.
But over in the Layers panel you don't see a separate adjustment layer because JPEGs don't support layers.
Let's take a quick look at another photo.
Saving images with transparency as PNG
This one has transparent pixels in the background.
If you wanted to put this photo on the web, you wouldn't save a copy as a JPEG because JPEGs don't support transparency, but the PNG format does.
So let's see how to save a copy of this PSD file as a PNG.
We'll do the same thing that we did for the beach image.
We'll go to the File menu and will choose Save As... and this time when we go to the Format menu, we do see the format that we're looking for, PNG.
And that's because there's nothing in this file that is not supported by the PNG format.
So we'll choose PNG and click Save and click OK.
And now we not only have our master plane.psd file, but we also have the plane.png that we can use on the web.
Choosing the right format for your photos
So that's a look at how to save your photographs in the formats photographers use most often PSD, JPEG and PNG.
Give them a try on your own photos.


