Introduction
In this video, you're going to learn how to work with the same presets on both the desktop and mobile versions of Lightroom.
You can follow along with any photo or you can download the sample files from the Adobe page for this tutorial.
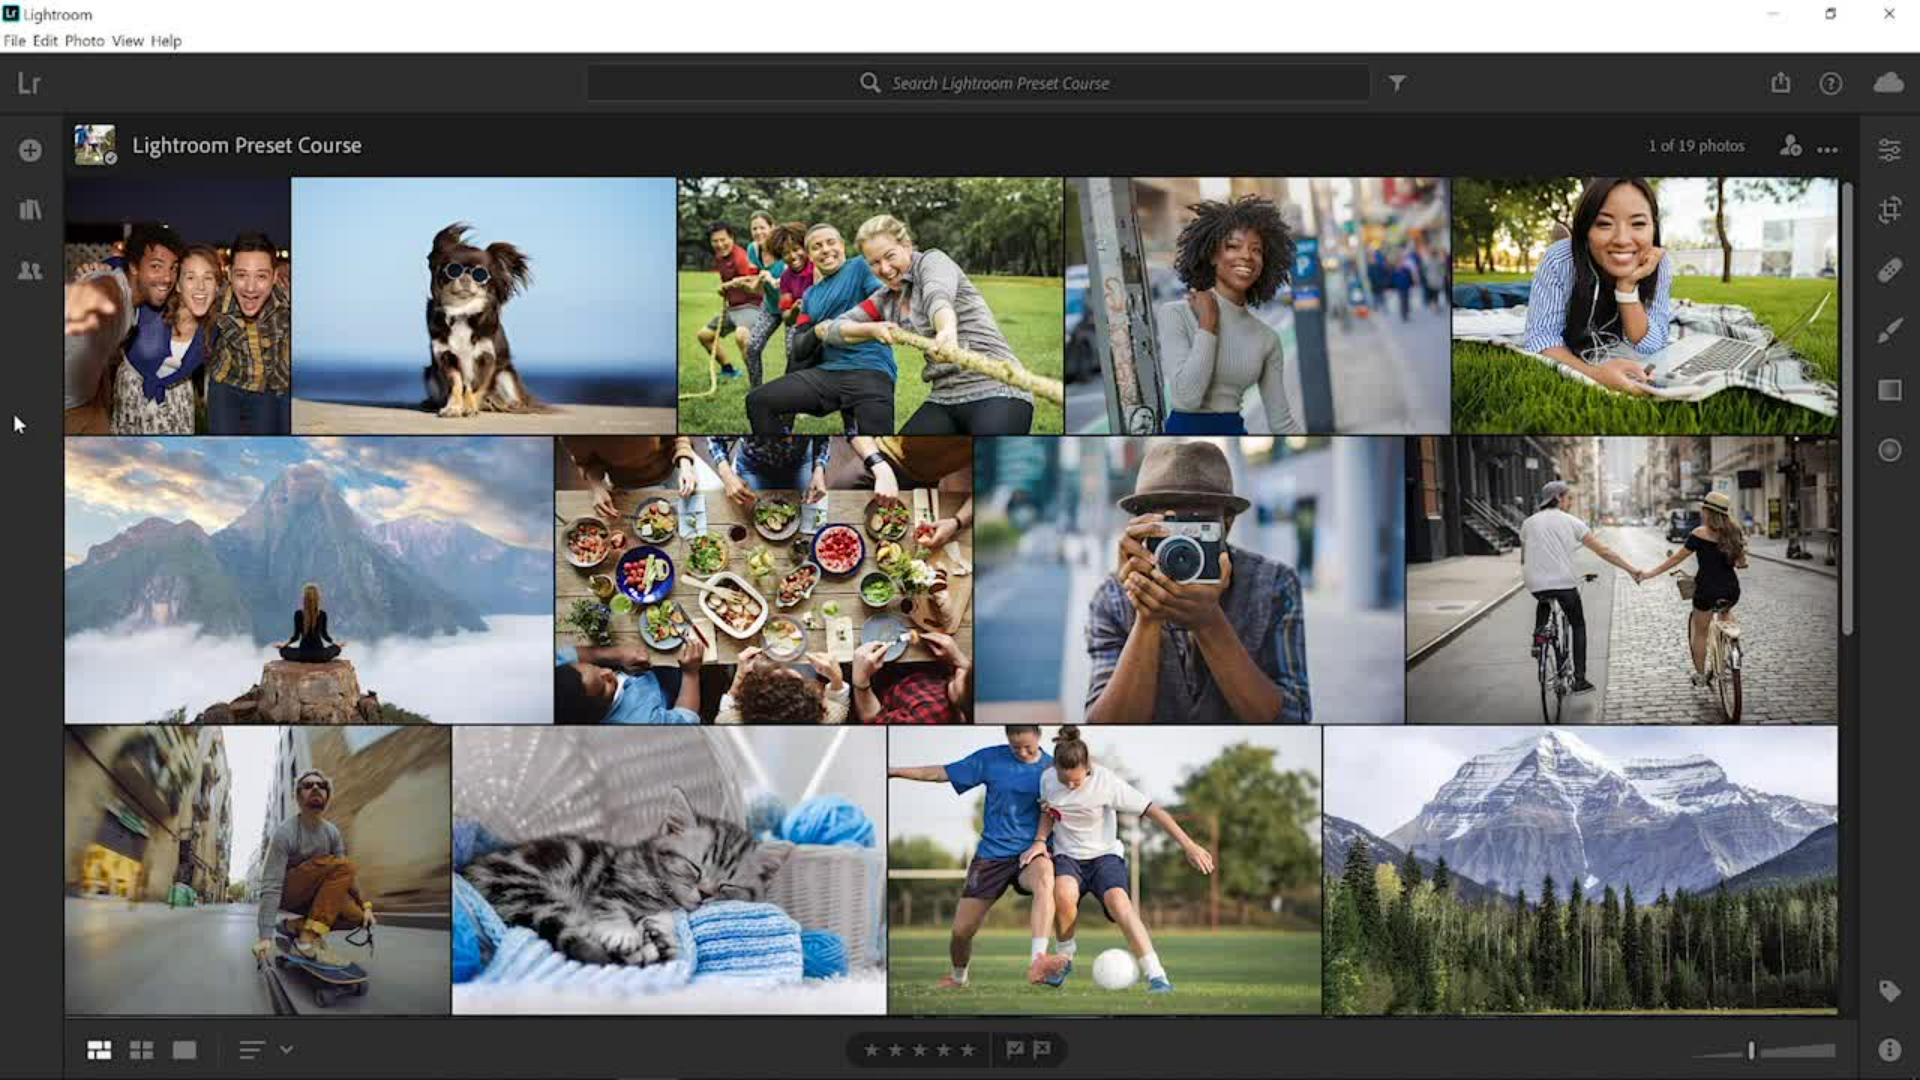
Once you import the sample photo into Lightroom, you will see it in the photo grid.
Double click on it to open it.
You might already know that Lightroom syncs any photo
How presets and photos sync across desktop and mobile
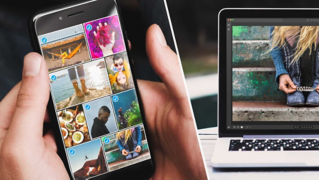
that you upload to the cloud and you can access it from anywhere, either through your Lightroom desktop app or your Lightroom mobile app.
For example, if you upload this sample file from your computer it will also be available for you on your mobile device through the Lightroom mobile app.
Best of all Lightroom also automatically syncs presets that you create or import across to Lightroom mobile, so that you can always have the same look and feel no matter where you're editing your photos.
Let me show you how this works.
Importing a preset in Lightroom desktop
Let's start by importing a preset.
Click on the Edit icon or press the E key on your keyboard to go into the Editing workspace and click on the Presets button. then click on the ... icon in the Presets panel and select Import Presets...
From this window, you can navigate to the location of the xmp file provided for this tutorial.
It's called Cross Processed Look.xmp Select it and click on Import.
You will then see this new preset appear in the Presets panel under User Presets.
Notice that Cloud icon on the top right of the application frame.
It has a blue spinning icon that is telling us that we're uploading something to the cloud.
What Lightroom is doing behind the scenes is syncing this new preset to my mobile device.
Accessing and applying presets on Lightroom mobile
I'll now open my Lightroom mobile app.
This is what it looks like.
I'm logged into the same Creative Cloud account as I am on my desktop, so I will see both the photo and preset that I uploaded everything syncs automatically if you have an internet connection.
I'll edit and apply the Cross Process Look preset by first opening the sample file, tap on a photo to open it, then scroll the bottom panel all the way to the left, and tap the Preset icon.
Tap on the Preset group dropdown and find the User Presets group, then tap on Cross Process Look which will temporarily apply the preset to your photo.
To apply that preset, tap on the checkmark on the top right.
If you're on an iOS mobile device, the checkmark may be on the bottom right.
Just like the desktop app you have full editing capabilities on your mobile device.
You can adjust the preset to better match your image.
Fine-tuning preset edits on mobile
For example, you can tap on the Light icon and increase the Highlights to brighten the faces.
All edits are subjective of course.
Feel free to edit your image any way that you like.
And as simple as that we've applied this look to our photo on our mobile device using a preset that we imported from the Lightroom desktop app.
So, keep in mind that if you have a preferred style that you apply to your photos in Lightroom, you could also apply the same styles to the images that you capture on your mobile device using Lightroom presets.
Now that you know how to sync presets from your desktop to your mobile device go ahead and try them out on the photos that you take with your mobile device.