{{ps-features}}
How to rasterise in {{adobe-photoshop}}.
Certain actions in {{photoshop}} work only on raster images, which are made of pixels instead of vectors. Learn how and when to rasterise your work.
What does it mean to rasterise in {{photoshop}}?
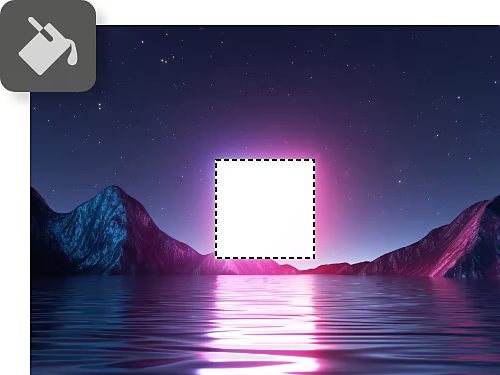
Why rasterise an image or shape?
There are several tools in {{photoshop}} that work only on raster layers — including brush tools, the Eraser tool, the Paint Bucket tool and certain filters like Blur. If you try to do a raster-only edit on a vector layer, {{photoshop}} displays a prompt letting you know your layer must be rasterised before proceeding.
Shapes and text layers default to vectors.
When you create new shapes in {{photoshop}} or add text to a project, they automatically show up as a vector layer. Their edges will be crisp no matter how much you zoom out or in. However almost everything else you can work with in {{photoshop}} is a raster graphic — including digital paint strokes, photos, gradients and more.
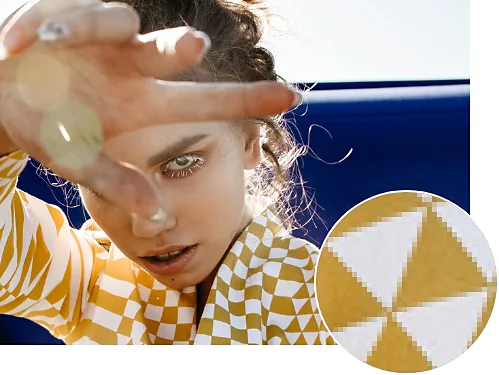
Rasterising a vector layer converts it to pixels.
Rasterise layers to transform them from vector images into pixel images. Unless you zoom in until you see the pixels, you probably won’t notice a difference after you convert your layer.
The downside of rasterising.
Once you rasterise, you can’t go back to your original vector layer. That means you’ll also lose the ability to scale your shape to any size without some loss in image quality. And once you rasterise type layers, you can no longer change the words or font of your text.
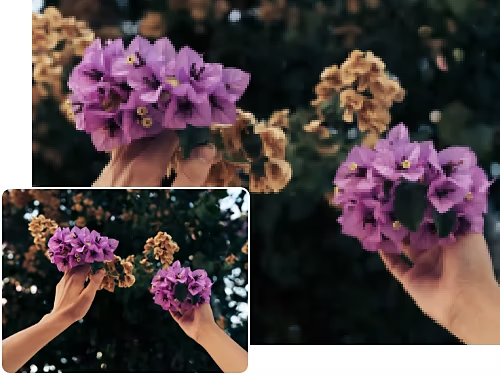
How do you rasterise an image in {{photoshop}}?
While many graphic designers avoid rasterising unless absolutely necessary, rasterising a vector layer doesn’t have to compromise the quality of your project. A raster image is just fine unless you require a vector file so you can blow your image up into a bigger format, like for a digital billboard or a printed banner.
- Select it:
If your Layers panel is not visible, press F7 to reveal it. Then select the layer containing the vectors you want to rasterise. - Duplicate it:
Because rasterisation cannot be reversed, choose Layer › Duplicate to save a copy of your selected layer just in case. Tap the eye icon beside your new layer to hide it from view. - Rasterise it:
Right-click on your original vector layer, choose Rasterise Layer and select an option from the menu:- Type. Rasterise only the text on a type layer.
- Shape. Rasterise a shape layer.
- Fill Content. Rasterise only the fill (solid colour, gradient or pattern) on a shape layer, leaving the vector mask.
- Vector Mask. Rasterise only the vector mask on a layer, turning it into a layer mask.
- Smart Object. Convert a Smart Object into a raster layer.
- Video. Rasterise a video frame to an image layer.
- 3D (Extended only). Rasterise the current view of 3D data into a flat raster layer.
- Layer. Rasterise all of the vector data on selected layers.
- All Layers. Rasterise all layers that contain vector and generated data.
Instead of rasterising, try these techniques.
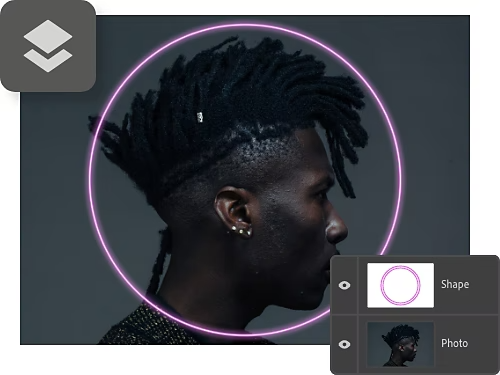
Make edits with new layers and Smart Objects.
To paint directly onto a vector layer, you need to rasterise it. Instead, add a new layer as an overlay on your vector layer and paint or draw on that. To transform your vector layer in other ways without losing quality, convert it to a Smart Object — then warp, scale or add filters without permanently affecting the original layer.
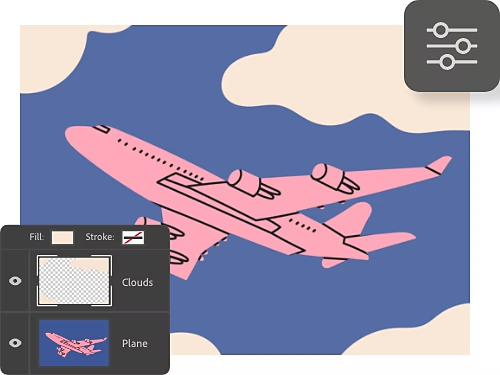
Change colours in the Properties panel.
You can rasterise to change the colour of shapes or text with the Paint Bucket tool. Or you can change shape colour by selecting your shape layer in the Layers panel and going to Window › Properties and changing the colour with the Colour Picker. To change text colour, double-click the T icon in the Layers panel, select Window › Character and use the Colour Picker.
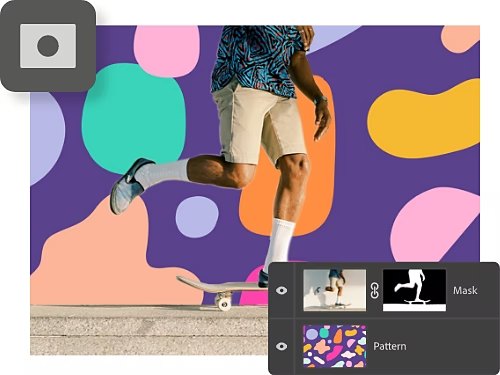
Use a layer mask instead of the Eraser tool.
To use the Eraser tool to remove parts of your vector shape, you need to rasterise. Instead, select your layer and click the Layer Mask icon (a rectangle with a circle in the centre) at the bottom of the Layers panel. Then select the Brush tool to paint on your layer mask. Paint on black to conceal parts of your vector shape or white to reveal parts of it.
Tutorials to take vectors and pixels further.
Use your words.
Explore all the ways to work with words — from choosing poster fonts to adding fun effects.
Add text to images in Photoshop|Add text to images in Photoshop
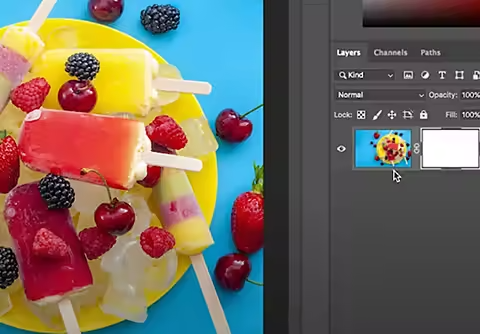
Get precise with masks.
Learn how to target your edits on specific areas of an image with layer and vector masks.
Make selective edits with layer masks|Make selective edits with layer masks