Welcome back.
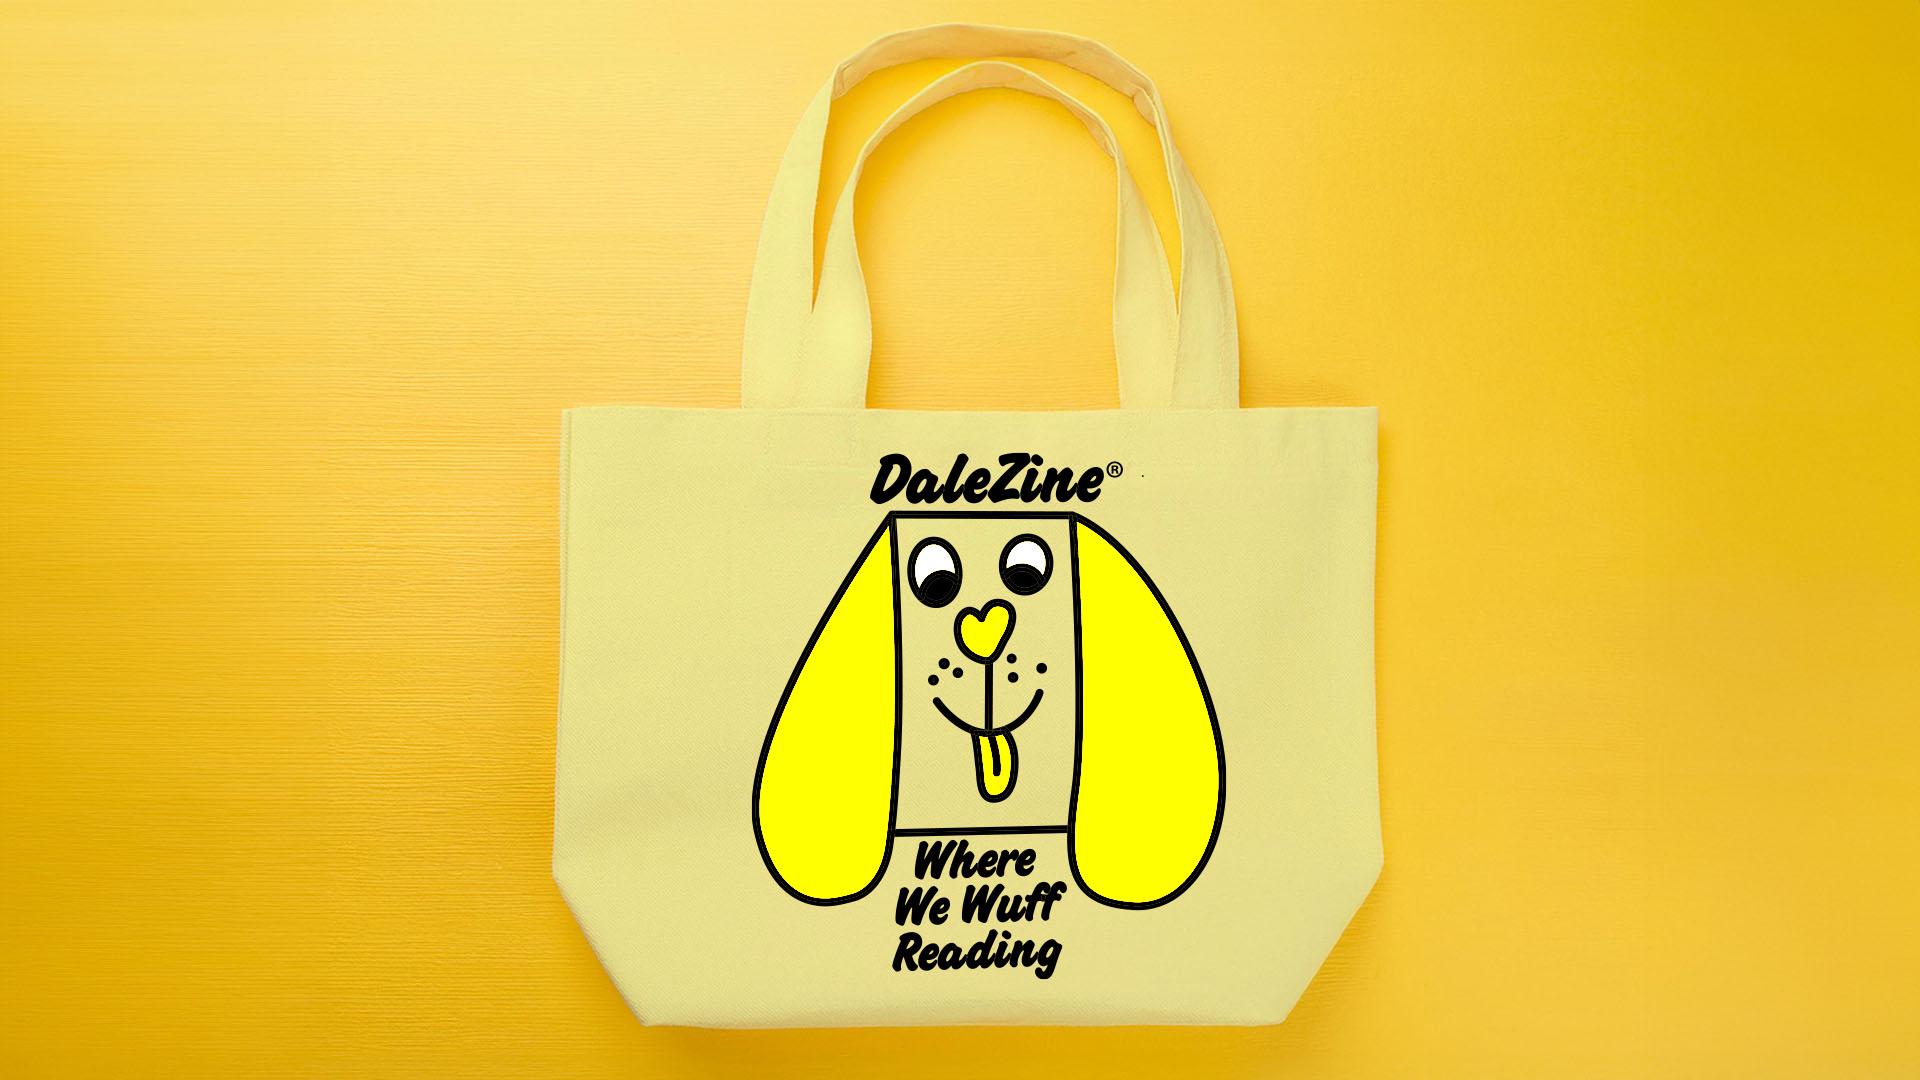
Now that we have our finished graphic in Illustrator, we're going to get it ready for screen print production.
The first thing we want to do is expand all our strokes to make sure when we scale up or down our file will stay intact and not change.
I'll hide the tote template for now.
Same thing with the text.
Let's create an outline so our printer can open this file and not have any issues with fonts missing.
Next step, we can use the Pathfinder Tool to group all of our shapes that are the same color.
As you can see, I'm grouping all of our colors in different layers.
Since this design has three colors, we'll use the Pathfinder panel to knock out our shapes, so when our screen printer is printing their screen separations, it'll be a breeze for them when it comes time to print these mini totes.
Since our design has three colors, I'm separating it by color black, light yellow, and dark yellow.
Your file is print-ready.
It's that easy to set up your file in Illustrator for a screen print.


