- Create an outline
- Anchor your design
- Guide the slope
- Decorate the type
- Set the path
- Unite the elements
- Form a connection
- Refine the endpoint
Make a monogram
Hope Meng combines letterforms with designer strokes to create elegant monograms. See how she customizes lettering and strokes in Adobe Illustrator.
Hope Meng is a multidisciplinary designer and artist. Her passion projects tend to be long-running and driven by a deep love for letterforms and experimentation. Some examples include the Monogram Project, TEXT/TILE Studio, and the 36 Days of Type project.
Sync your favorite font fromAdobe Fonts before you try this technique. The font used in this tutorial is Bely Display.
Meng used the Type (T) tool to add initials using the Bely Display font synced from Adobe Fonts. Then she dragged to select the initials with the Selection (V) tool, right-clicked, and chose Create Outlines. Meng included the white ghost image that you can use as a guide if you’d like to follow her steps to create the monogram.

With the text converted to an outline, Meng could then customize the form of the letters using the Direct Selection (A) tool. She dragged across the top portion of the ‘t’ and pulled down on an anchor point to shorten it. Then she selected the crossbar of the ‘t’ and shortened it, removed a serif at the base of the ‘k’, and clicked the top anchor point of the ‘k’ and dragged it down as well.

Meng drew a red guide using the Line Segment (\) tool. She aligned it to follow the slope of the ‘t’ and to extend beyond the ‘k’. Then she used the Direct Selection tool to select the top anchor points of the ‘k’ and drag them to match the slope of the ’t’. When she finished, she moved the guide out of the way.

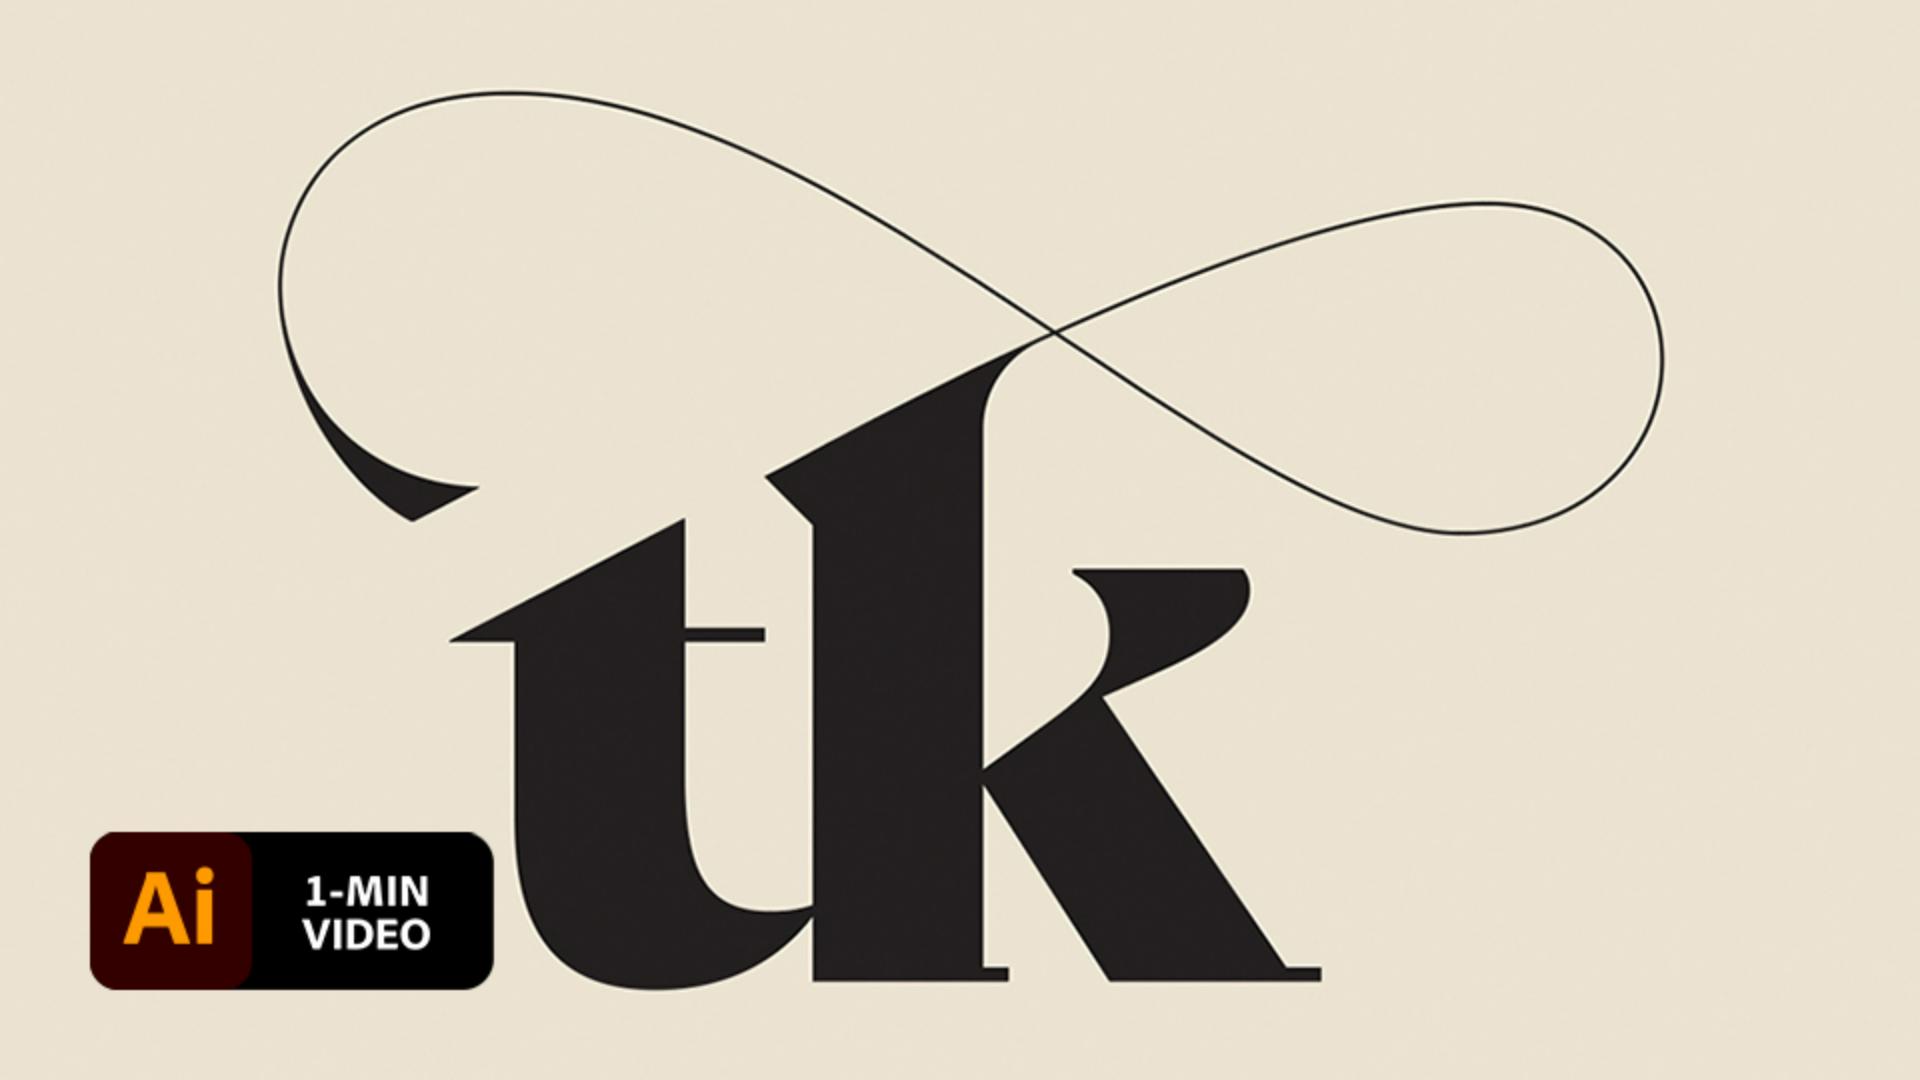
For a bit of flair, Meng used the Pen (P) tool to draw a flourish extending from the ‘k’.

With the decorative swirl still selected, she chose Object > Path > Outline Stroke.

Meng then joined the decoration with the type by dragging the Selection tool across everything and clicking Unite from the Pathfinder in the Properties (Window > Properties) panel.

To further blend the artwork, Meng used the Direct Selection tool to drag the top inside corner of the ‘k’, then dragged an anchor point indicated by a circle to create a curved path between the ‘k’ and the swirl.

Meng added the final touch by double-clicking the end of the decoration with the Direct Selection tool. She then dragged each anchor point to create a flared endpoint.

Create expression through monograms
Combine typography and decorative strokes to create an elegant design for your brand.

Note: Project files included with this tutorial are for practice purposes only.


