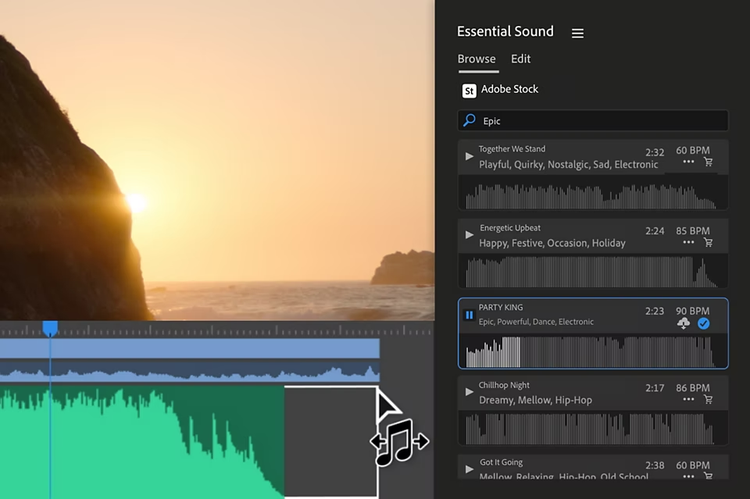
How to edit the audio of your video.
Dazzle the eyes and the ears by following these steps to edit audio tracks for your videos.
Display audio waveforms for easy audio editing.
It’s easy to see where to make cuts and edits to video files, but it’s not so easy to “see” sound. To visualize your audio file, use audio waveforms. Waveforms are a visual representation of an audio file that displays the different sound patterns. They make it easy to keep track of where you need to make edits, precise cuts and splices, or adjust volume levels.
Video editors like Adobe Premiere Pro automatically show waveforms for audio files. If not, you can toggle waveforms from the Timeline Display Settings menu by checking the Show Audio Waveform button.
Combine, merge, and clip audio tracks.
Start adding audio files to your project and slide them into the correct positions on the timeline. Use the playback function to make sure the audio lines up with the video. If some audio files are too long or overlap, you can shorten them with the Trim tool so they will fit in the right spots.
Video editing projects can get messy — especially if you have many audio files. Once you have two audio files in the right positions, right click the clips and merge them using the Nest feature. Working with one audio track is always easier than dealing with two.
Continue this process until you have all the audio files in your video.
Add sound effects.
Sound effects (SFX) can help emphasize certain parts of your video. Once you have the primary audio like narration and background music added, go back through the video and add smaller sound effects like swooshes, beeps, and hums to create a more engaging world for your viewers.
Want more helpful videography tips? Explore everything you can do with Premiere Pro to enhance your video’s visual and audio tracks.