Introduction
When setting up a body in Adobe Character Animator, you can add rigging information to determine how a character moves and which parts you can control.
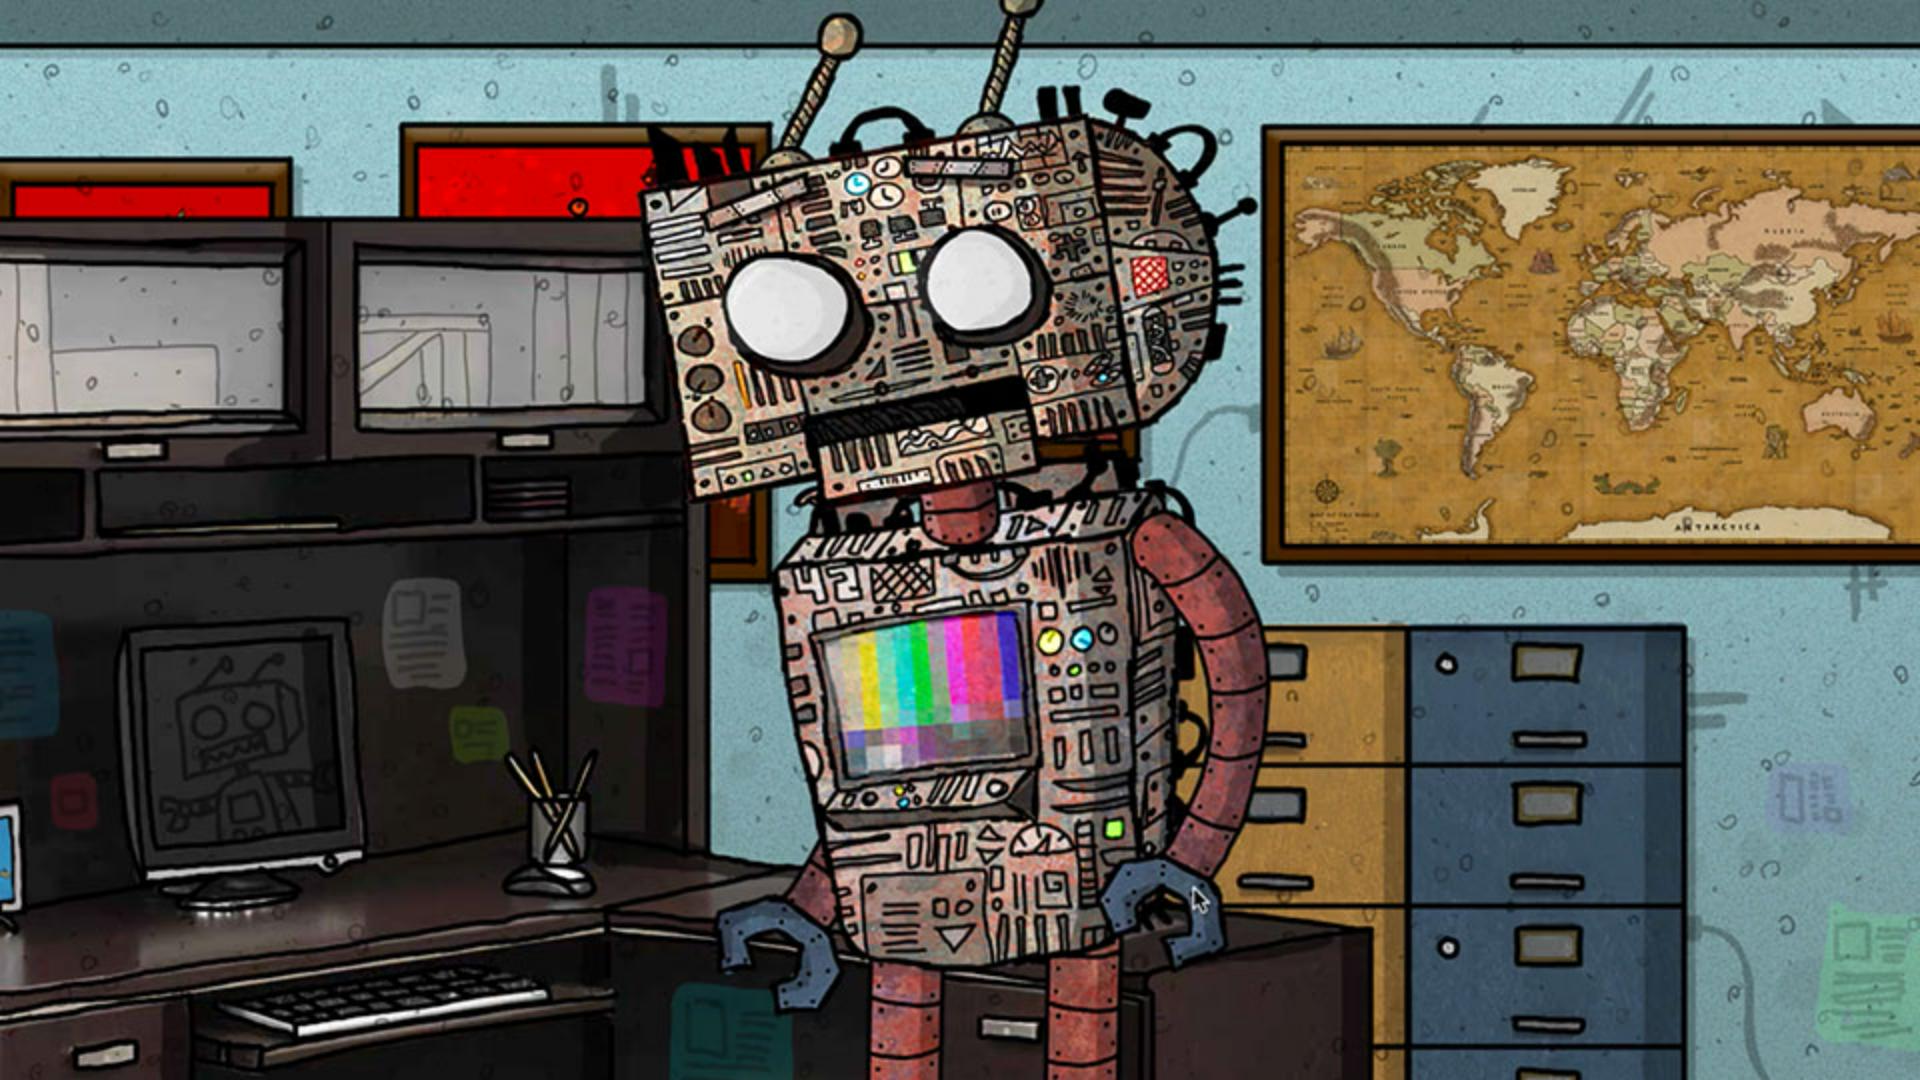
In the home screen, let's take a look at a simple human character
Creating a new character from an example puppet
by clicking the example puppet named Chloe, and then click the Photoshop icon to open the original artwork.
Because this version of Chloe already has body rigging associated with it, we can start from scratch by making a new copy of her.
In Photoshop, double click the name of the top +Chloe group and rename it to +Zoe.
Then we can go to File, Save As... and save her as a new file named Zoe.
Back to Character Animator, you can click File, Import..., find the Zoe Photoshop file and import her. double clicking the Zoe puppet will open her up in Rig mode.
We'll come back here in a minute, but for now let's add her into a new scene scene by clicking the Clapboard icon in the bottom left corner of the Project panel.
This adds the puppet to a new scene.
If you select the scene in the Project panel by clicking it once, you'll see the Scene properties on the right.
Here you can customize the scenes parameters like the Width, Height, Duration and Framerate. in the default 1920 x 1080 scene, Zoe is a little too big.
To resize and reposition her, select the Zoe track in the Timeline below and under the Transform properties on the right click and drag over the Scale, Position X or Position Y parameters to make her fit in the scene.
Understanding head and body grouping in rig mode
Returning back to Rig mode, we can see that the top-level Zoe group has two groups inside, a Head group and a Body group.
Setting up a file like this ensures the body will always move along with the head as expected.
Note, that neither of these groups are independent.
If we made the head independent by adding a + in front of it in Photoshop or toggling on the Crown icon in Rig mode in Character Animator, it would move on its own and look disconnected from the body.
So, it's best to keep both non independent.
But if we look at Zoe's scene her feet are swaying back and forth with her head and not connected to the ground like we probably want.
We can fix this by returning to Rig mode
Pinning the body with fixed handles
and adding what we call Handles or invisible data points that determine how the artwork behaves.
To add a handle that will pin the feet to the ground, make sure the Body group is selected.
Click the Handle circle in the lower Toolbar, click a foot to place a new handle there and tag it as Fixed via the right-hand Properties panel.
Because fixed handles are commonly used, there's also a shortcut, the Pushpin icon.
Clicking on the artwork with this known as the Pin Tool will quickly create fixed handles, so you can add several to keep her grounded.
Returning to the scene will confirm that her feet are stationary as expected.
Rigging arms with origins, draggers, and sticks
Back to Rig mode, we can see that Zoe has several items inside her Body group.
A Right Arm group, a Left Arm group, a Torso group, and a Pants layer.
The Arm groups are independent marked with Crown icons, because we want them to move on their own without necessarily pulling the rest of the body.
By default, the independent groups origin shows up right in the middle of the artwork, and a dotted green line shows what's controlling it.
In this case, the origin of the group is inside the Body group.
But we want our arm to pivot from the shoulders, not the belly button.
So, we can use the Select Tool from the bottom Toolbar and drag the origin until it hits the shoulder.
As soon as the origin overlaps with other artwork it can connect to, the connecting artwork turns green and the origin gets a green circle around it.
Now that our right arm is properly connected, we can add another handle to let us move this arm with our mouse or fingers on a touch enabled device.
With the Right Arm group still selected, select the Dragger Tool in the bottom Toolbar and click the hand to add a draggable handle.
Now when we return to our scene, if we click and drag, we can move and control the Arm group.
By default, it's been like a spaghetti noodle and we may want to add some more structure to it.
Back in Rig mode still with the Right Arm group selected, you can click the Stick Tool and drag over top where the forearm and bicep would be to draw some simple scaffolding, leaving a little room in the middle for the elbow.
Returning to the scene, now the arm bends more like we might expect from a human arm.
You can do the same with the Left Arm group.
Drag the origin to the shoulder, add a draggable handle to the hand and finally draw two sticks for the forearm and bicep.
And with that you've now got the foundation of a basic animated character.
Other characters might have a lot more bells and whistles, but most of them follow this general Head and Body grouping structure.
In the home screen, you'll find several other example templates to learn from.
And clicking the See More link above takes you to a page where you can download even more.
So, good luck creating your own animated characters and stories and have fun.