Introduction
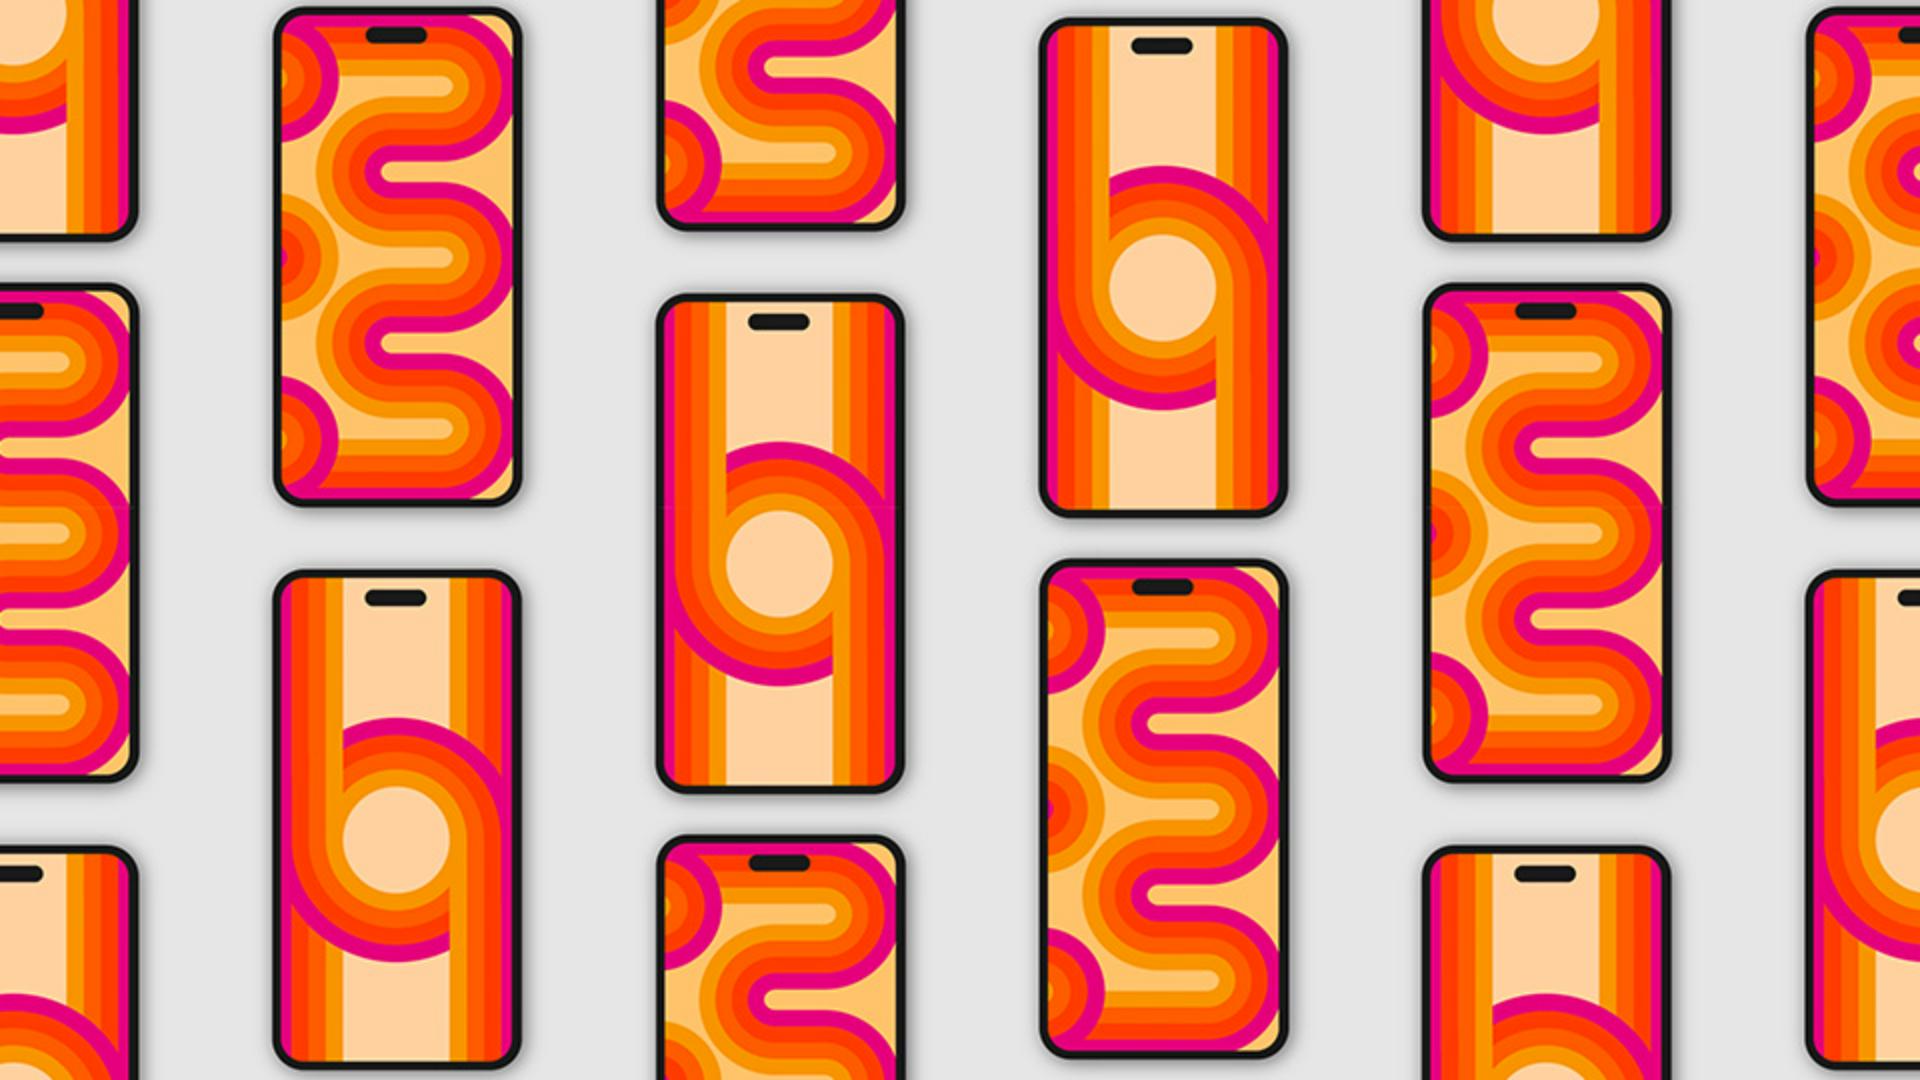
[Rob de Winter]: Always wanted to design your own beautiful retro wallpaper?
With shapes and art brushes in Illustrator you can do it quick and easy.
My name is Rob de Winter, I'm an Adobe certified Instructor, Author, and Designer from the Netherlands, and in the next few minutes, I'll show you how to create and customize your own creative brushes and how you can apply them to shapes and lines in Illustrator.
Drawing shapes for a custom art brush
Let's first start by drawing the shapes we need to create a brush.
So click the Rectangle Tool and draw a rectangle.
Now change the Fill color to yellow and make sure there's no Stroke color.
Let's now duplicate the rectangle straight down.
To do this, click the Selection Tool, move the rectangle down and then hold Shift and Alt on Windows or Shift and Option on macOS.
We need two more copies, so let's repeat this step twice.
I always press Ctrl D on Windows or Cmd D on macOS to repeat the previous transformation.
Do this two times.
Adjust the Fill colors of the three rectangles.
I already saved four retro color swatches in my Swatches panel.
When you're ready, open the Brushes panel by going to Window, Brushes.
Select the rectangles and then click the + button
Creating and configuring the art brush
in the Brushes panel to create a brush.
Select Art Brush and click OK.
First, name your brush Retro Brush.
By default, all the settings are usually set correctly.
I always like the brush to stretch in the drawing direction, so I leave Stretch to Fit Stroke Length as it is.
Furthermore, the drawing Direction is automatically set to the Right, so the brush immediately draws in the right direction in this case.
If you prefer to draw in a different direction, you can set it here.
And don't worry, you can always adjust the settings afterwards.
Now click OK.
The brush is saved in the Brushes panel and if you like, you can test your brush by drawing with your Brush Tool.
I think it's really cool.
I've also drawn a line with the Pen Tool and a few half circles.
First, let's create some rounded corners on the line.
Applying the brush to lines and shapes
To do so, select the line and click the Direct Selection Tool.
Now drag the corner widgets inwards to create rounded corners, then select all the shapes and click your newly created brush from the Brushes panel to apply the brush.
I think it looks great, but it might look even better if we flip the line direction of the top and bottom circles.
Select the top-half circle with the Selection Tool, then hold Shift and click the bottom-half circle to select them both.
Then click the Brush Options of Selected Object button in the Properties panel, check the Flip Across button and click OK.
And if you quickly want to change the overall stroke weight,
Refining stroke direction and appearance
you can adjust this easily in the Properties panel.
Now that you've seen how to create your own 70s style designs with brushes in Adobe Illustrator, you can get started creating retro wallpapers, posters, or album covers yourself.
Again, my name is Rob de Winter and I look forward to seeing you in the next video.