Introduction
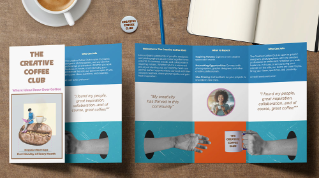
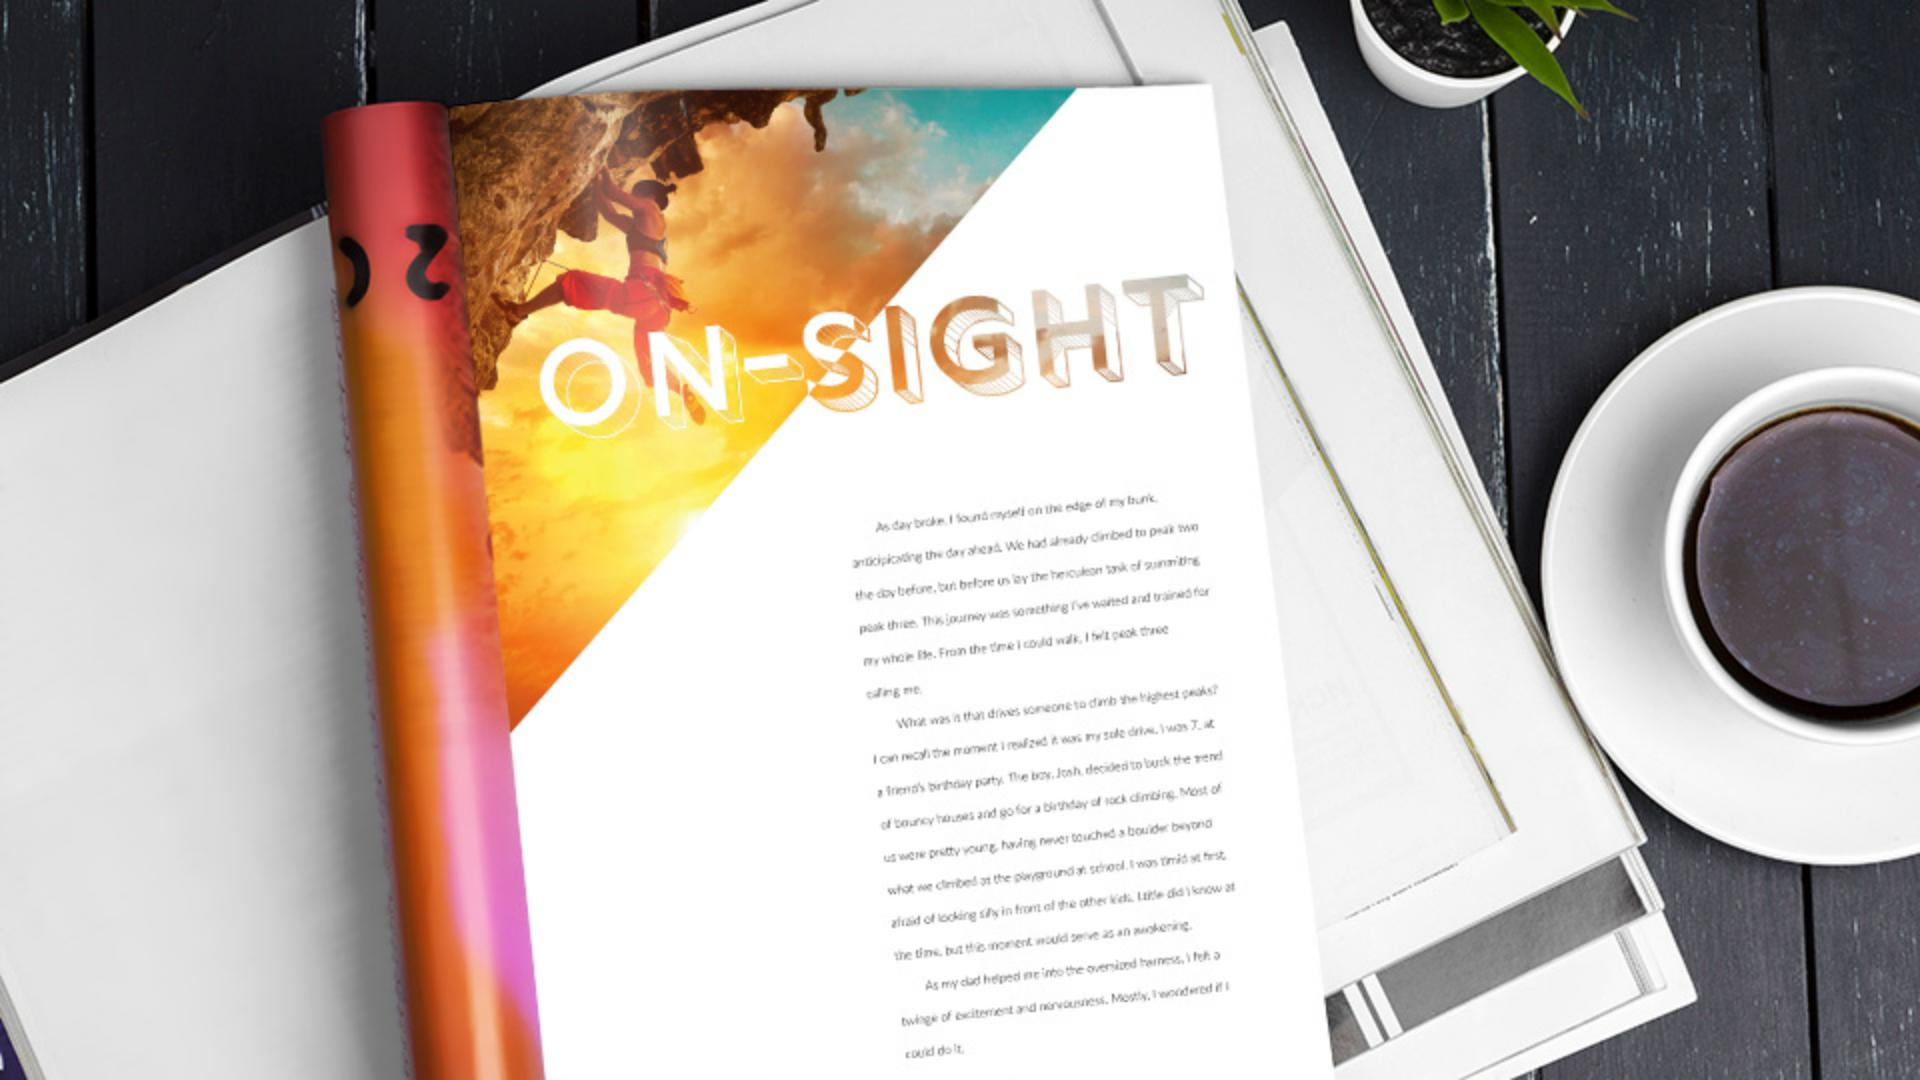
In this tutorial, you'll create some type magic in Adobe InDesign, to create a masthead like you see here.
This will be great for a running header in something like a magazine or a newsletter.
You'll add and format text, convert text to outlines or paths, and use pathfinder operations to combine shapes.
The final masthead can either contain color, like you see in these examples, or even an image, like you see in this example.
To start, you'll create a frame that could be almost any size or shape.
That frame will show most of the color or image you choose.
Creating and shaping a custom background frame
For this tutorial, you'll start with a rectangle and edit the shape.
So, select the Rectangle Frame Tool over here in the Toolbar.
In the design, pressing the Shift key, draw a square that starts up here in the corner of the guides, and goes out into the design, about this big, release the Mouse and then the key.
Later you can experiment and try different sizes and shapes.
But for now, we're going to make it a triangle.
You'll remove one of the points on the rectangle.
So, select the Direct Selection Tool which lets you select anchor points.
Click in a blank area to deselect first, this is important, so you can select an individual anchor point.
Then move the pointer over the corner point here, and when you see a little box next to the pointer, click to select it.
To remove the point, press Delete or Backspace, and you've got a triangle.
Now, so you can see the shape a little more easily, you'll fill it with a color.
So, in the Properties panel on the right, click the Fill color, and choose a lighter color so you can see the text layer.
Now you'll add some text.
Adding and formatting masthead text
So, select the Type Tool in the Toolbar, and draw a text frame about this big, in the frame in capital letters type, ON.SITE, then press the Escape key to select the text frame.
Now to format the text, you'll choose a thick font and make the text larger, too thin or a smaller font, and it's harder to see using the effect we're going for.
So, to change the Font, click on the Font Family menu over here, and either choose a font you have or, to apply an Adobe Font, click Find More up here, so you can see a list of Fonts, so you can activate (unv.).
Now we need to find the font Rig Solid, so start typing r i g to scroll in the font list.
Find Rig Solid Medium Lines.
There it is, I had to scroll a little bit.
Then to activate it so you can use it, click the Cloud icon here, and click OK.
When it's activated, you can choose the font to apply it.
Now to make a few more formatting tweaks, change the Font Size to 96 pt by selecting the Font Size and typing in 96 then press Return or Enter.
Now the letters need a little more spacing between them, to fill the space.
So, change the Tracking to a positive value here.
And if the text no longer fits in the frame, you can actually come to the corner of the text frame and double click to fit it around the text.
Now with the shape and text ready,
Converting text to outlines and preparing for merging
you make a copy so you can make changes later, that'll make more sense in a minute.
Select the Selection Tool and drag across the shape and text.
Now to drag a copy, press the Option key on Mac OS or Alt on Windows, and drag a copy over here.
Release the Mouse button and then the key.
Now you'll merge the text with this shape, but first you need to convert the text in a path, to make them editable.
To convert the text to path, click the text to select it, then choose Type, Create Outlines.
Now at this point, it's important to position the text where you want it, because you won't be able to reposition it after you combine it with the shape.
That's why you made a copy, so you can both edit the text later or the shape later and try this again.
To combine them,
Combining text and shapes with pathfinder
drag across the shape, and the text outlines.
Then choose, Object, Pathfinder, Exclude Overlap.
That option will remove the text pass that overlap this shape.
Now the shape and text outlines are now one object, that could either contain a color fill, and or an image.
You'll insert an image.
Filling the final shape with images or color
So, choose File, Place...
Navigate to an image you have, or the image from this tutorial, and click Open.
Now you'll fit the image to this shape a little bit better here.
So, in the Properties panel on the right, click the Fill frame proportionally button.
If you wanted to, you could double click on the picture, and drag it in the frame.
But I think it looks pretty good right now.
There are a lot of masthead combinations you can try using this method.
So, why don't you try this again, using the copy, text and shape, or, even explore further to make your own.
You can even add this masthead content to a Creative Cloud Library, you could reuse, in other projects.