In this video you will learn how to sharpen your photos in Lightroom CC.
You can follow along with any photo or you can download the asset file from the Adobe page for this tutorial.
Once you have downloaded and imported the file into Lightroom CC select it from the photo grid, then click on the Edit icon and open the Detail panel by clicking on it.
Here you will see the Sharpening slider.
Sharpening is set to 25 with RAW files.
But for non-RAW files like the JPEG that we are using for this tutorial, there is no sharpening applied because JPEG photos were theoretically already sharpened during the output and compression process.
To get an accurate representation of the Sharpening effect click on the 1:1 icon to zoom into the actual size.
Any other zoom level could be inaccurate or misleading.
When you're zoomed in you can click and drag to pan across the image.
For you to better understand how the Sharpening controls work you need to realize that Lightroom CC cannot bring back any lost detail.
Instead it creates the illusion of sharpness in detail by increasing the contrast of the edges in your image.
So, when you drag the Sharpening slider to the right you're adding edge contrasts which makes edges look sharper.
But keep your adjustment subtle.
You can easily add edged halos or even noise by pushing the Sharpening slider too far.
That is what this red overlay inside the slider is indicating.
Moving the slider into the red may result in those unwanted elements.
So, keep your adjustments subtle.
If you're having trouble seeing the Sharpening effect as you drag the slider hold the Alt key on Windows, Option on the Mac.
This will temporarily desaturate the image and the Sharpening effect should be easier to see.
If you want more control over the Sharpening effect, click on the left pointing arrow to the right of the Sharpening slider to reveal three additional controls.
To show you how these sliders work I'm going to move the Sharpening slider to the far right to over sharpen the image.
Then I'm going to drag the Radius slider to the far right as well.
Remember that the Sharpening slider is only creating the illusion of detail and sharpness by adding contrast to edges.
It makes one side of the edge darker and the other side brighter.
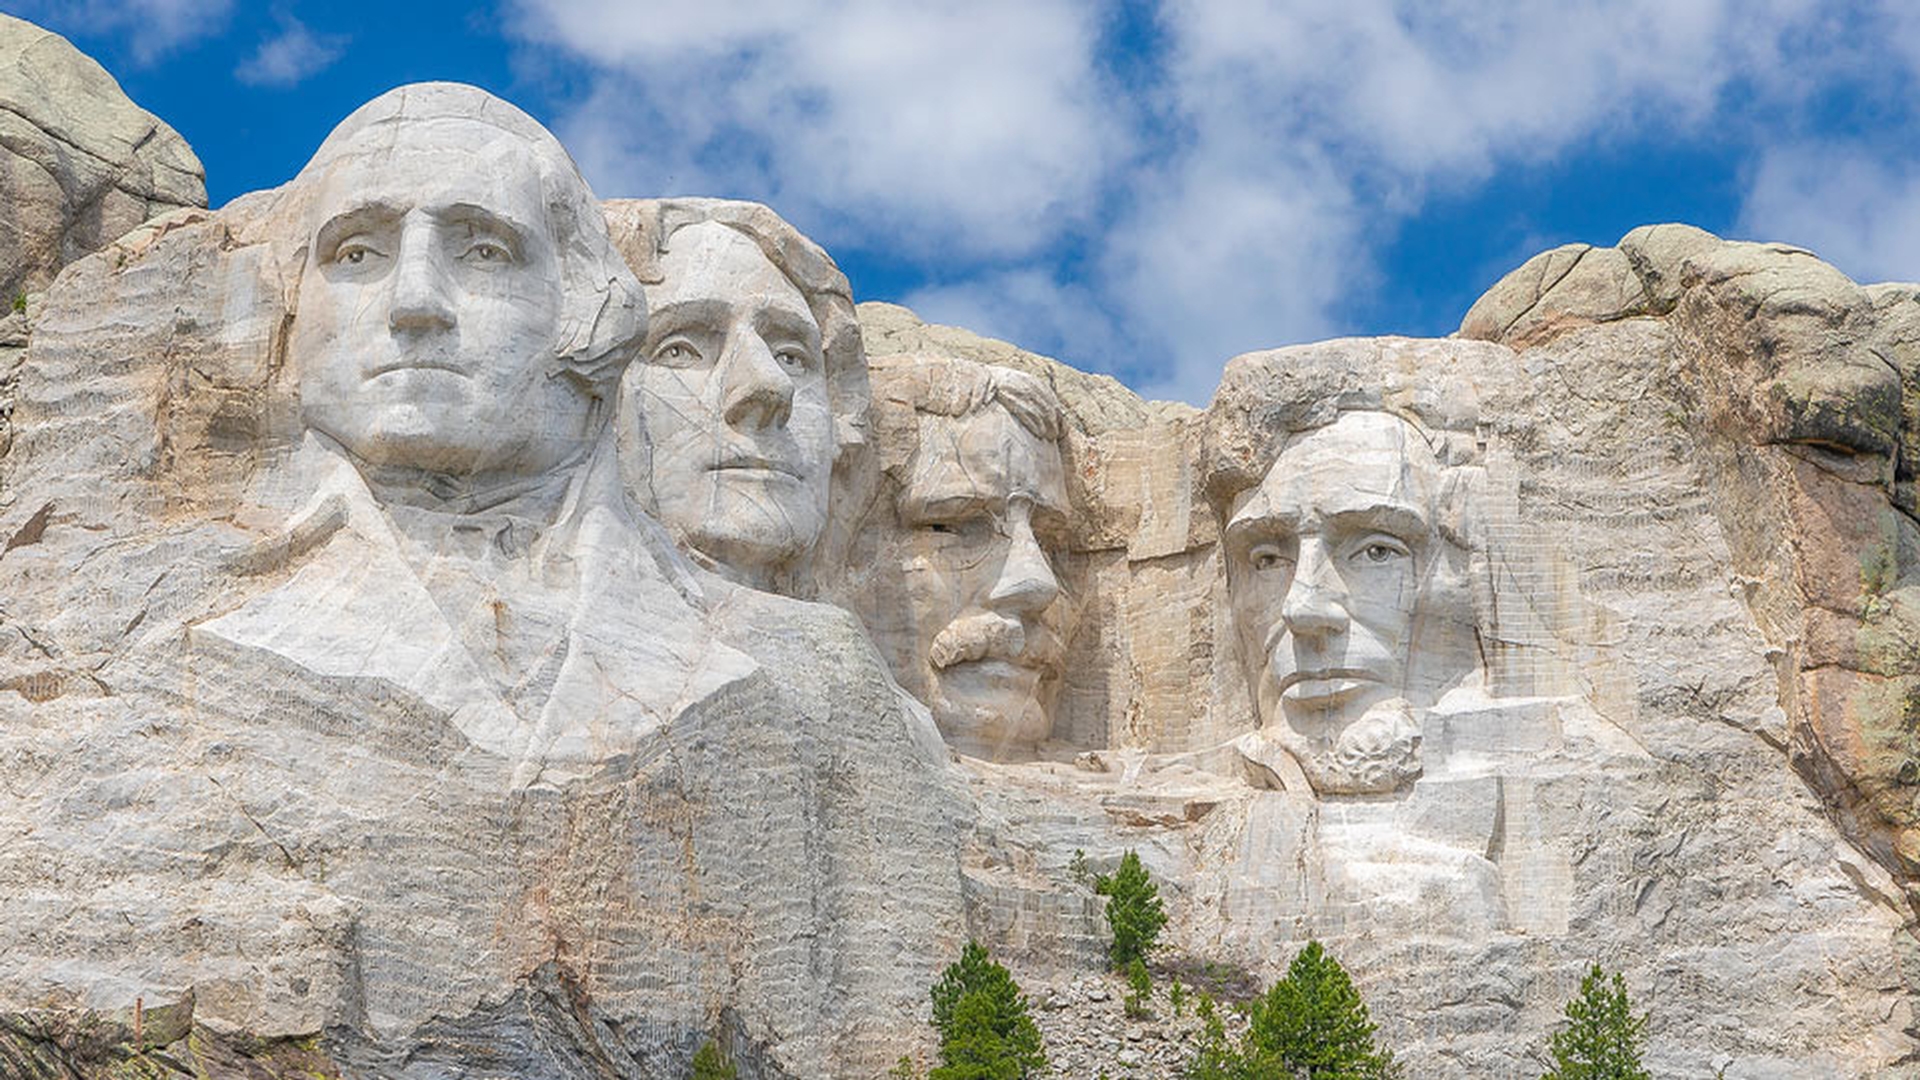
If you look closely you can see the dark and bright edges where the mountain meets the sky.
The Radius slider controls the thickness of the edge where the contrast is applied.
Lower values give you a thinner edge while larger values give you a thicker edge.
As you drag the slider you can hold Alt on Windows, Option on the Mac to get an overlay to better see the adjustment.
Keep the Radius slider at its maximum setting.
The Detail slider controls the amount of sharpening to the details in your image.
A low value sharpens only larger edges while a high value sharpens even the smallest details.
Look at how noisy the sky looks.
The Detail slider is now applying the Sharpening effect to all those small details in the sky.
The Masking slider controls where the effect is applied.
At 0 no masking is applied.
So Lightroom CC sharpens the entire image.
But if I drag the Masking slider to the right the Sharpening effect starts disappearing from the sky in other areas without strong edges.
To better see the mask that this slider is creating as you drag the slider hold the Alt key on Windows, Option on the Mac with the slider set to 0, you will see that the image is completely white which means that the Sharpening effect is applied to the entire image.
If I move the slider to the right, you will start to see that some areas become black.
Black hides the Sharpening effect while white reveals the Sharpening effect.
The further I'd drag to the right areas without strong edges become black and are masked out.
Now that you know what these sliders control let's work on applying a pleasing Sharpening effect to this image.
I'll reset all the sliders at the same time by holding Alt on Windows, Option on the Mac and then we'll click on reset detail. then I'll increase the Sharpening to 60, the Radius to 1.5 to make the contrast area a bit thicker.
Then I will increase the Detail slider to 45 to sharpen the detail in the rocks.
To make sure that this effect is not apply to the sky or other areas without edges I will set the Masking slider to 50.
Then I will click on the Show Original icon to compare the before and the after.
Now that you know how to sharpen images in Lightroom CC give it a try with your own photos.


