Adobe Premiere Pro CC is part of a collection of applications, of course, and one of those applications is Adobe Audition CC, an audio editing and multitrack mixing application.
In fact, Audition CC integrates into your workflow with Premiere Pro CC really, really easily.
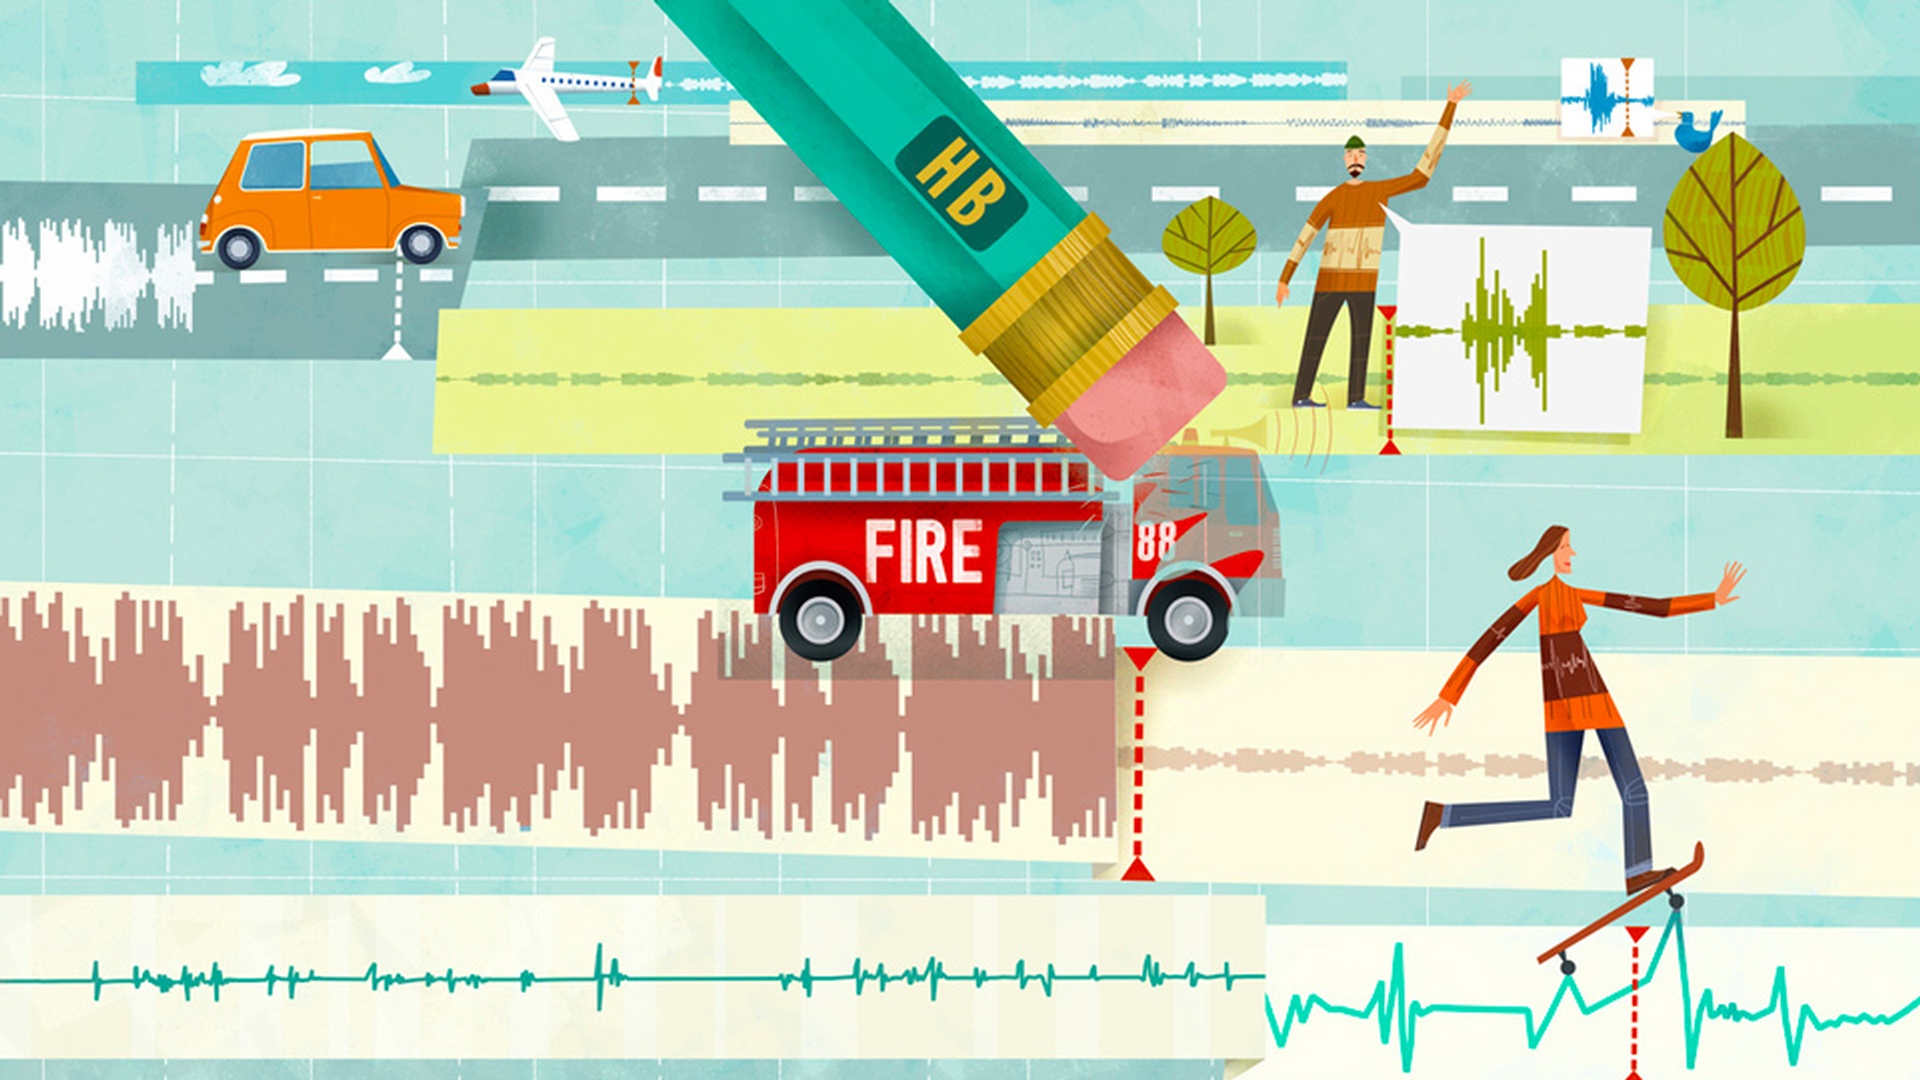
Here, I've got a very, very simple timeline and I've got a bit of problem audio.
If you just have a listen to this, you'll work out what I mean right away.
So, I've got a siren, I've got some background hiss, and I really just want to get that little bit of speech and I want it to be a little clearer.
Now, there's a lot I can do in Premiere Pro CC, but watch this as a workflow using Adobe Audition CC.
I'm going to right click on this clip on the timeline and I'm going to choose Edit Clip In Adobe Audition.
This is a little bit like the After Effects CC workflow you might be familiar with already.
And up comes Adobe Audition CC.
Now, before I get into the application itself, let me toggle back to Premiere Pro CC.
I just want to draw your attention to this little change here.
You'll notice that the audio on the timeline in Premiere Pro CC, has had this word Extracted, added to it, and in fact what's happened is the original audio has been duplicated and the duplicate has been given over to Adobe Audition CC.
So, we've got our original audio, there it is in the bin, "Danny_skateboard_siren.wav" and here is the copy.
The reason this has to happen is that Premiere Pro CC is a non-destructive editing system.
Nothing you do is going to modify an original file on your hard drive.
Well, there's perhaps one exception, you do have the option of deleting a file.
The workflow for audio post-production is a little bit different when you're working in Audition CC.
You will make changes to the file that you're working on.
And this creates a bit of a problem because one application changes the file and another one doesn't.
So, by replacing the file on the timeline with that extracted copy, it's perfectly safe for us to work on it now, here in Audition CC.
In fact, the changes we make here will update on the timeline inside of Premiere Pro CC as soon as we save them because remember, Premiere Pro CC conforms at the point of playback.
It'll just take the file in whatever state it is at the moment that it's played back.
So, here we are in Audition CC and I want to introduce you to this interface.
This is the Spectral Frequency Display.
And you can turn it off and on using this button at the top of the interface.
You can also turn on this Spectral Pitch display.
Let's leave that for another lesson.
Now with a normal waveform, if I just resize this a little bit, a normal waveform displays amplitude in the vertical axis of this graph.
So, this is just the same as the waveforms in Premiere Pro CC, time moves left to right, and the taller the waveform, the louder it is.
If I just resize this a little bit, you can see the spectral display is completely different.
First of all, time still goes left to right, but now, the vertical axis indicates frequency rather than volume.
The amplitude, the volume, is represented by the brightness of these dots.
So, you can see very, very clearly where the siren is in this piece of audio.
If I just click in here and press the Spacebar to play this back, you'll hear exactly what I mean.
So, what can we do about it?
This is truly amazing.
I'm going to just get the brush here, the Paintbrush Selection tool, and I'm going to draw over this siren.
There we go.
OK, now, having done that, I'm going to go to Effects, I'm going to choose Noise Reduction / Restoration, and I'm going to choose Learn Sound Model.
I get a little confirmation message, I'll click OK.
Now, I'm going to deselect by clicking away and I'm going to go back to my Effects, Noise Reduction / Restoration Sound Remover (process), and I'm just going to leave this on the default settings.
You can look at this in more detail, of course, there are tutorials on how to do that, but I'm just going to click Apply and wait a moment, and now you can see immediately what the result is.
This is really extraordinary.
You can see that siren has disappeared, not just where I selected it, but throughout this piece of audio.
In fact, not only has it been removed at the frequencies I chose, the harmonic frequencies have been removed as well.
I'm just going to undo, Command or Control Z there, so you can see the original.
And now if I press Shift Command or Shift Control Z, I can bring back that new state, and if you have a listen now it's quite incredible.
And we still have a bit of a problem because there's a lot of background noise.
The darker sections of this, of course are quieter, and there aren't that many of them.
If I click over a little bit and press Play...
Well, we've got that bit of speech but it's far from perfect.
So, I'm going to choose my Time Selection tool now and I'm going to choose a part of this audio that should be silent but isn't.
I'm going to go to my Effects, Noise Reduction / Restoration and this time I'm going to Capture Noise Print.
Again, I'm going to click OK on the confirmation dialog, deselect, go back to Effects, Noise Reduction / Restoration, and once again, we've got quite a lot of options here but I'm just going to leave this on the default settings, click Apply and look at this.
This background noise has been cleaned up and now we can hear that dialogue a little more clearly.
Now, I'll grant you, it's not super exciting audio, but I'm going to press Command or Control S to save this now, and if I toggle back to Premiere Pro CC, we can have a listen and immediately, the results are audible.
And we come through to the dialogue.
So, the workflow is very, very simple.
Right click, Edit Clip In Adobe Audition, and then work with Adobe Audition CC to improve your sound.
You also have the option to do this using the Edit menu.
And you'll notice that, as well as sending the individual clip I have selected to Audition CC, I've also got the option to send the whole Sequence.
But I'll save that workflow for another lesson.


