Mixing audio for video can be a very complicated task.
And if you're new to audio workflows it's very easy to feel overwhelmed by the powerful tools in our Adobe applications.
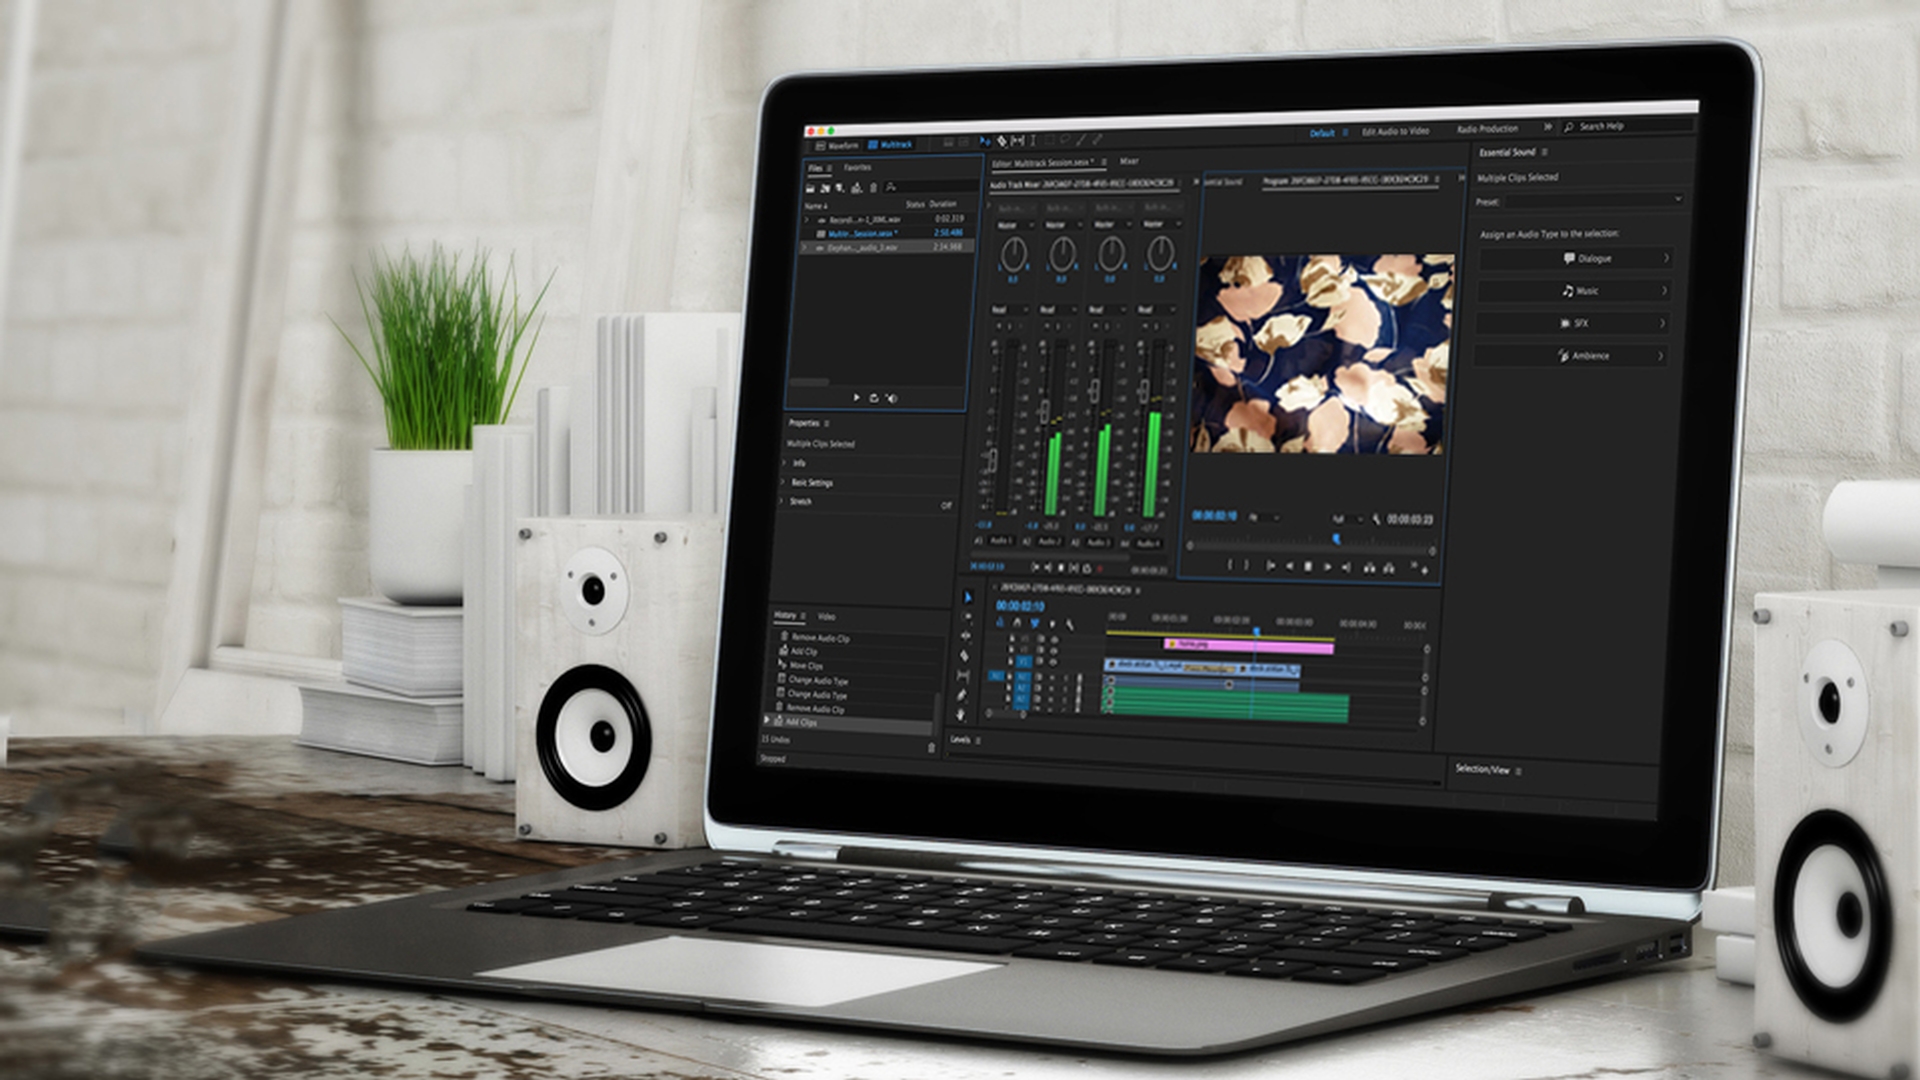
Well, this is specifically why we developed the Essential Sound Panel.
Now available in Audition CC and Premiere Pro CC with a fresh UI, that makes it easy to identify and perform key tasks for optimizing your audio.
Four audio types
And the way that we've made it easy is simply by dividing the audio that you have in your video projects into four specific commonly encountered types: Dialogue, Music, SFX and Ambience.
So, in this sequence we have a bar scene, where we have all four of those elements.
Let's take a quick listen to this unmixed.
Everything's been untreated at this point just to kind of give you an idea of what it sounds like.
And I'm just going to shuttle ahead around 11 seconds to begin.
Let's take a listen.
So, as you can see, again, the levels are obviously not balanced
Work with dialogue
and the dialog itself seems to vary at moments.
The first guy, he's a bit louder, and then he goes a bit quiet.
She is sort of quiet at the beginning, and then gets a bit louder.
So, the first thing we want to do is assign those specific dialog clips as the audio type: dialogue.
So, I'm going to expand track 1 here, which contains all of the bartender's dialog.
Let's go ahead and select all the clips in this track, if we want to.
And when I do that you'll see that all the various audio types become illuminated inside the Essential Sound Panel.
So, I'm going to go ahead and click on Dialogue.
And when I do that, now what it does, is it reveals the whole series of effects and filters that you would commonly use to treat and process dialog when mixing dialog for video.
Now right at the top of the panel here you'll see a whole series of presets.
And this is kind of a good way to just sort of hear and understand what each of those modules do.
But I'm going to show you now how to do this manually, and you're going to find that it's very easy and very intuitive and simple to make your audio sound better - very, very quickly.
Now, the first thing you'll typically want to do
Auto-match loudness
particularly with dialogue is take advantage of the Loudness Auto-Matching.
And this is ideal to give you kind of the same starting point for all of the various dialog in your video project.
So, let's go ahead and click Auto-Match on this.
And truly in a matter of seconds it's done.
Let's go ahead and do the same thing for that other gentleman - guy number 2 in the scene.
All of his audio is contained here on track 3.
We're going to select all of these, assign this the Dialogue type, click on Auto-Match, and it's done.
Now, let's wind back to that same 11 second point.
And you're simply going to hear now that both - the bartender and guy number 2 - their dialog is about the same loudness and it's much more balanced just by doing a simple Auto-Match.
Let's take a quick listen.
So again, very quickly: Auto-Match makes everything your dialog - and you'll find this also for SFX and Ambience and Music - the same apparent loudness in a single click.
Brilliant.
So, now let's kind of focus on the bartender for a moment here.
I'm going to once again select all of her clips.
And I'm going to solo this, because I'm selecting all of them, because I want to treat them all the same.
Now you can do this clip to clip or you can do it across multiple clips or a few clips here and a few clips there.
You can choose how many you want to affect at the same time.
It's very simple
Reduce rumble, noise, and hum
and very intuitive.
And I notice that on a lot of her clips there seems to be a lot of rumble and maybe some hum.
And you'll hear exactly what I'm talking about.
Let's first turn on Reduce Rumble.
And once again you have a single slider here to control the amount of rumble.
And at the same time, I'm also going to turn on the DeHum.
Now, I'm going to turn this down a little bit to around let's say - let's go to around 2.5 - and maybe increase the rumble reduction just a little bit more.
Now, we could also Reduce Noise.
I think some of that noise and room tone that's going to work with sort of the ambient sound of the bar.
I'm not too concerned with removing that.
But we could if we wanted to.
Let's go ahead and play this back.
And now take a listen.
So, here's before - without these two modules enabled.
And here it is with them re-enabled.
And similarly, if we wanted to add additional noise reduction to this we could do it here as well, and again increase the amount of reduction simply by adjusting the slider.
Now you might think, well, a single slider isn't enough control.
Actually, what it's doing here is that it's actually applying these effects non-destructively at the clip level.
So, if I were to click away and click on a single clip and go up to my Effects Controls now you'll see the Adaptive Noise Reduction, the FFT Filter, which represents reduce rumble, and the DeHummer are all accessible.
All of the parameters are fully accessible directly right in front of you.
And if we move the slider now just while we're stopped you can actually see that it's moving multiple parameters simultaneously.
There's some real Adobe magic going on here.
One other element that you'll find here is the DeEss-er for removing harsh sibilance and those harsh ess like sounds that sometimes can really be very sharp and just really kind of ruin the whole piece of dialog.
The DeEsser can take care of that.
Improve clarity
Now, in terms of clarity bringing up the clarity of the dialog - guy number 2 here needs a little bit of love.
So, once again I'm going to select all of his clips.
And let's wind him back.
And we just kind of want to bring up some of the apparent clarity by using a compressor or also known as a Dynamics processor on this clip.
Let's take a listen.
So, we're going to wind this back.
I thought I also hear a little bit of hum on there, too.
So, let's turn on the DeHummer.
I think we can go a little less aggressive.
Maybe even a little bit of de-rumble on him as well.
Leave it at 5.0.
And then let's go ahead and turn on Clarity Dynamics and increase this to again add a little bit more compression and really focus his voice.
So again, on his voice now we've applied a Dynamics processor.
And just as I mentioned before: If we select the single clip now you'll actually see that it's added the Dynamics processor here.
And once again as you move the slider you might just be thinking: Oh, it's just more compression, less compression.
But no.
It's actually reconfiguring the ratio that's reconfiguring various settings inside the compressor intelligently all the while keeping it clean and upfront without any sort of unwanted compression artifacts.
So, this is a wonderful addition to have inside Essential Sound and something that is truly essential to the mixing workflow.
Now you also have EQ settings here.
And again, lots of different presets to get started.
And if you were to choose EQ you'll see over here in the Effects Controls that adds the Graphic Equalizer (10 Bands), where again, we have more presets for you to choose from.
And you have more control if you want to sort of get into that manual state.
You always have the single slider which does it for you very, very quickly and can probably get you most of the way there.
So that's a quick look at sort of working with dialogue.
Now, we've also got that ambience sound in here.
Work with ambience
So, let's go ahead and select the bar ambience, which is over here on track 5 - going to select all of these.
Let's go up to Ambience and select that.
And once again you'll have your Auto-Match setting here.
And this is great for any kinds of sound effects or ambience or foley that you use, because undoubtedly there are always at different loudness levels.
And a single click of Auto-Match can match them all to the same apparent loudness.
You also have Reverb here.
Now, what this is going to allow you to do is actually recreate an environment.
Now we don't want to be outside here, but maybe we want this to be in sort of a larger room.
And this looks like a big bar.
And this particular sound effect it was kind of dry.
So, let's start with it fully dry.
And then I'm going to play back and adjust the room ambience.
And you'll see how it starts to just get a little bit bigger, a little bit wider.
Let's go ahead and solo this and take a listen.
You can just hear it's a little bit more echoey, a little bit more ambient.
And it kind of feels a bit more like what that bar probably sounds like also from the perspective of where the cameras are on our characters.
Now, the last thing in here is Stereo Width.
And this does just that.
It just enhances the stereo effect making that left and right a bit more extreme.
Now you want to be careful with this.
But this can really widen up a track and kind of bring it a bit more to life.
Let's take a listen again.
And if you were listening there in headphones you can really hear that when it was off it almost sounded mono.
It wasn't.
It was in stereo, but when I turned it on - now this is a rather extreme setting - it was just very wide and very sort of vibrant and alive.
So again, Stereo Width control accessible when you choose the Ambience Audio Type on your audio when you're mixing here.
Really cool, really easy to work with.
And the last element I'm going to show you is when dealing with music.
And again, once again we can choose our various music tracks here.
Let's go ahead and select Music.
You have the Auto-Match absolutely essential, because once again most of your audio, your music especially, will be at different average loudness levels.
And then you have the ability to adjust the actual target duration or length of the audio itself.
Now this is a process that requires a quick render.
But this will actually allow you the classic concept of fit to fill.
So, you can see right now that the audio is 1 minute 37 seconds and 19 frames.
What if we needed this to be 00:01:29:23?
Well, we can type in that timecode.
And it automatically readjusts the audio by using a stretching algorithm to make it fit that exact duration.
Now, if you wanted to actually dynamically recompose that music this is where you might use Audition CCs remix feature.
And I'll show you how to send the entire project over to Audition CC in just a moment.
But very quickly let's take a listen to what we've done just by setting a couple of different parameters in Essential Sound.
I'm going to go into my Audio Track Mixer here.
And I'll probably just make a couple of quick volume adjustments across the entire track, to maybe adjust some of the ambience.
But take a quick listen.
You're going to see right now how much better and how much more balanced this audio already sounds in just a couple of minutes.
That scene always makes me laugh.
But you can see already it just sounds so much better.
And all I was doing right there was just adjusting some of the overall volume of the ambience.
Real simple, real easy and essential to your audio for video workflow.
That is the Essential Sound Panel; the ability to identify different audio types Dialogue, Music, SFX and Ambience.
By doing so we reveal a series of presets as well as different effects and filters that will allow you to easily control and manipulate the sound.
Again, with effects and filters specific to those mix types you can do all of your work here non-destructively, you always have access to the individual effects by going into the Effects Controls and selecting whatever clip it is that you've applied effects to, to make changes.
And then from the Edit menu,
Send to Audition
if you wanted to complete and finish everything in Adobe Audition CC, you can simply go Edit, Edit in Adobe Audition, Sequence...
And this will non-destructively send the entire sequence over to Audition CC to allow you to continue finishing there and actually export directly through Media Encoder CC.
The Essential Sound Panel in Audition CC in Premiere Pro CC is something everyone who's new to audio should check out.
It is truly an essential part of your audio for video workflow.


