Introduction
[Dave Ko]: Hey, my name is Dave Ko, and I am a motion designer.
I've been using Adobe Premiere for a few decades now, and one of the biggest workflow upgrades lately, the AI-powered Object Masking tool.
With this thing, you don't have to spend hours and hours rotoscoping; you can get a nice clean mask with a few clicks all entirely inside of Premiere.
So today, I'm going to show you how to remove a background and then replace it with another one.
Open the project called Remove_and_Replace_Background.
Select and mask your subject
You'll see two clips.
First, drag the Firefly_created_AlienWorld clip into your Timeline.
This will be our background video.
Next, take the Astronaut_video.mov clip we got from Adobe Stock and place it on the track above the alien clip.
Right now, the astronaut is standing in front of the wrong background.
We want to change the astronaut's background into the alien world.
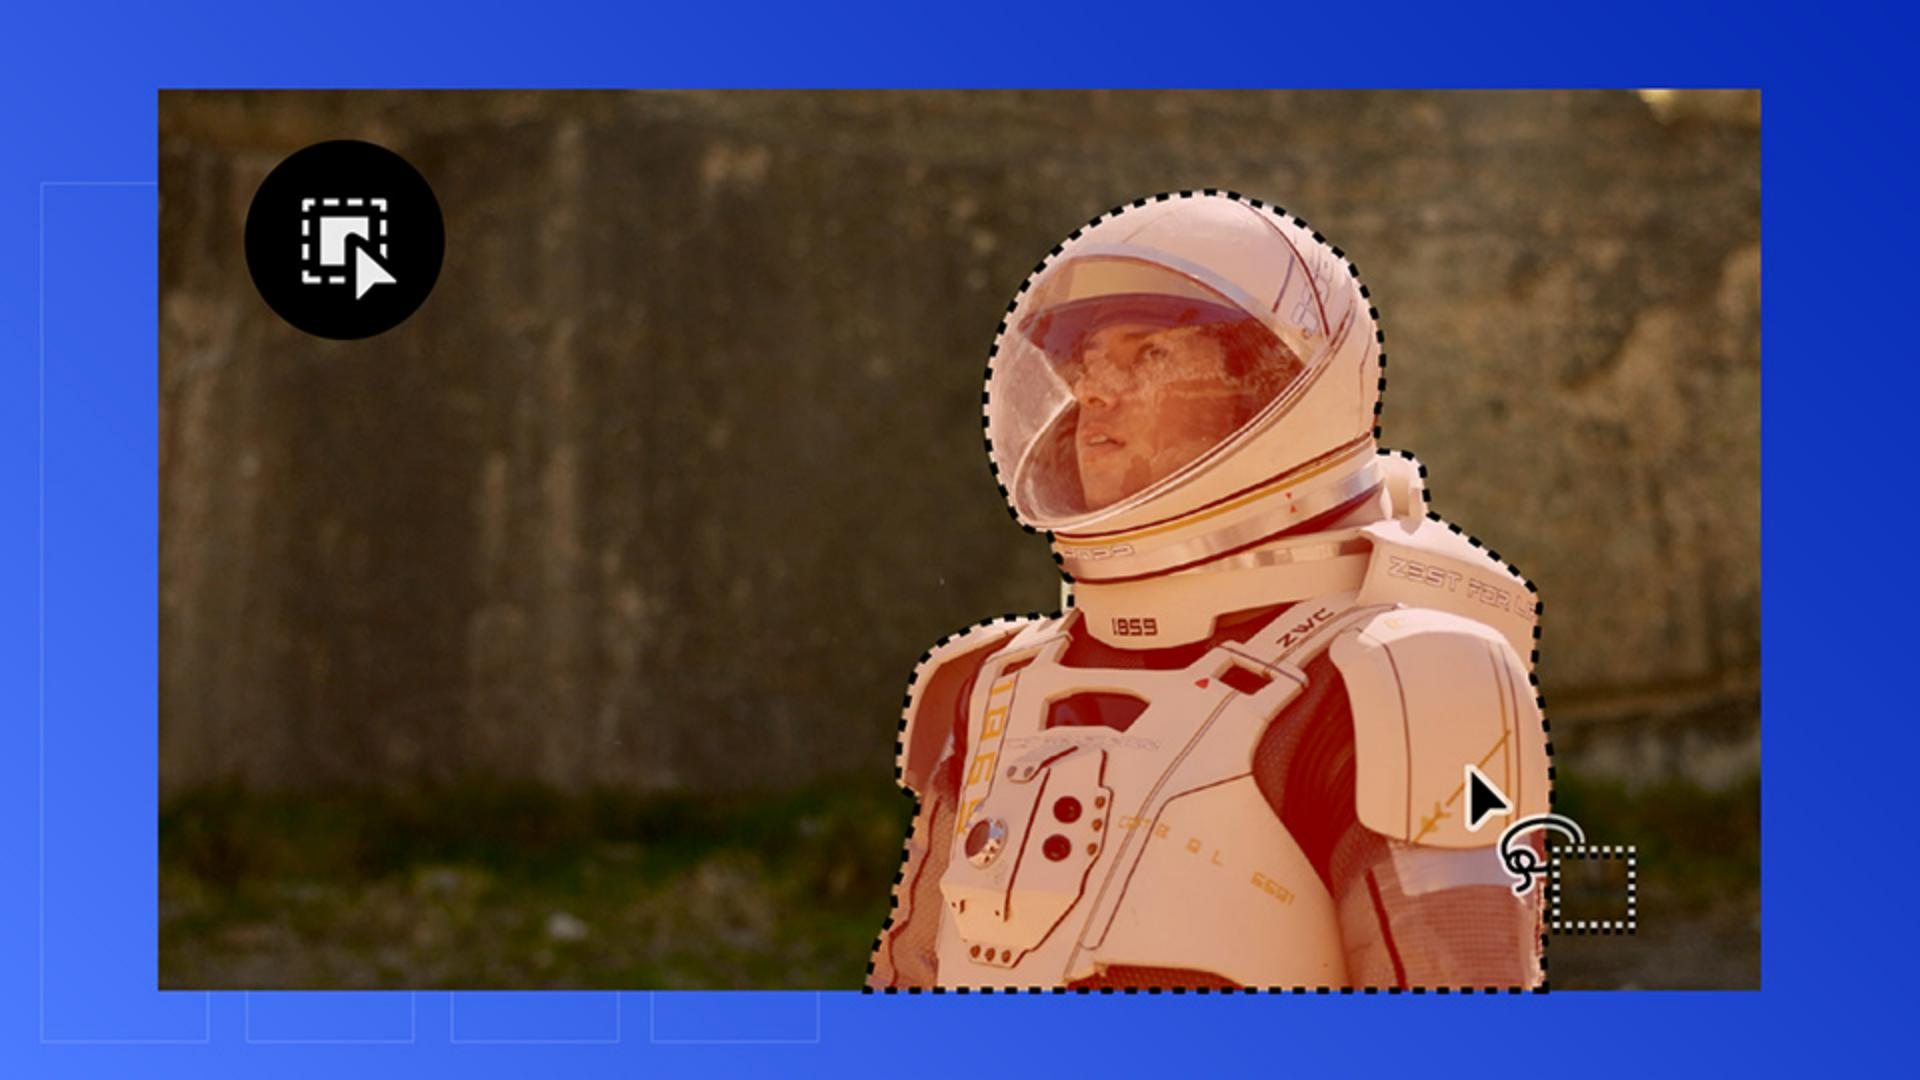
So, let's isolate him by using the Object Mask tool.
Go to the Toolbar and select the Object Masking tool.
Hover over the astronaut, and you'll see a red overlay.
That's Premiere detecting your subject.
Before clicking, scrub through the clip to see if there are objects or things that might interfere with the main object we want to mask.
It looks pretty clean with no major changes to the shape, so let's move forward.
We'll click on the astronaut to create the object mask.
If there's any part of the astronaut that is not masked, you can include those sections by drawing around those areas to include them as part of the mask.
Now let's track it.
Track and refine your mask
We'll go to the Effect Controls.
But before we do that, let's make sure that we select the astronaut clip so we're seeing the right information.
And then under Unassigned Masks, you'll see Object Mask, and then under that are the Tracker buttons.
You can track frame by frame, or forward, or just backwards.
We're going to use the middle button here, which is both forward and backwards.
Here Premiere is working its magic using the AI-powered object masking to track this mask amazingly.
So, there's no more rotoscoping, and it's all done here inside of Premiere.
And as I scrub through, there are a few spots where the mask kind of breaks up a bit.
So, what we will do is just circle around them with our mouse and include them as part of the mask.
And again, we'll just go frame by frame and create a circle - draw a circle - around these holes in the mask.
Just keep looking for these little bits.
And I'll just fast-forward through this part so that we save some time here.
And that's looking a lot better.
You won't see the cutout yet.
And that's because the mask needs to be applied to opacity.
So, let's get into our Effect Controls panel,
Blend your subject into a new environment
and we'll drag the Object Mask layer down onto the Opacity property.
And just like that, the background disappears revealing the alien world underneath.
And as you scrub through, you might notice the slight dark edge around the astronaut.
And to refine this, we're going to use the Expansion to around -3.0 to choke the mask inward.
Then add a bit of feathering to soften the edges and blend everything naturally.
And with not much effort, the AI-powered object masking let us replace our original background with the Firefly-generated alien world.
We were able to do this all within Premiere, leveraging AI to handle the heavy lifting so we can focus on the creative.
Try this out on your next project and transport your subject into a whole new world.
And I'll catch you on the next tutorial.