Introduction
Hello everyone and welcome to part 5 of the getting started series on Adobe Premiere Rush CC.
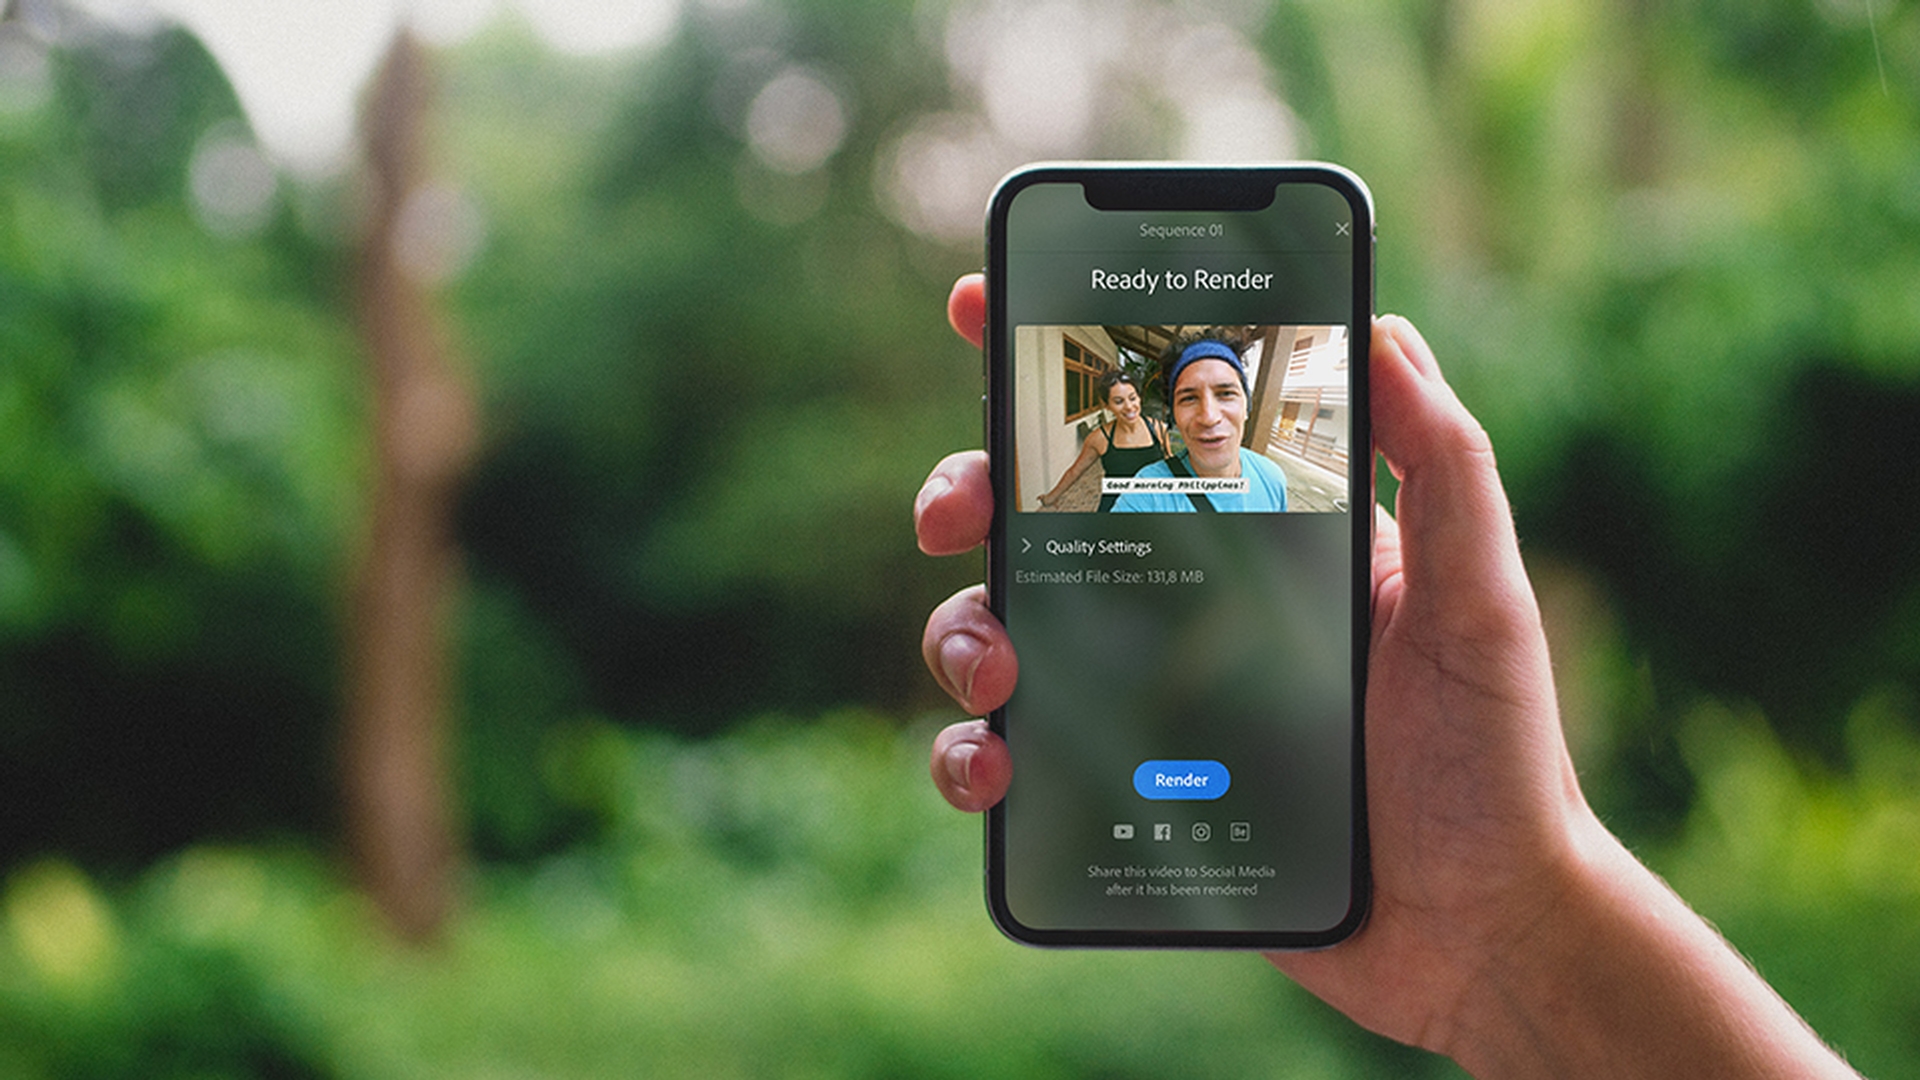
In this video you will learn how to save your video to your devices
Understanding export and social sharing options
and share directly to your social media channels.
In this first release of Rush CC your social media destinations include YouTube, Facebook, Instagram and Behance.
And more destinations will be added over time.
By including these destinations here in Rush CC, you can upload directly to your social media channels and eliminate that extra step of having to go to each social platform individually and uploading there.
Publishing directly to YouTube and social channels
So, to add to YouTube just turn on that destination, so it turns blue.
Then here you can log in to your YouTube account and specify which playlist you want to add the video to.
And here you can also enter in your own unique video title as well as a description.
You can also add in your own unique tags to boost your videos discoverability.
Then from there you can set a custom thumbnail from a current video frame
Customizing video details and thumbnails
in your video or you can upload your own custom design that you created in Adobe Photoshop CC or Adobe Spark Post.
And if you need it you can even schedule your video to upload on a specific date or time.
Adjusting export presets and advanced settings
Rush CC will automatically choose a default preset that's optimized to make your video look great on whatever social media platform you're publishing to.
But you can also open up the Advanced Settings and choose other export presets that you prefer.
And then you can hit export to share your video to the world.
Exporting and uploading your video
But don't worry you will have one more chance to preview your final video and then you can relax, kick back and have a cup of tea and Rush CC will export and handle the upload for you.


