[Ashley Kennedy]: Let's explore the world of transition effects in Premiere Pro.
You'll often add transitions if you need to smooth out the flow from one clip to another or if you'd like to add a creative look between clips.
Apply and adjust default transitions
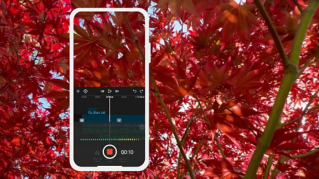
Here I have some clips that contain both video and audio.
If I select an edit point and I press Shift+D, a cross dissolve gets added to my video and a crossfade gets added to my audio. [clip with wave sound playing] It's pretty basic: we're gradually transitioning from one image to another and from one sound to another.
If I select an edit point and press Cmd+D or Ctrl+D on Windows, it adds just a video cross dissolve.
Or, if I press Cmd+Shift+D or Ctrl+Shift+D on Windows, I just add an audio crossfade.
To delete a transition, you just select it, or you can Shift-select multiple transitions and press Delete.
Let's take a closer look at this.
I'm going to zoom in by pressing + a few times, and I'll add a transition to this cut point: Shift D.
By default, you get a 30-frame cross dissolve and a one-second crossfade.
So, in a 30-frames-per-second project, it's the same duration.
To shorten my dissolve, I just select the edge of the transition and drag in.
And to lengthen, I drag out.
I can also adjust its position to the left or the right, like so.
Each of these manipulations determines what I see during the transition.
I'll play over this longer transition now. [clip with wave sound playing] I'm able to easily make these adjustments because I have plenty of clip handle.
Identify clips without enough frames
Let me explain.
I'll select this clip and load it into the Source Monitor by pressing F to perform a match frame.
Now, what do we have here?
This marked portion here represents this clip in the Timeline.
When I add a cross dissolve, it's going to access frames after my outpoint.
If I look at this clip and press F to do a match frame, when I add a cross dissolve, it's going to access frames before my endpoint.
But what if I don't have clip handle?
I'm going to come down to these shots here, and I want to draw your attention to these white triangles.
This is telling me that I don't have any extra handle.
I'll perform a match frame here.
I'll press F.
You can see that there aren't any frames after my outpoint, and the same thing with this shot.
So when I add a transition, I'll press Shift D, and Premiere warns me that there's insufficient media and will need to force the transition by repeating frames.
So I'll say OK.
And the result isn't great.
Since my second whale fin shot is in motion but has no handle, Premiere adds freeze frames, and it looks unnatural.
So, bottom line: be aware of your available handle when using transitions.
Let's now learn how to apply other types of transitions, because there are many more for you to explore.
In my Effects panel,
Add Film Impacts transitions for a modern look
under Video Transitions, you'll see lots of categories.
I'm just going to go into Film Impact Essentials and apply a Linear Wipe.
It's as simple as just dragging and dropping on an edit point.
By default, I get a 30-frame transition, [clip with wave sound playing] and I can manipulate it in all the same ways by changing my duration and my position.
But for many of these, you have additional parameters you can edit.
I'm just going to select it and go up to my Effect Controls panel.
Here you can see that there are all sorts of things that you can change about this Linear Wipe.
For this particular one, I have this Surprise Me!
button up here, which is going to randomly change all of these parameters.
So I'll click that a few times. [clip with wave sound playing] I'm not really a fan of that, so let's bring that back to the default values.
I'll reset it.
There are many dozens of transition effects in here.
I encourage you to explore those on your own.
There's one last technique I want to show you, and that's Generative Extend, which lets you use AI
Use Generative Extend to add more frames
to extend the beginning or end of a video clip by up to two seconds.
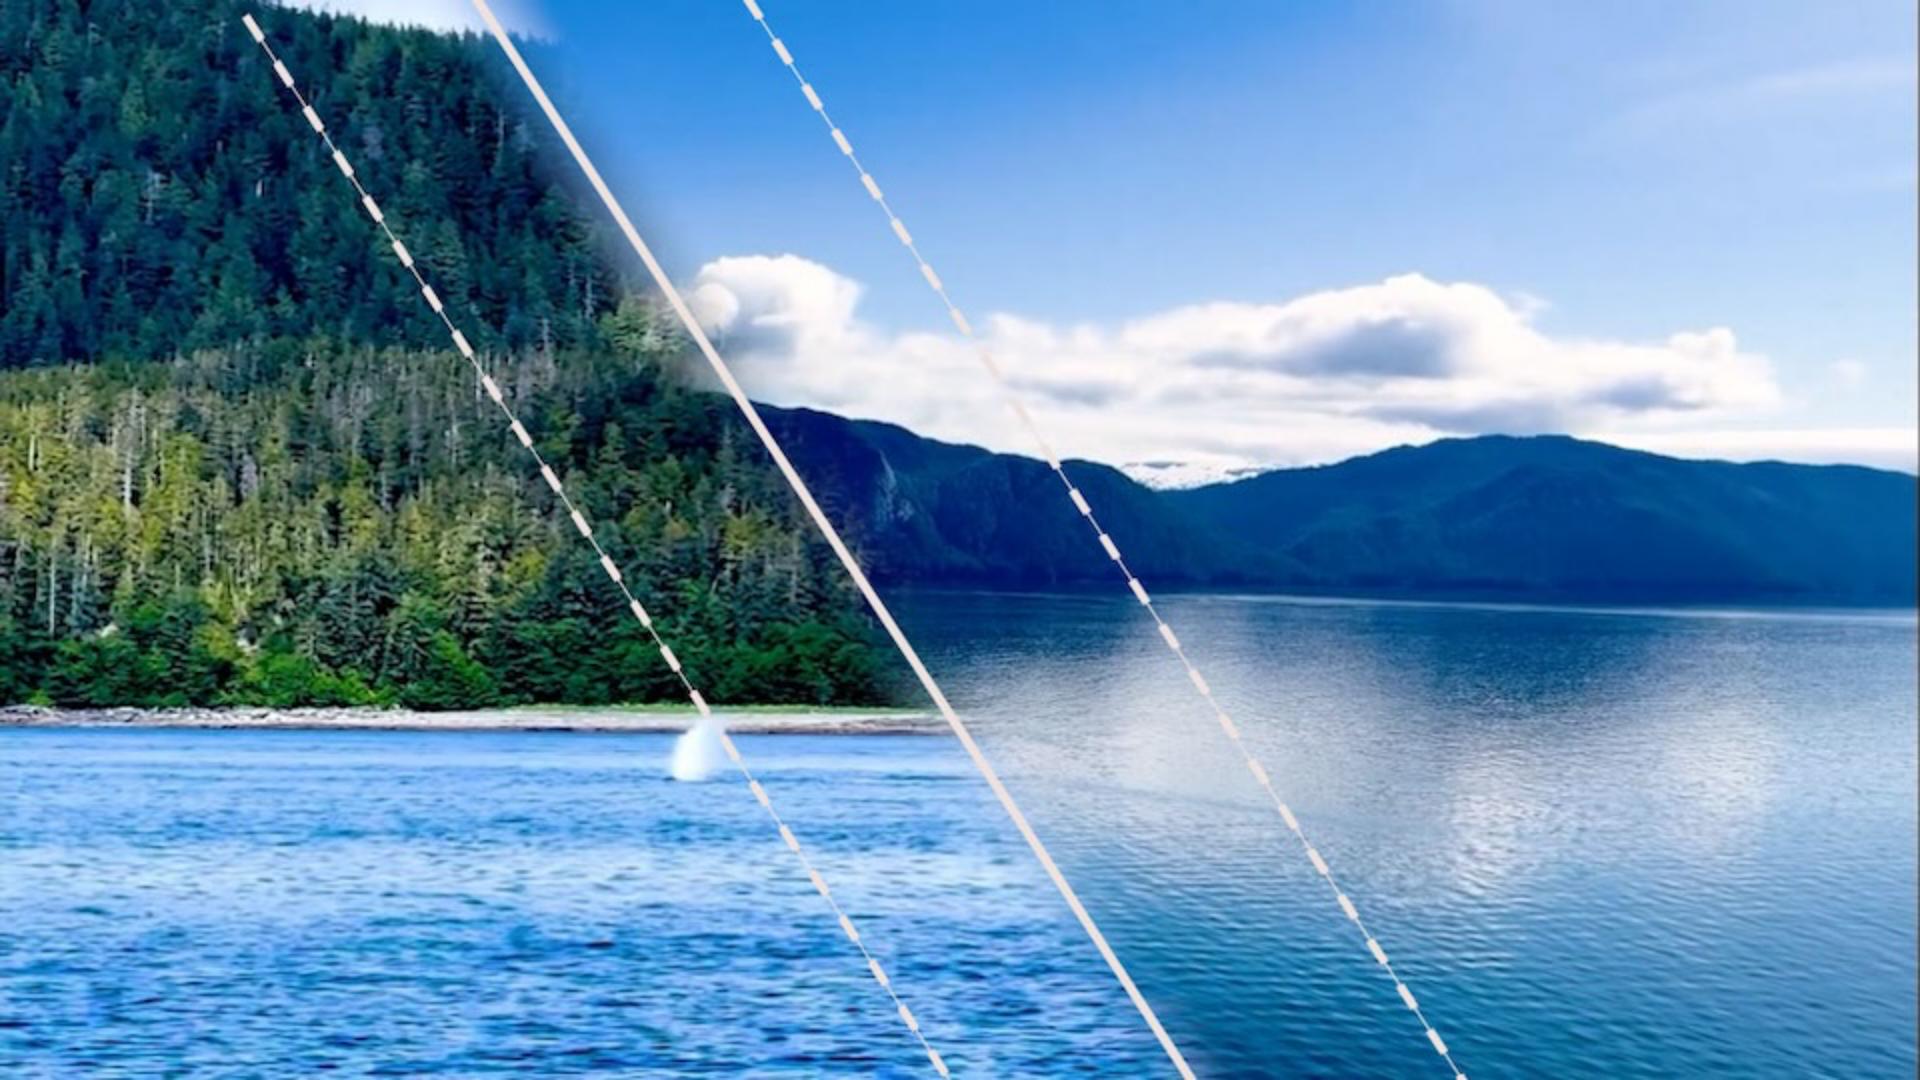
Here's another sequence cut to music with some creative transitions.
I use the Ocean music track for mine.
Feel free to find your own music n the Essential Sound panel.
Right now, I have all of my shots cut to the beat of the music.
However, this first shot doesn't quite meet up to the adjacent shot.
I'll show you. [clip with music playing] I can't trim this out because you see my white triangle - I have no additional frames - but I can use my Generative Extend Tool right here to generate new frames.
So I'll click and drag and wait for Premiere to create new media using Generative AI.
Now I have my newly generated frames, and we just need our transition.
A quick way to add one you're already working with is to copy and paste.
So, Cmd or Ctrl C here, and then Cmd or Ctrl V to paste. [clip with music playing] Perfect.
We've added more frames, which allows us to add the effect, and we're in good shape.
Those are some useful ways to work with transitions.
I encourage you to explore, there are so many creative options.