Introduction
[Dave Ko]: They say that sound is more than half the experience when watching a film.
It's the vehicle through which our emotions get most easily reached.
Hi, my name is Dave Ko, and I've been making commercials for television and digital platforms for over 25 years.
Today I'm going to show you how to add music to your video, record a voiceover, and apply effects to make your videos hit differently.
With Premiere on mobile, you can do this seamlessly with minimal effort.
Add music that sets the mood
Start by tapping on the New from photo library button to import your video clip.
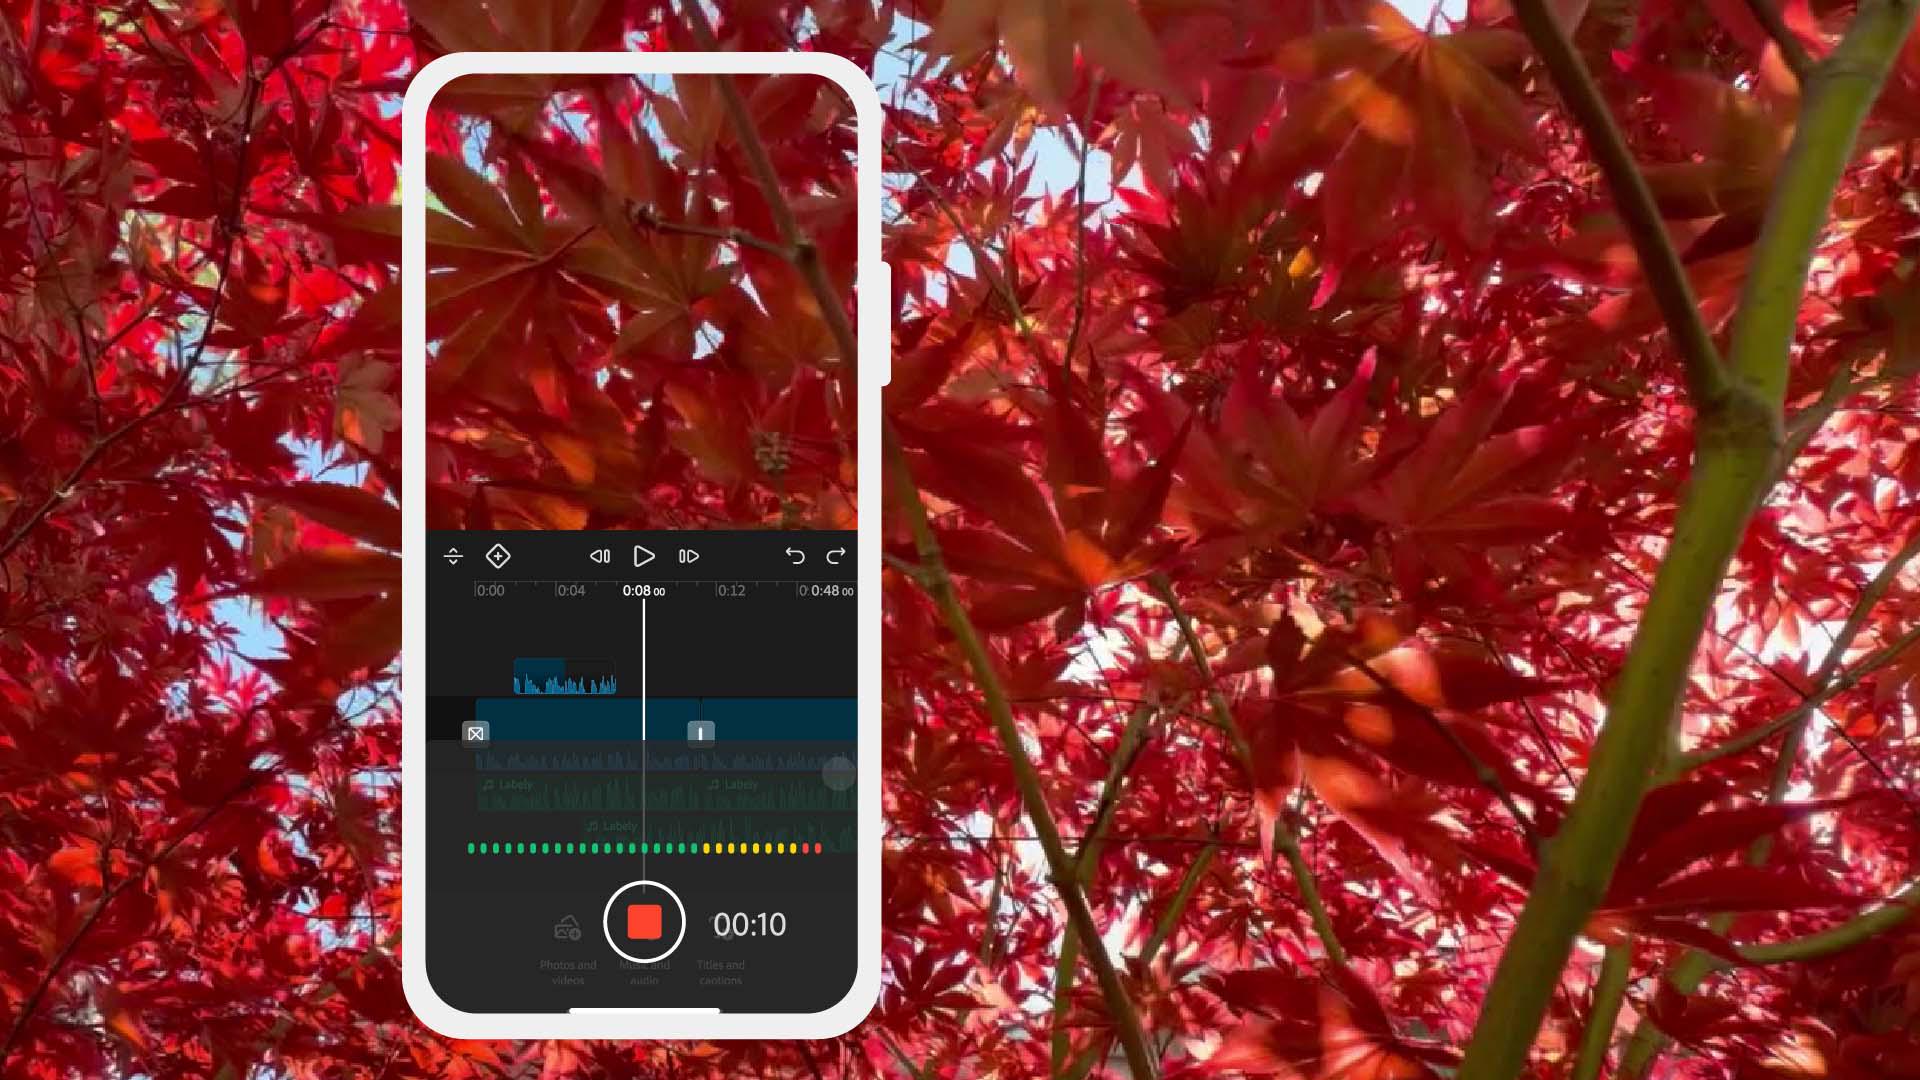
I'm using an undershot of a Japanese maple tree that I shot on my iPhone.
If you pick more than one clip, they'll appear in the Timeline in the order you pick them.
Once it's on the Timeline, tap the clip to select it, and lower the ambient audio that was recorded with it.
You do this by dragging the menu at the bottom over to the left to reveal the Volume panel.
Tap Volume and use the slider and slide it to 0%.
Clean slate - fresh start.
Now we can build some audio tracks that bring this video clip to life.
Close the Volume panel and then we'll click anywhere in the Timeline to deselect the clip.
First, let's add some music.
Tap Music and audio, then select Soundtracks, go into Moods - the tab at the top - and check off any words that match the feeling you're going for.
You can now also choose the genre of music if you want, and play back a few options until one feels right.
Then select the + button to add it to your Timeline.
Trim and adjust it so it lines up with your video the way that you want.
To move it around in your Timeline, tap and hold on the clip and then drag it left or right.
You can zoom in for more fine-tuning of the placements by pinching two fingers apart or together.
Trim the clip by dragging the ends of the clip to your desired length.
You can click anywhere on the Timeline to deselect the clip.
Next, let's layer in some atmosphere.
Layer ambient sound effects
Go to Music and audio again, then Sound effects, and search for "Rustling leaves".
Pick one that vibes with the visuals, then drop it onto the Timeline.
Make any adjustments that you need in terms of trimming or moving the clip around in the Timeline so that it fits to what you're creating.
It's also a good time to make any adjustments you need to the volume for that clip, the same way you adjusted the volume for the video clip.
And just like that, you've immersed your viewer into the scene.
That's the magic of good sound design. [music] Now the icing on top - the voiceover.
Record and enhance your voice over
Go to Music and audio, then Voiceover, and press the Red button when you're ready to record.
Once you're happy with the voiceover that you've recorded, you can press Stop on the record and it'll automatically take it to your Timeline.
Once it's in your Timeline, you can start editing it, trimming it, and placing it exactly where you want it to be.
Select the Voiceover layer and tap Enhance speech.
Tap the Enhance toggle to turn it on.
Bring that layer up to about 90%, which is the default.
If there's any unwanted background noise, pull the Background noise slider down to about 20% and watch it disappear.
What a difference that great sound design makes.
You now have tools to create your own custom sound design - music that hits the emotions, ambient sound that pulls people into the scene, and a voiceover that guides them all the way home.
Raise the production value of your next video by building out great sound design, all within Premiere on mobile.
Now go create that awesome experience for your audience by designing great audio for your stunning visuals.
I'm Dave Ko, and I can't wait to see and hear what you put out there. [music] [Voiceover]: Spring is an awesome time for new beginnings. [music]