At this point in the process, is where I start to hone in on some additional sound design and sound effects to really beef up that audio track.
What other sound effects can I bring in that I don't already have in my clip to add more of an environment and an atmosphere to that overall clip, and eventually to the entire film?
There are multiple ways to access sound effects like this.
First, you can actually create your own sound effects using your own audio recorder, you can use your phone to do this, you can use a Tascam or an audio recorder.
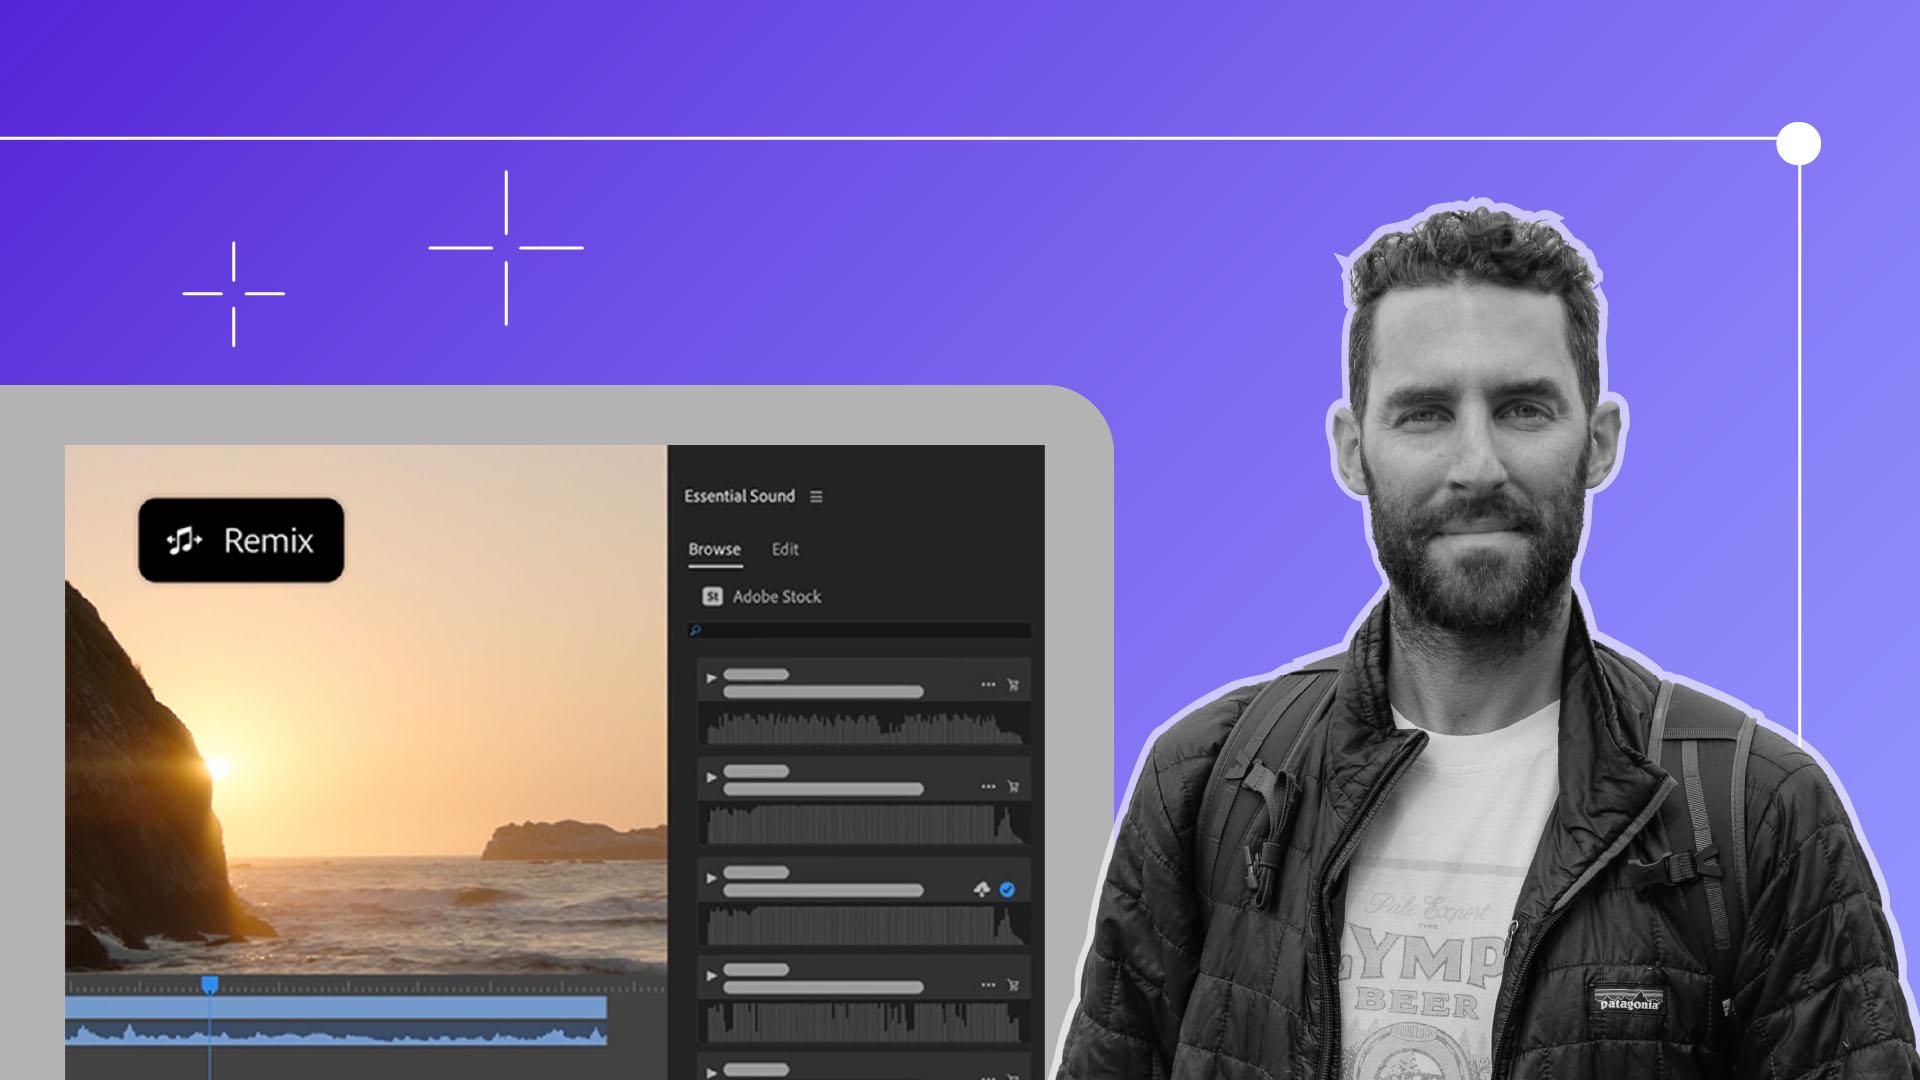
To source copyright-free music online, Adobe Stock has a great library to choose from, which can be sorted by Moods, Genres, and then automatically saved to your Adobe library to easily access in your project.
Here I am, simply going through different scenes where I didn't record the best audio, or I feel like the audio isn't as powerful as I want it to be.
Like this shot of the birds flying overhead.
I didn't really get a good sound of those birds.
So, let's add in a sound effect like a flock of seagulls or birds flying and see how that elevates that specific clip.
Or these shots in the park.
Without some sound effects behind the shots the environment just sounds kind of quiet.
So, let's change that.
Let's bring in some ambiance or park ambiance, birds calling, or people talking.
This is where I sort of just guess and I try to put in the best prompt into these sites to give me the best results.
And I will download a bunch of different sound effects to build that library out and then use them for further projects.
All of these stacked additions of our sound effects help to really build that environment and make the story feel like we as the viewer are actually there, even though we never recorded that sound.
This right here is pure movie magic, people.
Let's move on to the next section.
Using the Audio workspace is where you can really get into the weeds of how to best mix your tracks together.
Here I further organize my audio tracks by expanding the track, right-clicking, and renaming each track, whether the Timeline is music, sound effects, or a voiceover.
You don't want the music to overpower the other elements and you still want to be able to hear the sound effects, so it's important to have a good, gentle balance between the two.
It's crucial to use the Volume handles to adjust each clip accordingly.
To adjust one track globally, instead of each individual clip, you will go into the Audio Track Mixer and pick the track the music is on.
Simply add an effect like Amplify, double-click that effect and then pull the Volume down so that entire track is affected globally all at once.
This again will save you a lot of time, you don't have to go through each individual clip.
And I like to do this specifically for my music track, or a dialogue track or narration that has just one specific track to it.
One more extremely powerful and time-saving tool is called the Remix Tool.
Let's say we had a track that was longer than the one we have now, but we wanted to have a natural intro and outro point without cutting up the entire track.
We'll simply take the Remix Tool and drag our track to exactly where we want it to end.
Premiere Pro now automatically stitches the track together for us to provide the exact length we need.
And within seconds we have a perfectly timed music track that took us less than 20 seconds.
There are way too many tools to address just in this one chapter, but the most important part of this specific lesson is the element of adding sound design to really build the character of your film and the environment of your film, even more.
In the next chapter, it's time to switch gears to the visuals and talk Color Correction and Color Grading.
Click Next to move on.
