

Adobe Firefly
The next evolution of creative AI is here for all your ideas, with image, video, audio and vector tools.


AI tools make it easier to repurpose written blogs into engaging video content without starting from scratch. Instead of manually scripting, designing visuals, recording voiceovers, and editing each scene, AI can help speed up every stage of the workflow.
This allows creators, marketers, educators, and businesses to transform existing blog posts into short-form videos for platforms like YouTube shorts, Instagram reel, and social media campaigns more efficiently.
Converting a blog into a video with AI isn’t a one-click process. It works through a structured workflow where each stage builds on the next: from breaking down your blog into key ideas, to generating visuals, voice, and finally assembling everything into a cohesive video.
Start by turning your blog into a sequence of visual moments. Identify around 5–10 key ideas from the article and treat each one as a separate scene. Each scene should focus on a single concept rather than multiple points, making it easier to translate into video form.
Keep things short and digestible, ideally 5–10 seconds per scene. This helps maintain pacing and ensures the final video feels dynamic rather than overloaded. Think of it as converting paragraphs into visual “beats” that will later guide your script, storyboard, and AI-generated assets.
Next, translate your blog structure into a video-ready script. Break it into three parts: a strong hook to capture attention, the main content that delivers the key ideas, and a closing CTA that guides the viewer on what to do next.
Write in short, conversational sentences rather than long-form paragraphs. The goal is to make it sound natural when spoken aloud. Adjust the tone to be more direct and engaging than your blog.
This step is optional, but highly recommended for keeping your video structured and visually consistent. A storyboard helps you map out each scene before production, ensuring your ideas translate clearly on screen.
With tools like Adobe Firefly’s AI storyboard generator, you can plan scenes, design simple character concepts, and organise shot sequences even without design or illustration experience. It allows you to turn text and rough ideas into visual frames for pre-production and make the entire video creation process more intentional and cohesive.
Use an AI video generator to turn your script into visual clips through text-to-video prompts. Be specific in your prompts: define the visual style (cinematic, minimal, realistic), motion (pan, zoom, static), and overall mood (professional, upbeat, calm). This helps the AI produce more accurate and usable results that match your script.
Sample prompt: “A modern workspace with a person typing on a laptop, soft natural lighting, cinematic style, slow camera movement”
For scenes that don’t require movement, create supporting visuals using AI-generated images. This helps fill gaps where video clips aren’t necessary while keeping the narrative visually engaging. When using Adobe Firefly’s AI image generator, for instance, you can use text prompts to quickly generate and transform images with a consistent visual style across all scenes.
Sample Prompt: “Minimalist illustration of content creation workflow, clean design, neutral colour palette, flat style”
For narration-driven scenes, you can convert your script into an AI-generated voiceover. Choose a tone that fits your audience (educational, energetic, corporate, or conversational) and adjust pacing and emphasis as needed. This brings structure and clarity to your video by guiding viewers through each step of the story.
Sample Prompt: “Professional, friendly voiceover explaining how to turn a blog into a video, clear pacing, neutral accent”
Music helps set the emotional tone of your video and makes the final output feel more cohesive. Instead of manually searching for tracks, you can generate a custom soundtrack tailored to your content. Tools like Adobe Firefly can generate soundtracks that match your video’s pacing, mood, and overall narrative flow. You can also define key attributes such as vibe, style, purpose, energy, and tempo to shape the result.
Once all your assets are ready, bring everything together using a video editor. This is where all your assets are combined into a cohesive final output. A simple checklist to follow:
Export your final video in the format that matches your publishing platform. Choose vertical (9:16) for Instagram Reels, or YouTube Shorts, and horizontal (16:9) for YouTube or website embeds.
Before downloading, make sure to optimise resolution and file size, so the video stays high quality without unnecessary heaviness. This ensures faster uploads, smoother playback, and better performance across different platforms and devices.
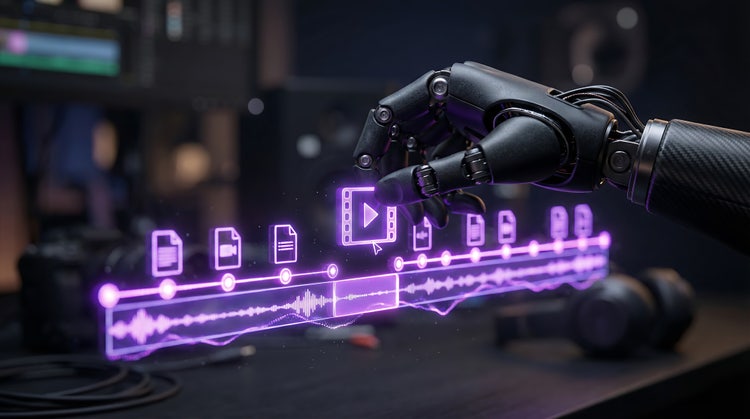
Improving AI-generated videos is less about adding more elements and more about refining clarity, pacing, and consistency. These tips help ensure your final output feels intentional and engaging across platforms.

Based on your location, we think you may prefer the United States website, where you'll get regional content, offerings, and pricing.

