Introduction
Hello, my name is Russell Preston Brown from Adobe.
And this tutorial is all about working with the Refine Edge feature that's been added to Adobe Photoshop for the iPad.
Of course, Refine Edge has been in the version of Adobe Photoshop for the desktop for quite a while.
But now, you have the power of Refine Edge here in Adobe Photoshop for the iPad.
In this project, I want to demonstrate some of my favorite tips and techniques for creating an easy and quick mask between two images.
Creating a gradient mask with refine edge
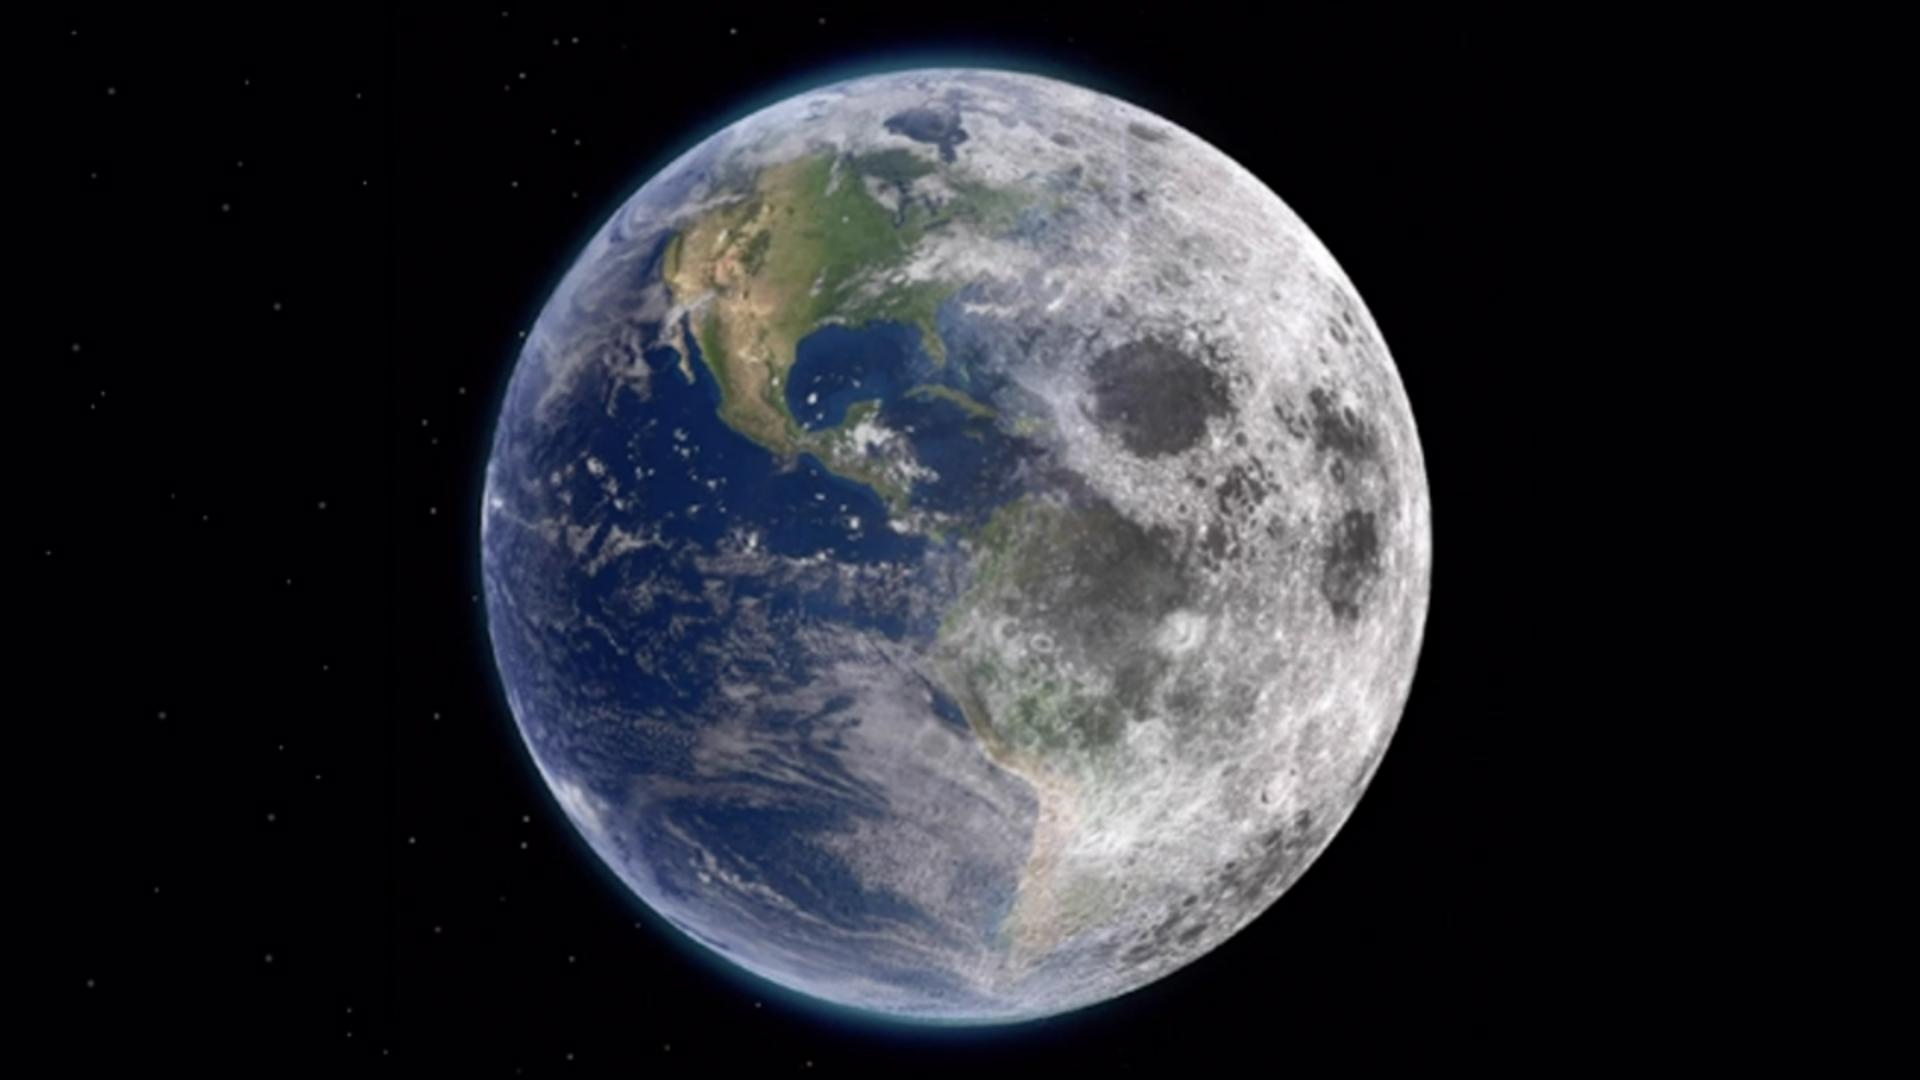
I'm going to create a gradient mask, and it's going to look just like this.
I'm going to grade it from the earth on the left to the moon on the right by creating this gradient mask between the two.
Let's get going.
I'm going to turn this layer Off and turn this earth layer On and target my Earth layer.
I've gone over here to my Tool panel and I've selected the Marquee Tool as you see here.
I'm going to pinch a bit on my image So, I can now go in and tap in the upper left hand corner and draw down and split the image in half just like this.
Now here we go.
Over here under More, here it is: Refine edge.
In Refine Edge, you have several controls here.
The exact same controls you have on the desktop.
In this project, where I'm creating a simple gradient mask I'm going to focus in on Global refinements.
Up here, under View mode
Adjusting global refinements for smooth transitions
I can see several different ways of viewing this image In this project, let's check these out: Overlay On black On white and Black and white Setting this to Black and white is one of my favorite ways to preview this type of mask Check this out, I can adjust the feathering of this right here.
By adjusting this, I've now softening the edge of this selection I made.
I can also adjust the contrast to sharpen it up And I can also shift the edge.
Check this out, I can move it left and right.
Now let's take a look at this.
The way it would look on the image.
Again, under my View mode I'm going to select Overlay So, now I have a better idea of the range of this gradient mask.
I can adjust and shift it to the left or right, feather it a bit more and get it just the way I like it.
I'll also go back to Black and white mode just to check it one more time.
Outputting a gradient mask as a new layer
Now down here, I'm going to select Output as.
And I'm going to select: New layer with mask.
Now you can choose any of these ways of outputting this mask but I prefer this method because it creates a new layer for me.
These settings look great, I'm now going to select Done.
Let's check out the results.
Excellent.
Now I have created a simple gradient mask between the Earth and the Moon.
I can double tap on this mask here and you can see it once again.
Now here's the second half of this demo.
Refining an existing mask using refine edge
What if you have an existing mask and you want to make additional adjustments to that mask.
Here's how you do it: Be sure and target your mask as you see here.
Then from these three dots here a flyout menu will appear.
And you first need to load your current mask as a selection.
And it's right here: Load as selection.
So, I've loaded that black and white image back as a selection.
Once again, I can go to the More button and Refine Edge.
So, this technique demonstrates how you can adjust an existing mask using Refine Edge here on the iPad.
Once you've done this, once again, you can start to Feather your mask, Shift the mask to a new position and let's make it a little bit more contrast.
Like this, a sort of a bit of a harder edge between the two.
These are my new adjustments from the existing mask.
Once again, my Output as I'd like to select: New layer with mask, so I can compare the two side by side.
Then I'm going to select Done.
Once again, I have a new mask.
Check this out, I have both versions.
I have my original version here and I have my second version here.
The first one is a bit softer and this one is a bit more hard edge.
And I can double tap on the mask to see it here.
Or double tap here to see this other mask.
There you have it.
The new feature here in Adobe Photoshop for the iPad called Refine Edge and these tips and techniques for making a simple and quick gradient mask that you can refine with great detail here on the iPad.
Give this a try!