Introduction
In Adobe InDesign, you can wrap text around objects and shapes like you see here, or flow text into an object like you see here in this final example.
In this tutorial, you'll explore a couple of examples of text wrap in InDesign.
With the file open, the first thing you'll do is move this surfboard into the middle of the page where it'll overlap the text.
So, select the Selection Tool
Applying basic text wrap around objects
and drag the image over here, but make sure not to drag from within the circle, otherwise, you'll drag the image within the frame.
And we don't want the text to be covered up.
So, one way we can fix that is to wrap the text around the image.
You can apply Text Wrap to the object that you want the text to go around.
Now, by default Text Wrap is turned off.
So, to apply Text Wrap around the image frame, click Wrap around bounding box here in the Properties panel.
The text will now go around the frame.
Wrapping text around object shapes
Now in this case, it'd be great to have the text wrap around the image of the surfboard.
Because the image has not background, in other words, it's transparent, you can easily do that.
Click Wrap around object shape, and you can see that the text wraps around the image and not the frame.
The text is really close to the image, so it needs to be pushed away.
You can change that by setting some wrap options.
To see them click More Options here.
The distance the text is from the object is called the offset value.
You can apply this offset value to any of the text wrap options you choose.
To increase the value the same distance all the way around the image, click the Up arrow here and stop when you think it looks good.
With the text wrap applied, you can move the surfboard and the text will respond by wrapping differently.
There.
Creating custom text wrap inside images
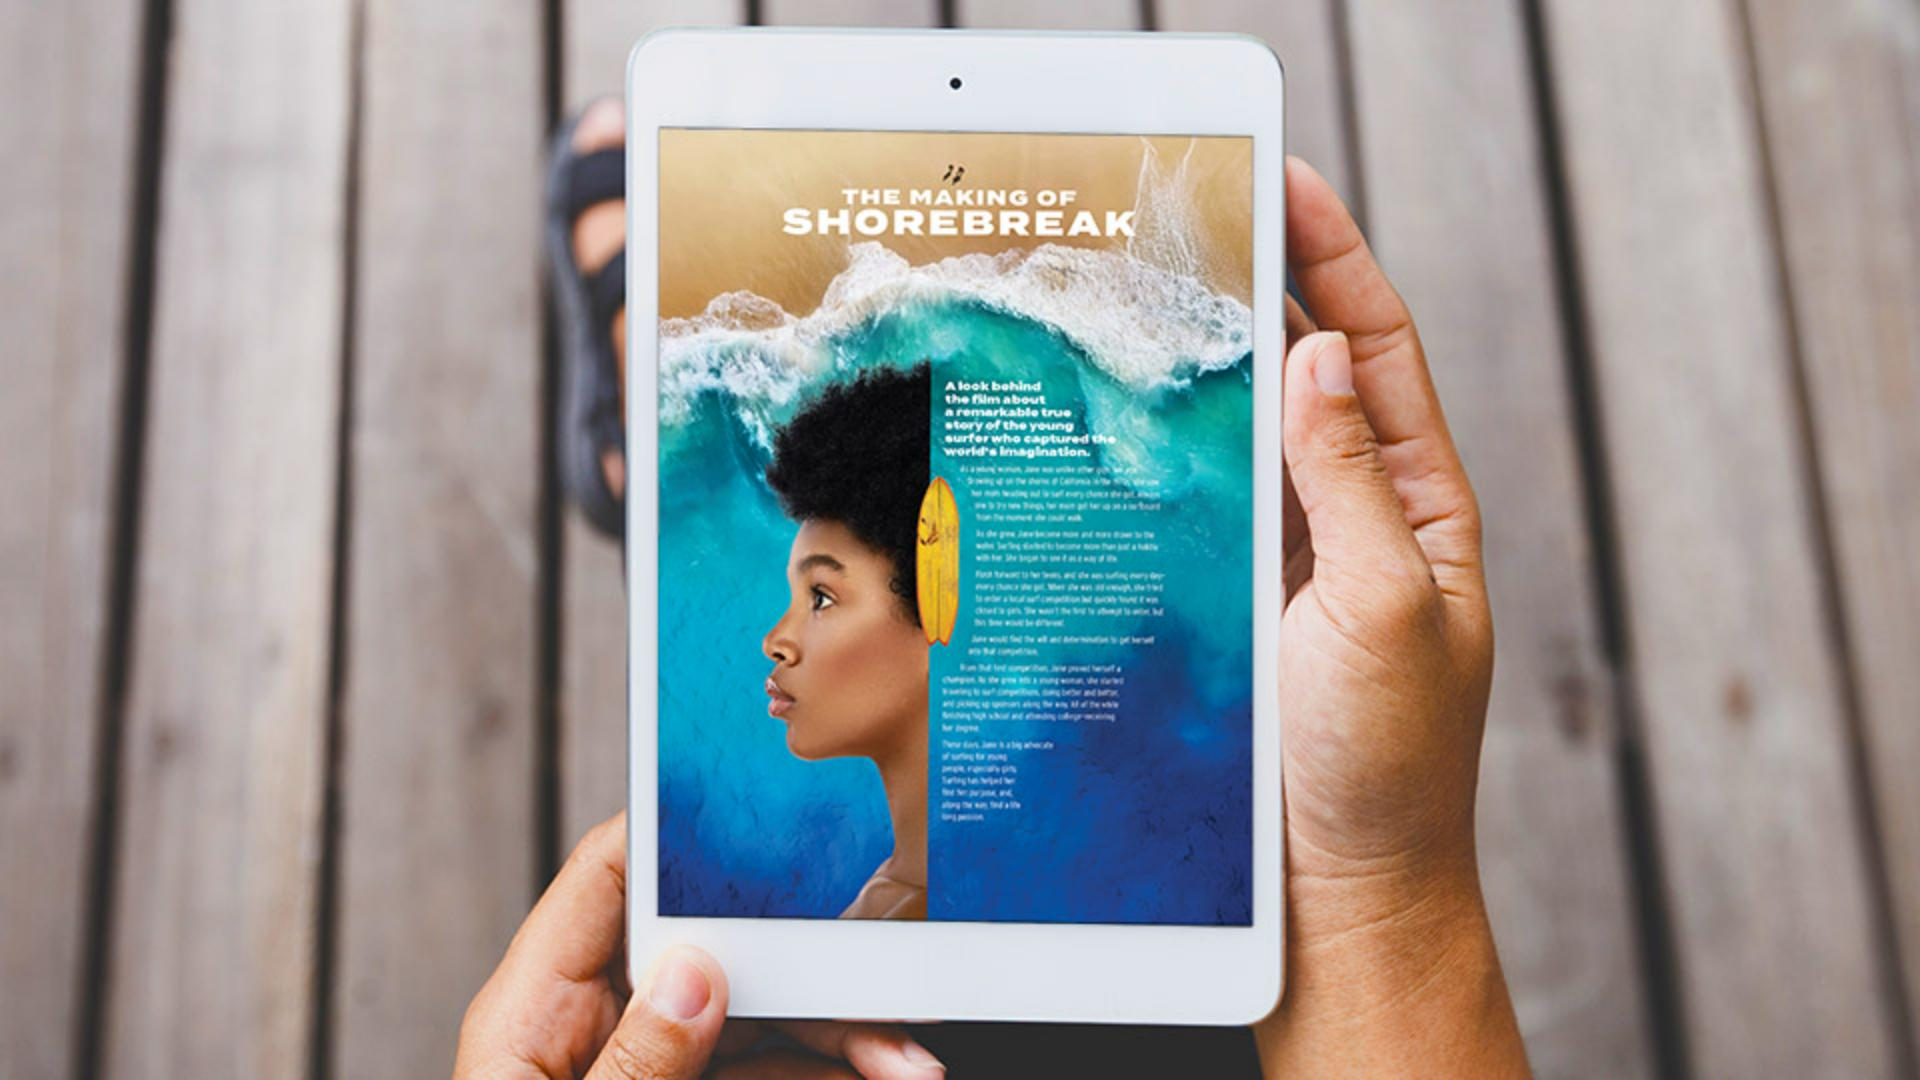
Now you'll take the text you see here and make it flow within the bounds of this image of the woman.
To start, select this image.
You're essentially going to cut this image in half.
So, drag the middle point over here to the left to crop part of the image.
Now you'll make a copy, paste it in the same place and show the other side of the image.
So, choose Edit, Copy, and then to paste it directly on top, choose Edit, Paste in Place.
Now to show just the right half of the image, drag the right handle here all the way to the right to show the whole image.
Then to hide the left half for this copy, drag the handle on the left side to the right, right about here.
There are now two copies of this image.
You're going to wrap the text within this half.
So, to make it easier to see the text, you'll put the image behind it.
In the Properties panel, click Arrange and choose Send Backward.
Do this a few times.
With the image still selected, you'll now apply text wrap to it.
So, in the Properties panel, select the Wrap around object shape so the text goes around the image content.
Now to get this to work correctly for this particular image,
Refining wrap settings with contour options
there's one more option you need to set, and you can find it in the Text Wrap panel.
To open the panel, choose Window, Text Wrap.
This panel has all the same settings plus a few more.
Now when it comes to different types of images, you can change the Contour Options here to get it to do what you want.
For this particular image, choose Detect Edges and the text wrap will follow the contour of the image shape.
In other words, the path around her head here.
Also make sure Invert is selected, otherwise the text is pushed outside of that path by default.
Now to get the text to move further out, change the offset to a negative value.
It's negative and not positive because you selected Invert.
Now you'll hide the image so you only see the text, but the text wrap will still work.
Using transparency with text wrap for design effects
This last step is important.
Right now, the image is selected within the frame.
Deselect the image by clicking away from it, then select it again.
You can make either the image or the frame transparent but later, when you go to select the frame, you probably won't remember that the image was selected when you made it transparent.
Change the Opacity to 0% in the Properties panel, and you've got it.
By applying different types of text wrap to your designs, not only can you make your text more readable when it interacts with other content, but you can also use it as a design element.
The next time you add some text to your design, think about how you could effectively use text wrap to make it more interesting.