For this tutorial, I am using the Natural Color Adjustments.prproj file.
You can find that project file with the media associated with this tutorial.
Just double click on the project file to open it in Premiere Pro CC.
In Premiere Pro CC, I'm using the Color workspace.
And in the Lumetri Scopes panel, I'm displaying the Vectorscope YUV, and the Waveform (YC no Chroma).
You can reset the Color workspace by clicking on the panel menu next to the name of the workspace in the workspaces panel.
I've got the first clip in this sequence selected: this master sequence.
And in the Lumetri Color panel, I am in the Creative section.
I'm interested, in particular, in this Adjustments section of the panel.
These controls provide a range of options to add visual interest to your footage.
Here, for example, I'm looking at a shot with a range of luma levels.
And I'm going to turn up the Faded Film effect.
And as I do, just watch the Waveform display to see the effect this has.
As I drag up, and up, and up, you can see this is crushing in the highlights and shadows flattening the contrast, but not by doing so with an even adjustment as the Contrast control would.
Instead, the midtones remain pretty much where they are.
And we lose the highlights and shadows.
This is definitely a creative effect, and not a control you would use to repair a clip.
And that's why it's in the Creative section of the Lumetri Color panel.
So, let's take a look at a more subtle adjustment.
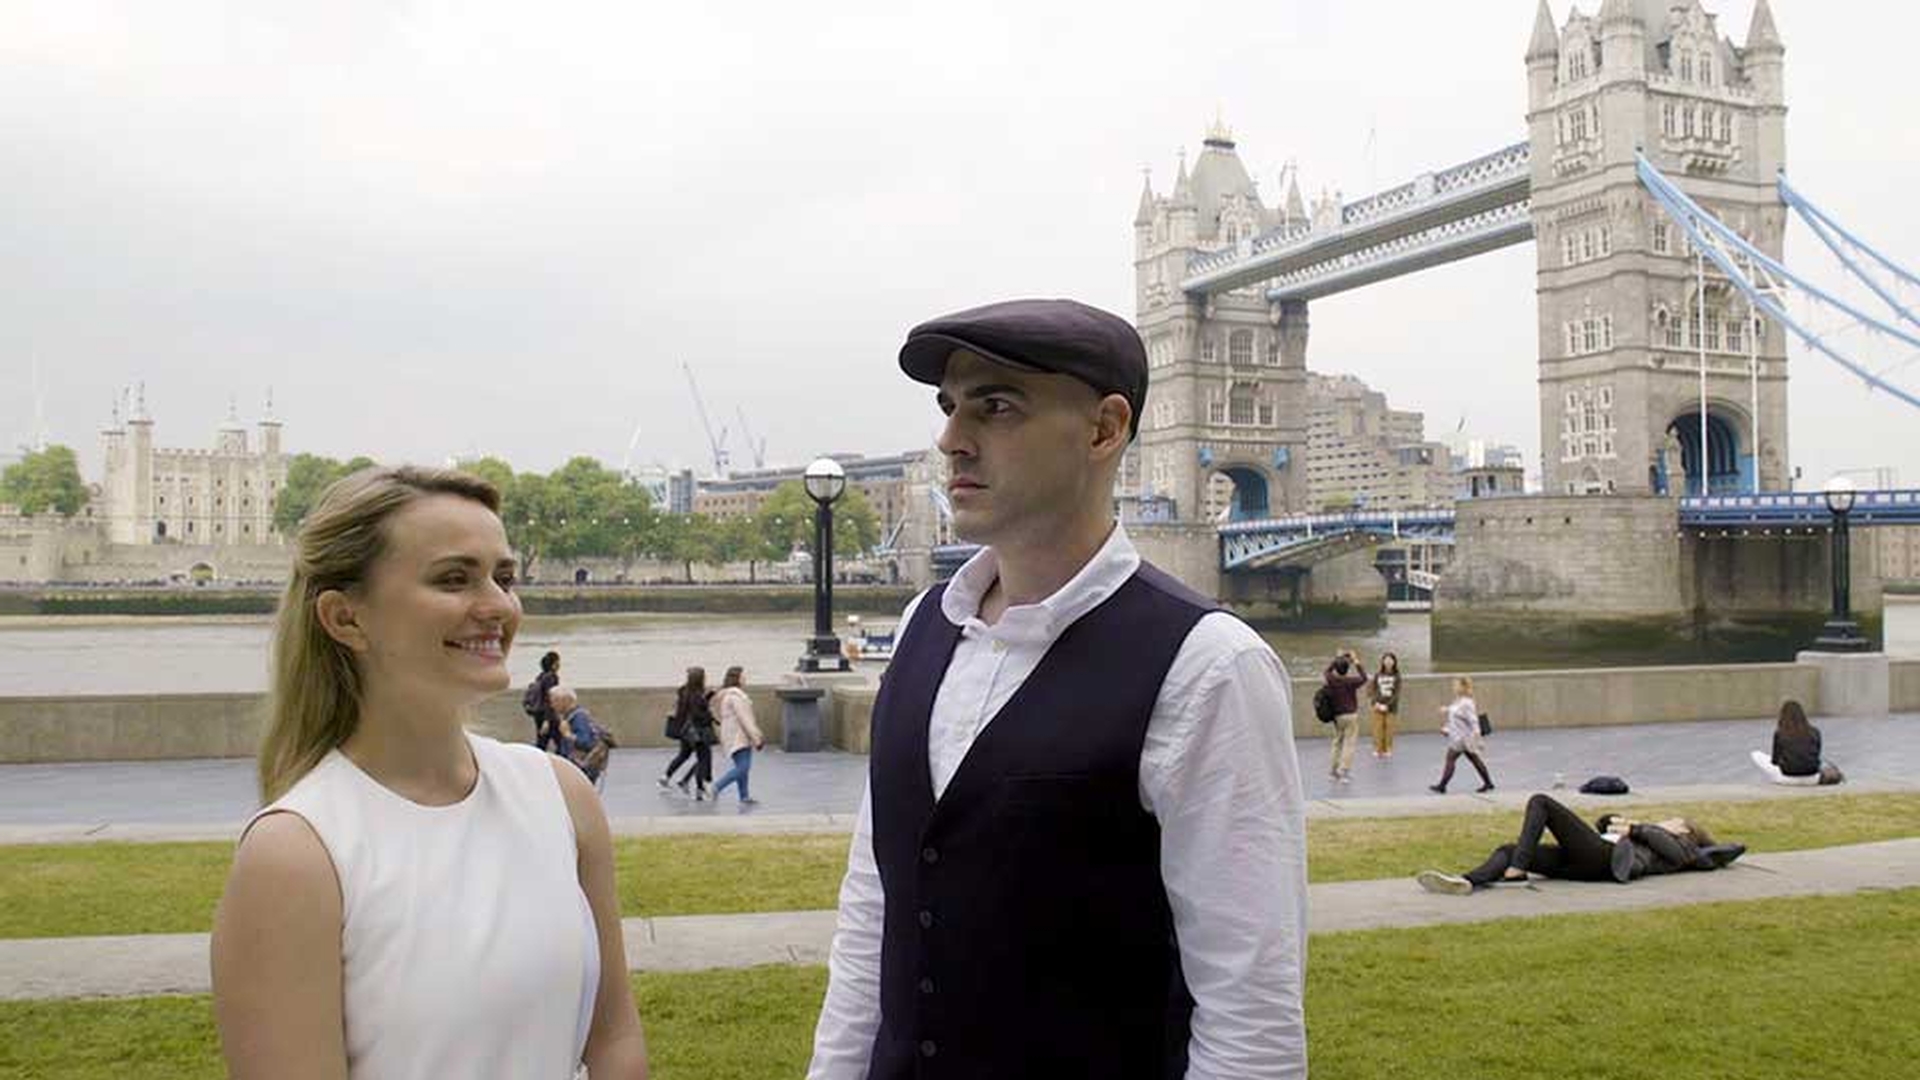
The second clip in my sequence has some strong architectural lines.
We've got Tower Bridge here in the background next to the Thames in London.
And to show you the results of this adjustment, I'm going to set the zoom to 100%.
And I just want to pay particular attention to the bridge in the background.
As I increase the Sharpen adjustment, you can see we get cleaner and cleaner lines on that bridge.
Your eye will adjust very quickly to an image.
So, it's helpful to toggle the effect off and on often, so you can see the results.
This result certainly is subtle, but it can really make a clip stand out.
The next clip I've got in this sequence has quite a range of colors.
I'll just set the zoom back to Fit.
You can see we've got some strong skin tones here.
And we've got some more blue green pixels in the background.
If I turn up the Saturation control that we have here in the Adjustments section of the Lumetri Color panel, you can see that all of the pixels in the shot become more saturated.
Our eyes are particularly sensitive to skin tones.
We can usually tell whether the colors in a shot are correct or not based on just that element of the image.
And this is perhaps a little bit too much color saturation.
So, I'm going to double click on the Saturation control to reset it.
And instead, I'm going to use the Vibrance control.
The Vibrance control adjusts color saturation while protecting skin tones.
So, we get these stronger green and blue colors in the background while maintaining more natural looking skin tones in the foreground.
You'll find that with some footage this is more subtle than with others.
But again, the result can be powerful.
My next clip has a range of highlights and shadows.
And I really want to increase the amount of green in the shot.
And I can see that the green pixels are towards the dark end of the dynamic range in the clip.
So, now I can use these Shadow Tint and Highlight Tint Color Wheel controls.
I can pull the Shadow Tint towards the green.
And I'll make this quite an extreme adjustment for now, so you can see the result.
Lots of green.
And you can see that it's beginning to affect the face of our subject.
So, below these two Color Wheels, I have a Tint Balance control where I can set the dividing line between these two controls.
If I drag left, fewer of the lighter pixels will be affected by my adjustment.
And if I drag to the right, more of them will.
It's a little like the pivot point in a contrast control.
So, again I'll pull this down towards the shadows a little.
And if I toggle the effect off and on, you can see the result is a little more nuanced than adjusting the green level in the shot overall.
There are several ways to make precise visual selections in Premiere Pro CC.
And the Tint Balance control allows you to make more natural selections when choosing shadow or highlight pixels.
Those are the Lumetri Color Adjustments controls in Adobe Premiere Pro CC.


