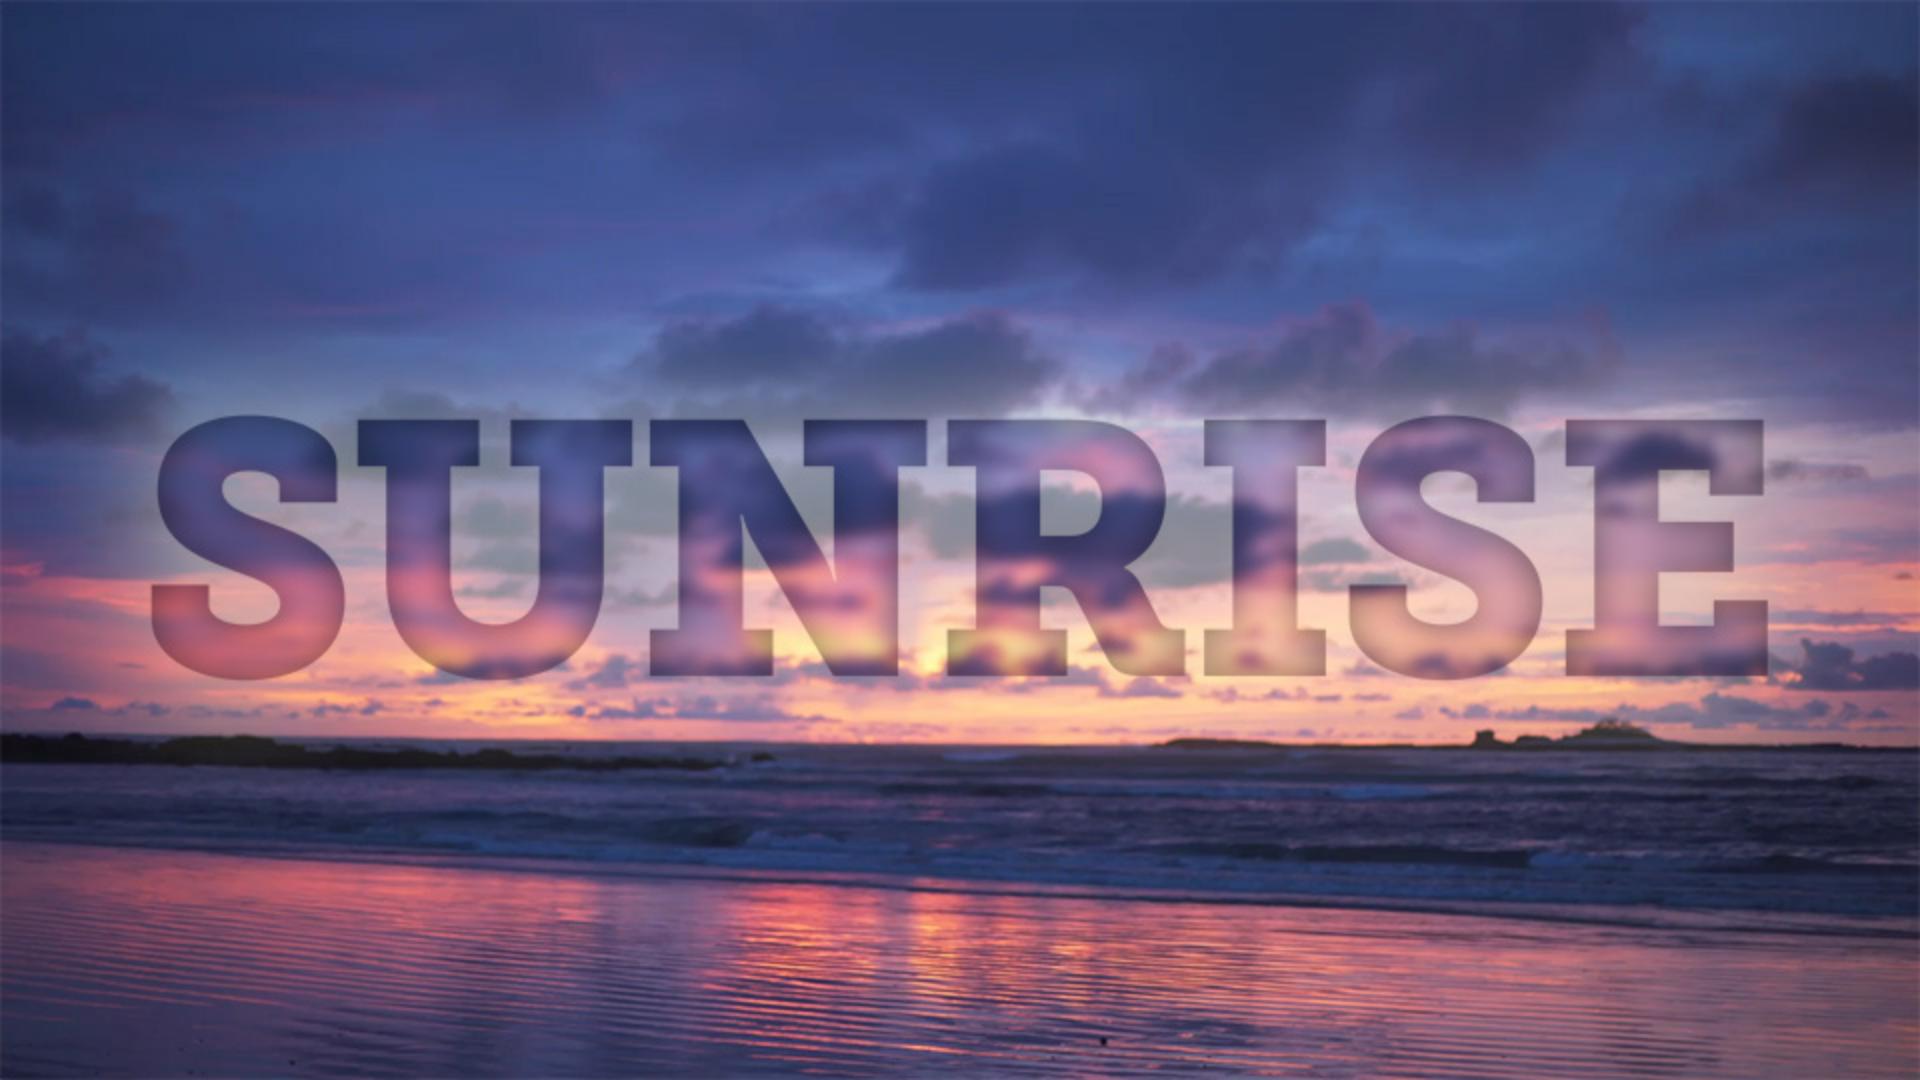
One of the most useful features in the After Effects Timeline is the ability to take the Alpha channel from one layer to determine the transparency of another layer.
Just so we can understand the project, we're going to build.
I want you to go in the Finished Reference folder in the Project panel and double click on the Finished Reference composition.
If I press the Spacebar here you can see I've got background video of this text that is filled with the background video and that's done using an Alpha Matte.
So, what I'll do is I'll press the Spacebar to stop playback and I'll click once on the Fill Text with Video tab here and this is going to reveal the fact that I've got one layer here which is my SUNRISE text.
It's actually a layer solid that has masks applied to it.
And that's because I created a text layer, went up under Layer, said Create and said Create Masks from Text.
This way nobody has to load any fonts onto their system and everybody's text is going to look the same.
Now, with Layer 1 selected, if I go to the left side of the Timeline and I click once on the solo button, you can see this text is over top of a black background.
If I want to see the transparency, I can toggle the Transparency grid here in the bottom middle section of the Composition panel.
So, the Alpha channel for SUNRISE is actually the inside of this text.
If you ever want to see an Alpha channel you can come here into the Composition panel and click once on this button and choose Alpha.
And since I have this layer soloed, I'm seeing the Alpha transparency.
So, whatever is white is going to allow the layer to shine through and then whatever is black is going to be 100% transparent allowing the background to show through which is what we saw with the Transparency grid.
So, I'll click once back on the button here and go back to RGB and I'll turn off solo.
So, I want this Beach layer to be inside this text, but before I do that, I also want the Beach layer to have another copy on the background.
So, I'm going to select Layer 2 and press Command D to duplicate it and I'll go ahead and just move that to the bottom of the Layer stack and I'll turn its visibility off.
So, if we select our middle Beach layer here, it's looking at the layer directly above to determine a transparency when I actually use what's called a Track Matte.
So, I'm going to go here to the middle section of the Timeline and I'll click my Toggle Switches/Modes button and you may be in Switches but I want you to be in Modes and then if you come over here to the right most Track Matte dropdown, click on that and say Alpha Matte “SUNRISE”.
It's going to look at the Alpha channel of the layer above and determine its transparency.
So, now if I turn the visibility of Layer 3 on, you can't really see the text.
So, let's add some separation here.
I'll select Layer 2 and I'll go to my Effects & Presets and I'm just going to type Fast Box and I'll drag and drop Fast Box Blur directly onto Layer 2 in the Timeline like so and I'll go ahead and increase the Blur Radius and that’s going to help the text pop but I also want to go ahead and have it blend with the background differently and I can do that a couple of different ways.
The first way, I'll go ahead and add a little bit of a shadow inside, so I'll right click on Layer 2 or Control click if you are on a Mac.
And then I'll go to Layer Styles and then I'll add an Inner Shadow.
This kind of creates a neat looking effect but I want to open my Inner Shadow options and I will go ahead and increase the Size, so I get a nice, soft look to the inside of my text.
Now the blur is a little strong, so I'll go ahead and actually change my Blur Radius on my Fast Box Blur down to something like 5, so here you can still see some formation of the background video.
Now, to add a little bit more pop, I'll go ahead and right click again and I'll go to my Layer Styles and I'll add an Outer Glow and I can collapse my Inner Shadow, open the Outer Glow here and I'll go ahead and crank up the Size of the Outer Glow and then I'll bring the Opacity of that way, way down to something like 20%.
So, now if I go ahead and scrub through, you can see I’ve actually got my background video filling my text and it's filling the text because I am using the Track Matte.
So, whenever you want to apply a Track Matte just remember you want to position the layer that has the Alpha channel you want to use above the layer that you would like to use for the fill, then you Toggle your Switches/Modes and just to make sure you go to the Track Matte and you can choose Alpha Matte "SUNRISE".
If I choose Alpha Inverted Matte "SUNRISE" it would actually do the inverse of what we created.
So, notice now the video inside of here is sharp and then everything that's outside is blurry.
So, I will leave mine set to Alpha Matte "SUNRISE".


