In this video, we'll start looking at how you can add photographic background images to your 3D scenes, and realistically match the lighting and perspective.
To get started, simply find an image you'd like to use as the background and drag and drop it into the canvas.
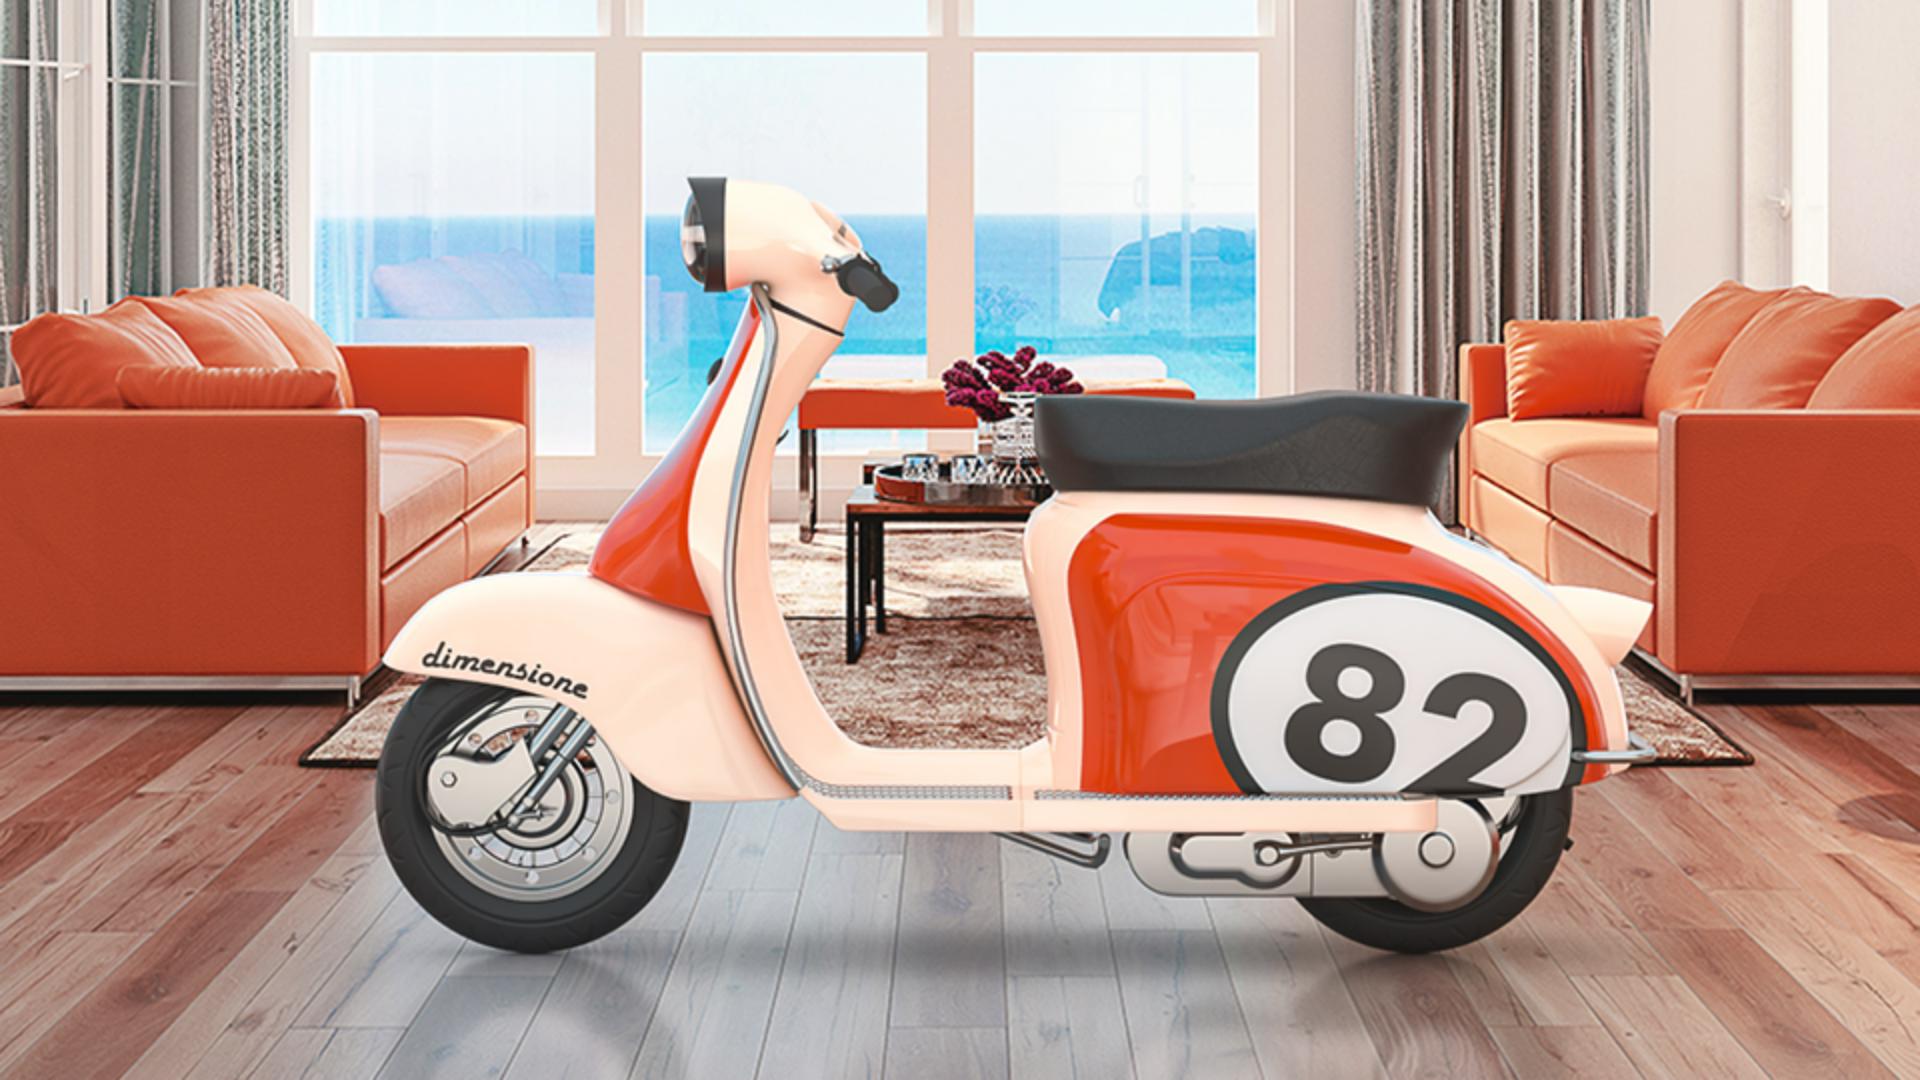
With the Environment selected, you'll now have the Match Image action available.
Click on the action and Dimension will automatically evaluate the image and provide its recommended settings for your background.
Dimension can match the 3D scene to the background image size, lighting and perspective.
Just click OK to apply and Dimension will match your scene and background.
Depending on the background you use, perspective matching may not be available, and lighting will give different results.
In this example, using an outdoor background with daytime lighting, Match Image has generated a sunlight.
You can adjust the sun's Intensity to get a stronger shadow or the Cloudiness to match overcast images and adjust how crisp the shadow edges are.
If the background image contains multiple light sources, then Match Image will look for the strongest sources and generate up to three directional lights.
You can customize the lighting by deleting, editing, or adding additional lights.
For abstract backgrounds, or situations where Match Image isn't sure about the lighting, it will offer three-point lighting instead.
Three-point lighting is a standard lighting setup that looks good in many situations.
In addition to editing the light, you can also edit the perspective matching using the camera tools.
Use the Dolly and Pan Camera tools to change the size and positioning of your objects while maintaining accurate 3D units and positioning.
Use the Orbit Tool and the field to view camera settings to adjust perspective matching.
We hope this video has been helpful in learning about how you can add background images to your Dimension projects.
We can't wait to see what you make.


