Introduction
[Glyn Dewis]: The Landscape masking feature in Lightroom makes it possible to quickly isolate with one click and make adjustments to particular areas of an outdoor photograph.
Hi, I'm Glyn Dewis, and in this tutorial I'm going to show you the Landscape masking feature available in Lightroom, which can save you a ton of time because instead of having to use manual masking controls to isolate certain areas of a photograph that you want to adjust, Lightroom will do it for us.
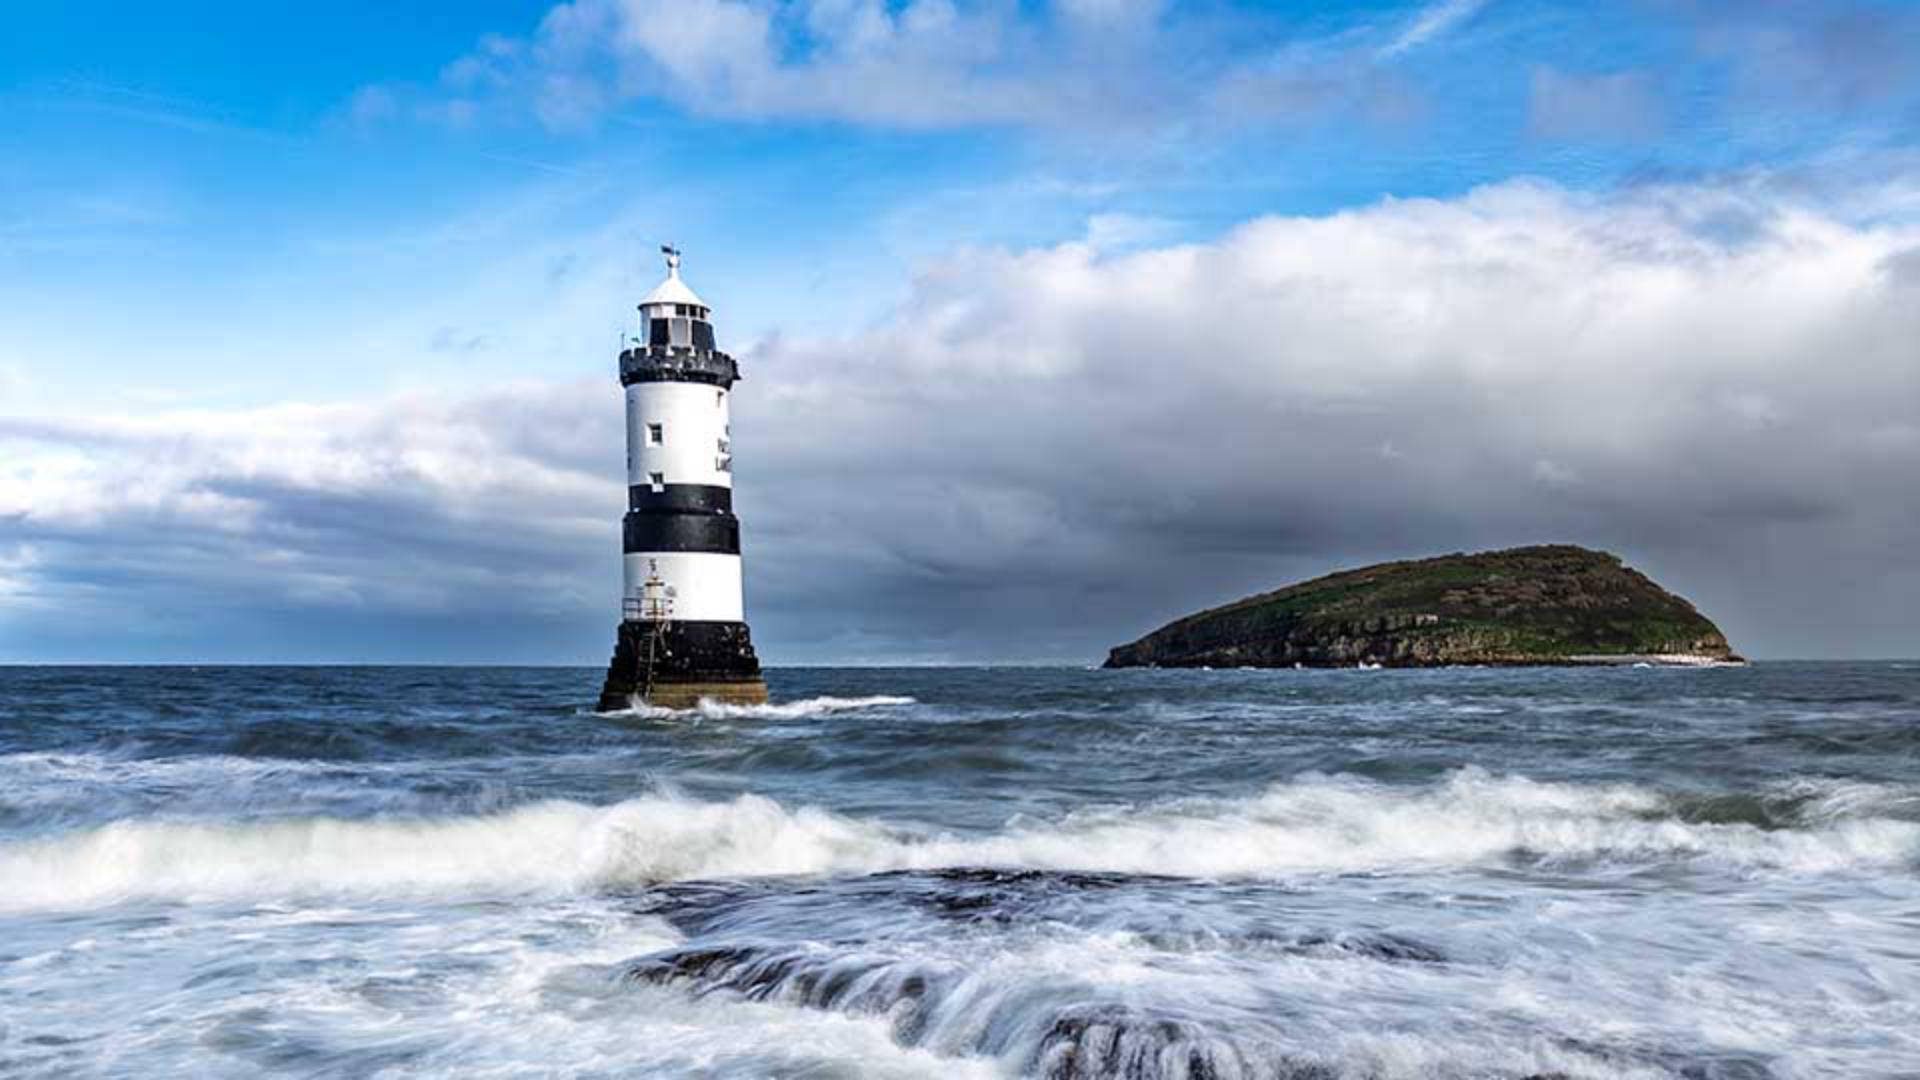
I'll use this image here to show you just how useful and powerful the Landscape masking feature is.
But first of all,
Preparing the image with profile and crop
I'm going to go to the Edit section here on the right-hand side and change the Profile, which is at the default of Adobe Color.
And I'll use Adaptive Color to give this image the very best starting point.
I can also adjust the Amount to increase the overall effect to about there, which already looks great.
Next, I'll go to the Crop Tool on the right-hand side, and where we have Straighten, above it, we have Auto and I can simply click on this and Lightroom will automatically straighten the horizon for me, which was ever so slightly off.
Creating landscape masks automatically
Now we'll go to the Masking section again from the right-hand side of the screen, and when I do, we can see the option for Landscape.
So, I'll click on that.
When I do this, Lightroom analyzes the image to see exactly what elements there are.
And once it identifies them, it automatically creates the masks as we can see here.
For this image, Lightroom identifies that there are four distinct areas: Sky, Mountains, Architecture, and Water.
And you can see how it identifies each area indicated by this red overlay as I hover my cursor over each in this list.
Had there been other elements such as trees, grass, natural ground, and artificial ground, then Lightroom would have also identified them.
Now the next thing I will do is tick the checkboxes for each, and I'll leave this checkbox here ticked so that I have four separate masks, meaning I can make adjustments to each of them independently.
I then click Create.
You can now see each of these masks are available to me in the Masking panel.
I'll choose the Sky mask first,
Enhancing the sky and mountains
and in the Edit controls I'll go to the Dehaze control to emphasize the sky by dragging the slider to the right.
I'll also increase the Clarity, which will really help to bring out the shape and the detail in those great clouds.
Next I'll go to the Mountains mask, which also includes this rocky area in the foreground.
You can see as I hover over it how good the mask is to even recognize the area of rocks just visible above the water.
I'm going to reduce the Exposure on them a little, so that my eyes aren't drawn to the bright area, as the lighthouse is the main subject, but I'll also increase the Texture to really bring out the detail on the rock surface.
That looks great.
Now I want to give the lighthouse a little bit more presence,
Refining architecture and water details
so I'll go to the Architecture mask and I'll increase the Clarity quite a bit.
And you can see straight away the difference that makes.
That's working really well.
Lastly, we have the Water.
So, I click to select the mask.
And then in the Edit controls available to me I'll just reduce the Highlights a little.
And yes, I'll add some more Clarity to really emphasize those crashing waves.
Fantastic.
After a very short time,
Reviewing masking results with before and after
we've made some great adjustments to this image. and to see the difference each of these individual masks make, we can just click down on the Eye icon to the right-hand side of each to see before and after.
So, there's the Water, Architecture, Mountains and Sky.
And to see what the image was like before any masking adjustments were made, we can press and hold down on the Eye icon in the upper right of the Masking panel.
So, this is before and after.
That's the Landscape masking feature built into Lightroom, which as you can see with this example works incredibly well, isolating all those different areas of the photograph that we can then apply selective adjustments to.
This not only saves a lot of time, but actually gives you back more time to be creative.
So, have fun using these on your own images.