Introduction
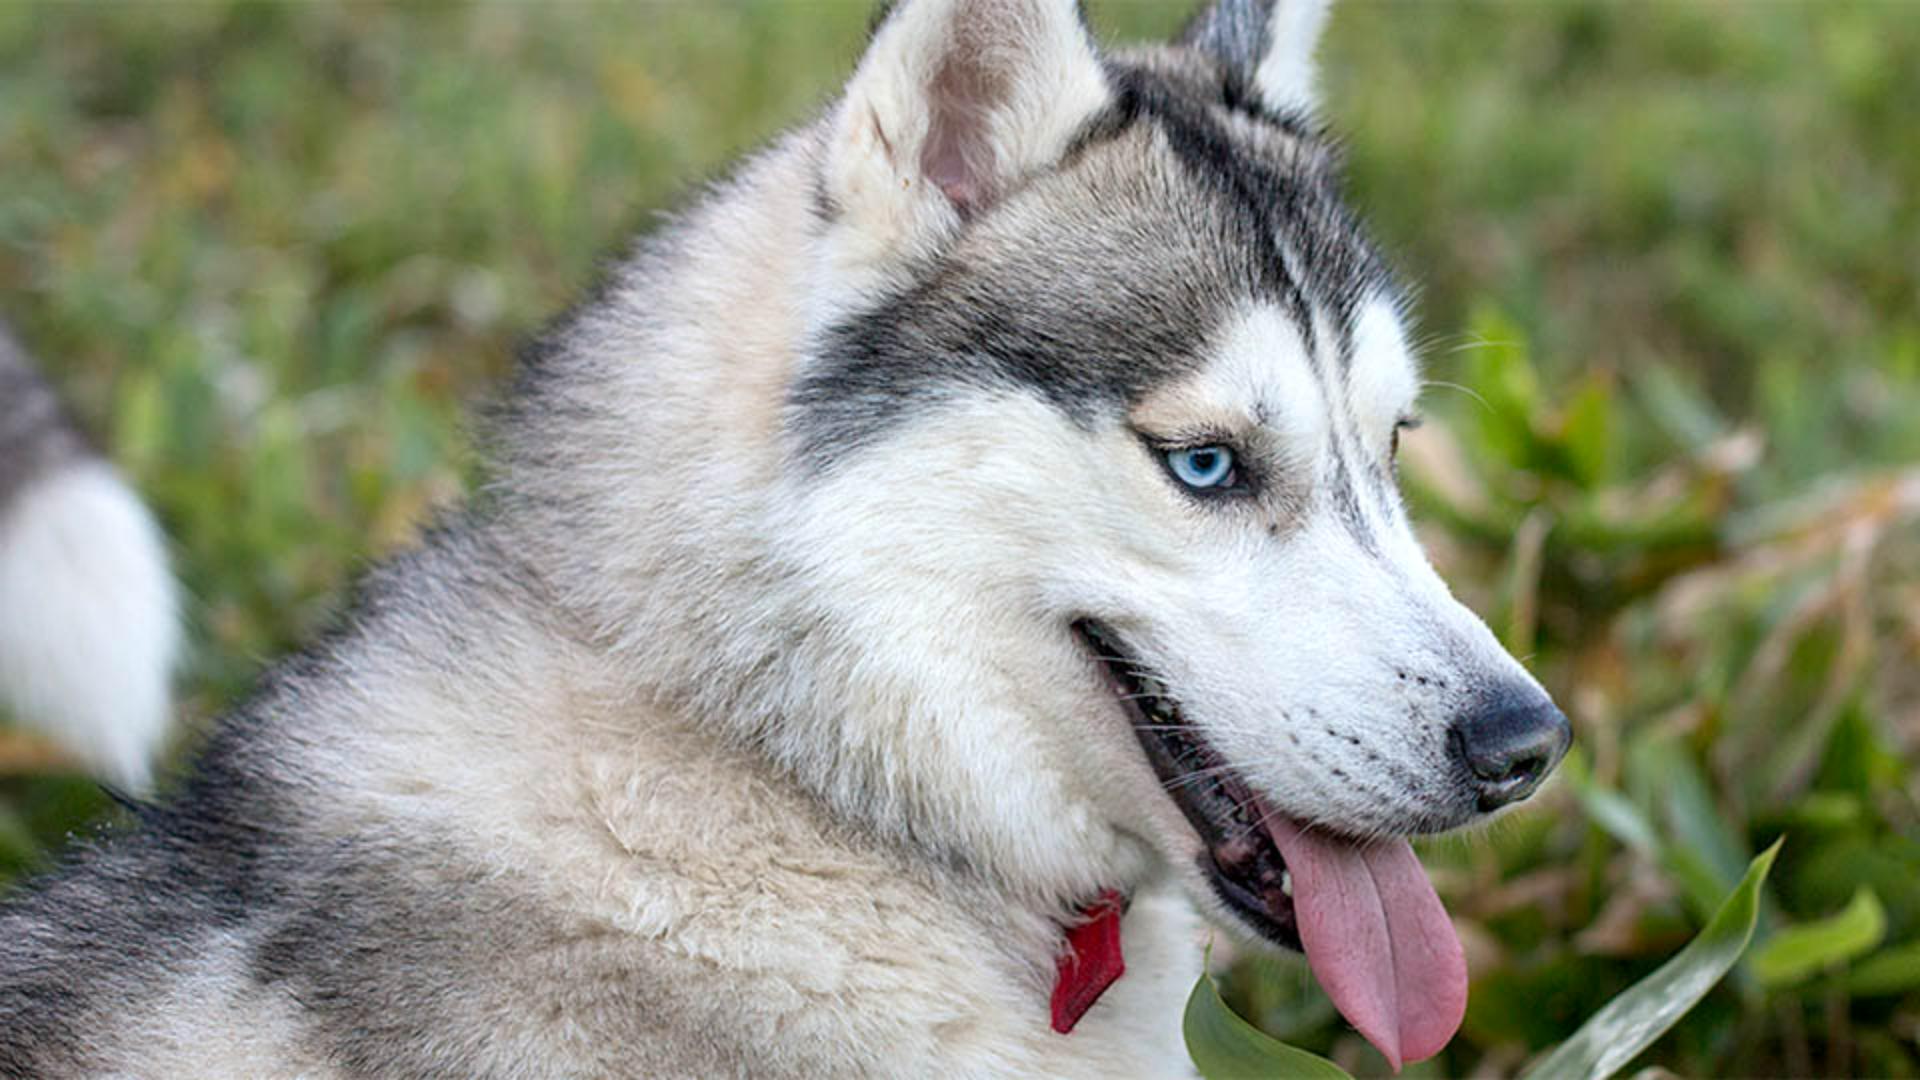
This is such a cute pet portrait, but it looks a bit dull, and it could use more brightness and contrast to take it from just okay to just right.
I'm Jan Kabili from Adobe's Learn team.
In this tutorial, I'll show you how to use levels in Photoshop to adjust lighting in a photo.
Adding a non-destructive levels adjustment layer
The first step is to add a Levels adjustment layer so you can apply levels nondestructively.
Go to the bottom of the Layers panel and click this round icon and choose Levels... to create a new Levels adjustment layer above the photo layer.
Up in the Properties panel
Understanding the histogram and tonal range
there are now some controls for the selected Levels adjustment layer, including this chart called a Histogram.
The Levels Histogram displays brightness levels that are in this photo.
To the far left of the chart is an area for the darkest possible tones.
The far right is for the brightest possible tones and the middle is for gray tones in between.
This white mound represents the actual tones in this photo now.
It's made up of lots of vertical bars squeezed together.
Each vertical bar in the mound represents one brightness level in the photo.
And the height of a bar tells you the relative amount of that tone in the photo.
This Histogram confirms what we can see in the photo.
If you look closely, you'll see that there are no vertical bars over on the far left of the Histogram, which means there are no true blacks in the image and there are just a few short bars on the right of the Histogram, which means there are almost no whites in the image.
Instead, most of the tones in the image are shades of gray.
Ideally, we'd like darker blacks, brighter whites and a wider range of tones in this photo.
The good news is that you can make that happen
Setting black and white points for better contrast
by resetting the black points and the white points.
That will cause the rest of the tones in between to stretch out as if they're on a big rubber band expanding the tonal range and making the photo pop with more contrast.
Find the black slider just under the Histogram, hold down the Option key on a Mac or the Alt key on Windows and drag that black slider over to the right until you start to see some black areas appear in the mask that's now on the image.
Those black areas represent parts of the image that will be pushed to pure black with no detail.
If you want to see detail in some of those areas, then drag the black slider back over to the left until there are just a few spots of black.
Now do the same thing on the right side of the image with the white slider hold Option or Alt and drag the white slider to the left until it's just under that mount and you'll start to see some bits of white.
To avoid clipping those areas to pure white with no detail, you can drag back over to the right until there are just a few spots of white in the image.
There's one more thing you can do to improve the tones in this photo,
Brightening midtones to improve overall exposure
and that is to brighten it overall.
To do that, go to the gray slider under the Histogram and drag it to the left, which will brighten the mid tones and make the photo look brighter overall.
Congratulations.
With just a few moves, you added life to a dull, dark image.
You reset the black points, you brighten the mid tones and I hope you picked up some useful information about using a Histogram to evaluate and improve the tones in a photo.


