|
Get creative with text
In this section, you'll work with text that will make up the marketing copy for the brochure. You'll perform a variety of tasks, including flowing text into the shape of a vector path, importing text from a TXT file, adding inline graphics to create the appearance of bullets, and adjusting the horizontal scale of type characters.
Flow text into paths
In FreeHand, you can create many interesting effects with text. Here, you'll flow text inside vector paths so that they take on the paths' shapes. First you'll display the contents of the hidden Text layer to get the content you'll need.
| 1 |
In the Layers panel, click the padlock icon beside the Text layer to unlock it, and then click its layer name to make it the active layer. |
| 2 |
Click in the empty left column beside the Text layer to display its contents in the document. A check mark beside a layer indicates that its contents are visible. |
|
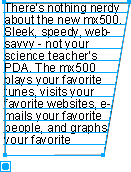
Various text blocks appear on the page and pasteboard. |
| 3 |
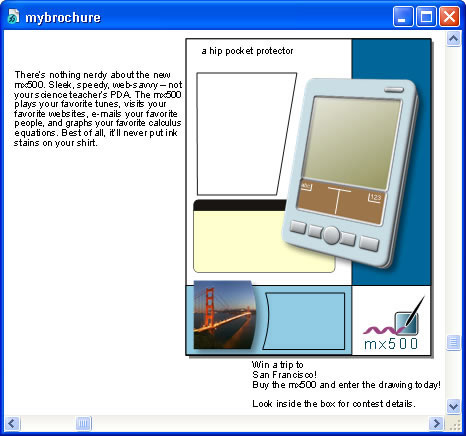
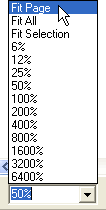
Use the View > Magnification menu or the Magnification pop-up menu in the Status toolbar (Windows) or the bottom of the Document window (Macintosh) to reduce the document view so that you can see all the text blocks, as shown below.
 |
|
Tip: Depending on your monitor size and screen resolution, your view percentage will vary. Use the Document window scroll bars or the Hand tool to scroll the view if necessary.
 |
| 4 |
Using the Pointer tool, click the text block on the far left, and Shift-click the large polygon on the left side of the page to select both objects at the same time.
 |
| 5 |
Select Text > Flow Inside Path. The text flows inside the polygon. |
|
In the Object panel, the two items have become a single object labeled Text in a Path. Because there is more text than can fit inside the path, a dot appears in the link box at the bottom.
 |
|
Don't worry about the overflow text at the moment. You'll modify text attributes in later procedures so that it fits within the path. |
| 6 |
Click the remaining text block on the pasteboard, and Shift-click the path above it.
 |
| 7 |
Select Text > Flow Inside Path. |
|
The text flows inside the path. |
| 8 |
With the text-in-a-path object still selected, Shift-click the previous text-in-a-path object you created.
 |
|
The Object panel Properties list indicates that two objects are selected. Both objects have a stroke applied. |
| 9 |
Select the Stroke property in the Properties list and click the Remove Item button.
 |
| 10 |
Click on the pasteboard so you can see the result of the previous step without any objects selected. |
|
The stroke for both paths is removed, and the text still flows in the shape of the paths. |
 |
|
Import text
In the previous procedure, the text you worked with was provided for you on the Text layer. Here you'll import more text from a TXT file.
| 1 |
Zoom in on the document by selecting Fit Page from the Magnification pop-up menu in the Status toolbar (Windows) or at the bottom of the Document window (Macintosh).
 |
| 2 |
Select File > Import. |
| 3 |
Double-click the features.txt file in the FHMX_Tutorial/Assets folder. |
|
The import pointer appears. |
| 4 |
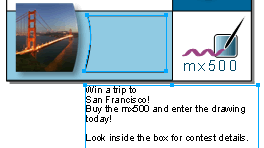
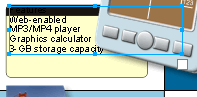
Position the import pointer over the rounded rectangle in the center of the page, and click to place the text. Drag the text block to position it as shown below. Don't worry that you can't see the first line of text; you'll modify its attributes in later procedures.
 |
|
|
Move all text to its own layer
To maintain organization within the document, you'll select all the text you worked with previously and move it onto a single layer.
| 1 |
With the text still selected from the previous section, Shift-click the remaining text blocks and text-in-a-path objects on the page (excluding the logo text). |
|
In the Layers panel, several layers are highlighted because the selected items currently reside on different layers. Even though much of this text resided on the Text layer initially, when you flowed text inside paths, the text moved to the layers associated with those paths. |
| 2 |
Click the Text layer in the Layers panel list. |
|
All the selected text objects are moved to the Text layer. When an object is selected in the document and you select a layer in the Layers panel, the selected object is moved to that layer. |
|
|
Add inline graphics
In this section, you'll create an inline graphic using a symbol from the library. Inline graphics are graphics contained within a text block. They remain in the same position within the text even if you move the text block.
Inline graphics can be used with text in a variety of ways. Here, you'll use inline graphics to create the appearance of text bullets. For the purposes of this tutorial, a symbol named Bullet has already been created for you.
| 1 |
From the Library panel, drag the Bullet symbol onto the pasteboard. |
|
An instance of the symbol appears. Don't worry about its exact location. |
| 2 |
Select Edit > Cut. |
| 3 |
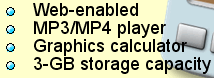
Double-click the text block you imported previously to display an insertion point, and click to position the insertion point at the beginning of the line that reads Web-enabled.
 |
| 4 |
Select Edit > Paste. |
|
The instance of the Bullet symbol is pasted into the text block. |
| 5 |
Press Tab to create space between the bullet and the text. |
| 6 |
Use the Zoom tool to zoom in on the text block.
 |
| 7 |
Click the Text tool and highlight the bullet you pasted.
 |
|
At the bottom of the Object panel is the Text Effect pop-up menu. The Graphic effect (Windows) or Graphic Element effect (Macintosh) is selected. This option is selected whenever you highlight an inline graphic in a text block. Inline graphics are treated as text characters in FreeHand.
 |
|
Tip: In Windows, when an inline graphic is selected in a text block, the selected property in the Object panel Properties list displays a preview of the graphic. |
| 8 |
With the bullet still selected on the page, hold down Shift and highlight the tab space following the bullet, then select Edit > Copy. |
| 9 |
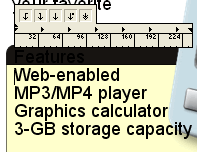
Position the insertion point at the beginning of the next line of text, and select Edit > Paste. Repeat this step for the remaining two lines of text, so that the text block contains four bullets.
 |
|
In a later procedure, you'll modify the spacing between the bullets and the text. |
|
|
Adjust horizontal scale
Next you'll make text characters wider by adjusting their horizontal scale percentage, which modifies character shape without affecting spacing or height.
| 1 |
Adjust the document's view percentage again by selecting Fit Page from the Magnification pop-up menu. |
| 2 |
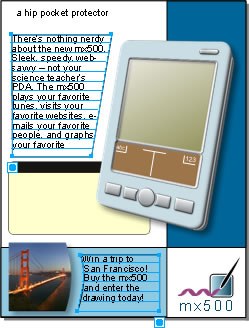
Select the text block that reads a hip pocket protector at the top of the page. |
| 3 |
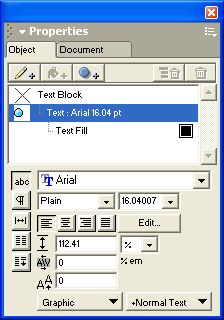
In the bottom of the Object panel, click the Character button if it's not already selected.
 |
| 4 |
Select Bold as the font style, set the type size to 44, and press Enter (Windows) or Return (Macintosh). |
| 5 |
Click the Spacing button to display spacing options.
 |
| 6 |
Set the horizontal scale percentage to 115, and press Enter (Windows) or Return (Macintosh).
 |
|
Increasing the horizontal scale percentage widens text characters. (Standard scale is 100%.) |
| 7 |
Double-click in the text block, and highlight the word hip. |
| 8 |
Click the Character button again in the bottom of the Object panel to redisplay character options, and select BoldItalic as the font style. |
|
|
In the previous procedures, you flowed text into the shape of paths, imported text, added inline graphics, and adjusted horizontal scale. In the next section, you'll continue working with text by creating, applying, and modifying text styles.
Note: Before continuing, select File > Save.
|


