Key effects make areas of the clip transparent based on the brightness or color of specific pixels in the image.
When applying a key, you designate which areas of the image will become transparent and which ones will stay opaque by selecting pixels with a particular brightness or color value.
The key makes those pixels automatically transparent.
I'm in the Effects workspace.
In the Project panel, I'll double click to open my Media bin in icon view then I'll double click on the bright green frame to load it into the Source Monitor.
Subjects are filmed in front of a green screen like you see in this clip, so we can later replace the green background with a different image.
That's why a key is often called a green screen effect.
Setting a specific color to become transparent is called the chroma keying and the Ultra Key which is available in the Effects panel under Video Effects, Keying is a type of chroma key that does a really great job at defining transparency based on color.
Let's see how this works.
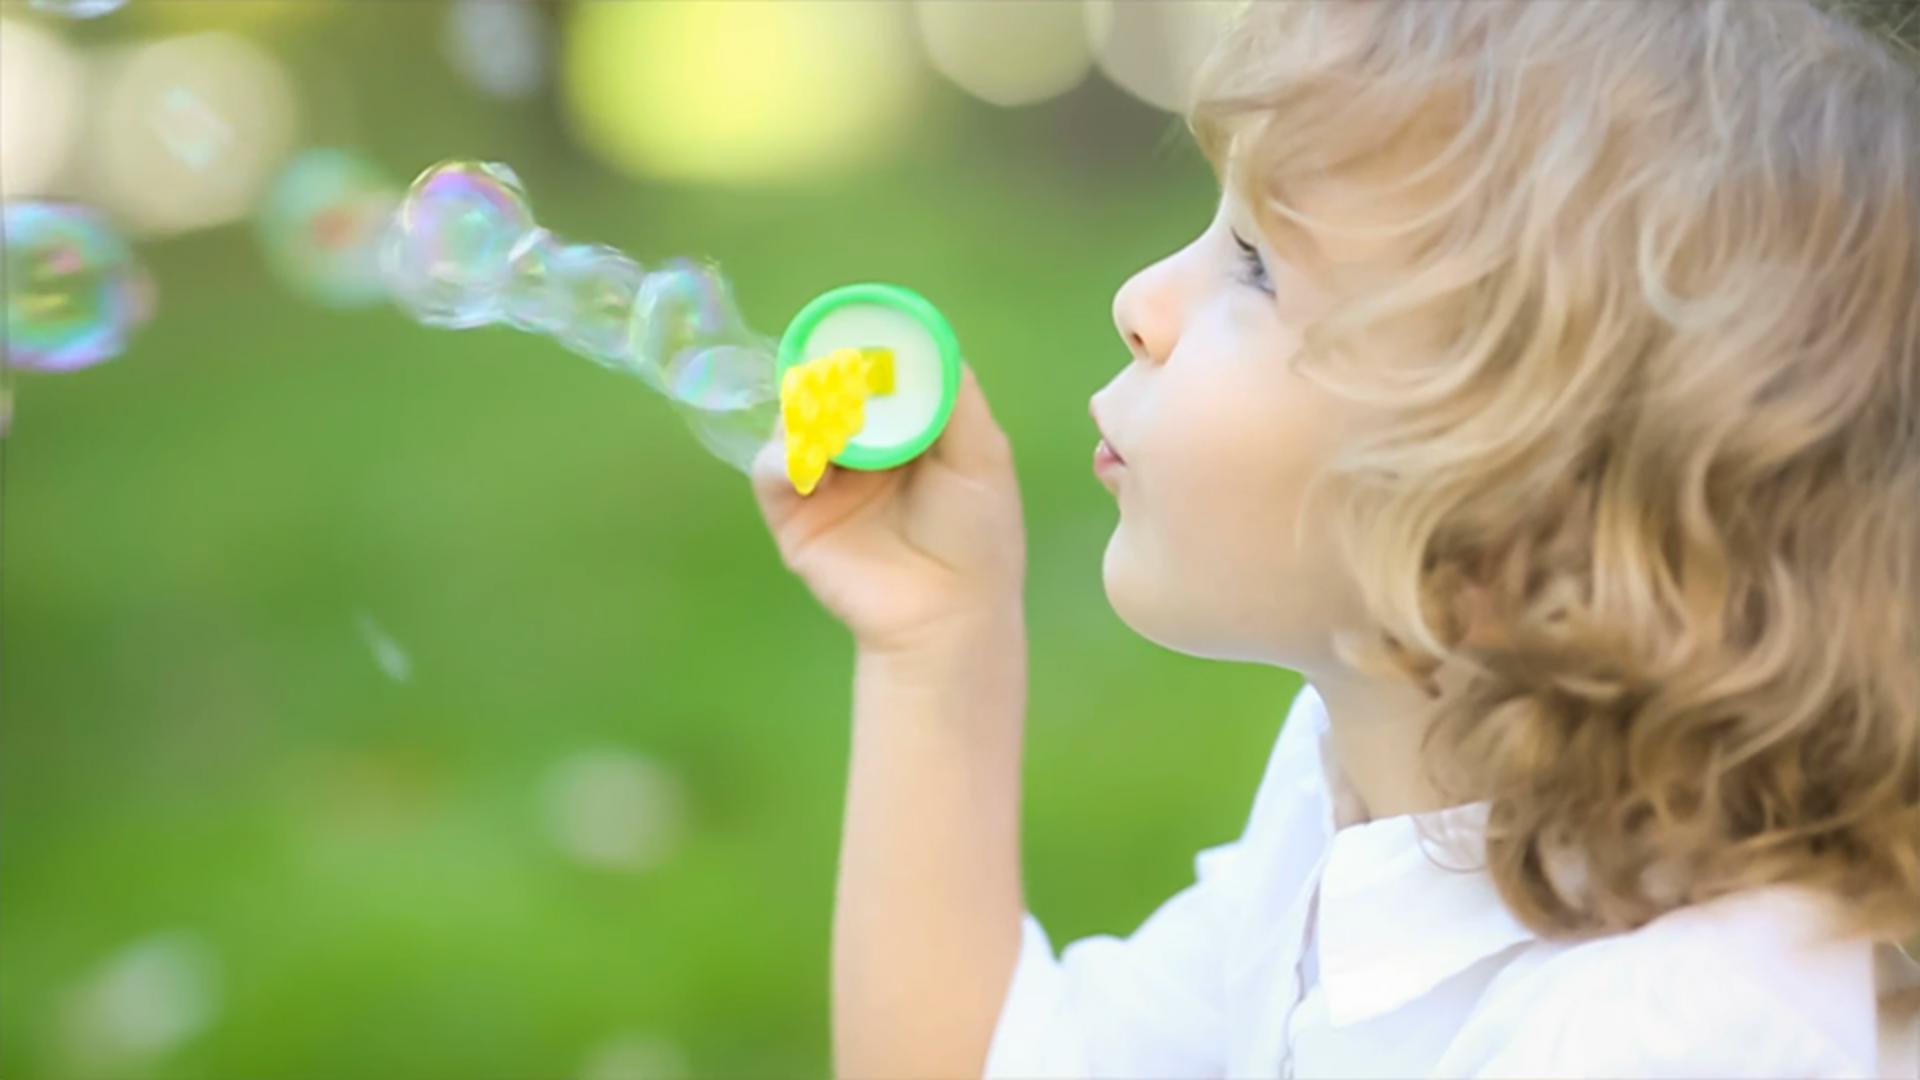
In my current sequence, I've got clips of children playing with bubbles, but some of the best shots of the kids don't have bubbles.
I'll edit this green screen clip of the bubbles onto V2, so it's above the clip without any bubbles on V1.
In the Source Monitor, I'll drag the playhead to the marker located at 00:00:04:14.
After making sure the second clip in my sequence is selected and the source patching is set to V2, I'll press X to match the duration of the clip on V1 and then press Overwrite.
I'll head over to the Effects panel and drag the Ultra Key effect onto my selected green screen clip on V2.
With the clip still selected in the Timeline and the playhead over it, I'll open the Effect Controls panel to adjust the Ultra Key.
To pick the color I want to make transparent, I'll use the Eyedropper, hold the Command key or Control on a PC while dragging the Eyedropper across the color you want to make transparent in the Program Monitor.
This measures a 5 x 5 pixel average of the selected color and usually provides better results.
Right away, you should see the background image from V1 where the green had been.
I still see a green cast so I'll switch the Setting pop up to Aggressive which will expand the color range to eliminate more green pixels.
Now this shot has bubbles.
The Ultra Key is my go-to chroma key here because it works well for many different colored backgrounds.
In the Media bin is another video with a bright pink background.
I'll double click to load it into the Source Monitor so I can overwrite it above the second to last clip in the sequence.
This clip has very soft focus bubbles and I want to add more.
An inPoint has already been set for the source clip.
I'll select the clip in the sequence then type X to mark the V1 clip duration and press Overwrite.
I'll drag the Ultra Key onto the bubbles clip on V2 and with the clip still selected in the Timeline, I'll go back to the Effect Controls panel to adjust the Ultra Key.
This time, I'll click the arrows to reveal additional controls that will help me refine the key.
After selecting the pink background using the Eyedropper, I'll again change the Setting to Aggressive which you can see sets the Tolerance control to a higher number, broadening the Transparency range to include more pink pixels.
In the Output menu, I'll choose Alpha Channel to help me fine tune these settings.
With the Alpha Channel active, black areas represent transparency and white shows you the opaque parts of the image.
I like to put my cursor over the control values and click and drag to quickly update the settings while I keep my eyes on the Program Monitor.
Keying a background around transparent subjects like bubbles is really tough.
Try taking the control from one extreme to the other while viewing the Alpha Channel output.
I'll put the Output settings back on Composite and continue refining the key until the soft focus bubbles blend well with the background image.
Great results come by just working your way through each control slider and paying attention to what happens.
If you right click on the name, customized Ultra Key effects can be stored as a preset.
So, if you're working with many clips from the same shoot, store a preset to quickly key similar footage.