Introduction
In Illustrator, you've probably experimented with color blends called gradients and even used them in your projects.
Most of those gradients you create are called linear or radial gradients.
They actually have colors that blend in a straight line.
Let's take gradients to the next level and we're going to add some serious punch to your projects using something called Freeform Gradients like these.
Applying a freeform gradient to a shape
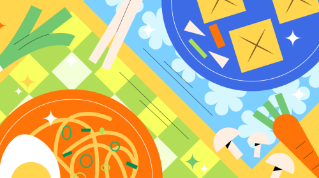
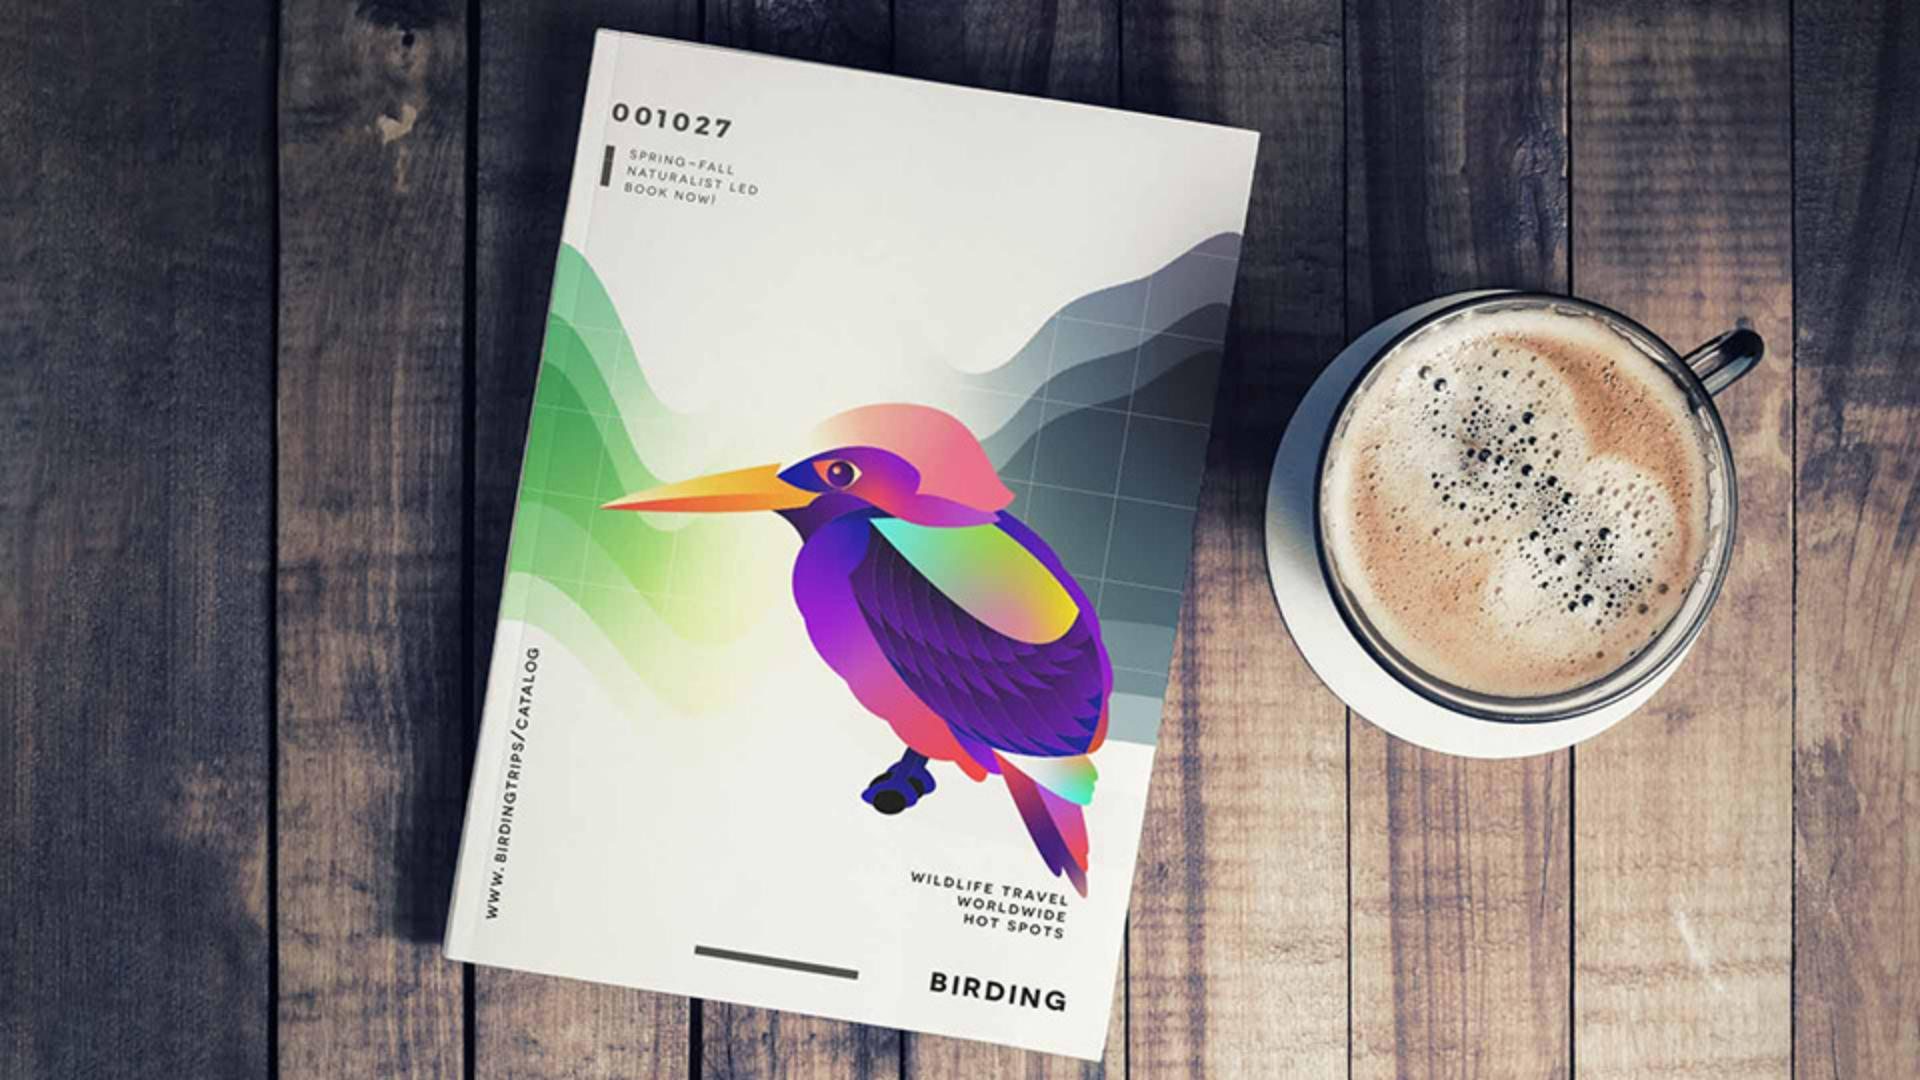
Let's jump in and apply a Freeform Gradient to the shapes of this bird so the colors follow more of the shapes curve.
Start by selecting the Gradient Tool in the Toolbar.
I'll zoom into this yellow shape on the bird, click on it to fill it with a default gradient.
Now to change the default linear gradient to a Freeform Gradient in the Properties panel, you can see the three types of gradients here.
A linear gradient is default.
Click the Freeform Gradient button to apply one.
Now the default experience is applied to the shape when you apply this kind of gradient.
The colors you see might not match what I see, and that's okay, we'll fix them.
Each color in this shape is shown as a color stop, these little circles.
Now the color from each of these stops colors the surrounding area blending into the new color.
If you click on one of these stops and drag it,
Manipulating color stops and gradient spread
you can see the color is now blending differently.
This is where it gets fun.
Try dragging the other color stops so you can change the gradient around.
With one of the stops selected, go ahead and move the pointer near it and you'll see a dashed circle around it.
If you drag this little handle here, you can adjust what's called the spread of the color.
The smaller the circle, the less the color spreads.
Now we all want to change the color, I know.
So to change the color of these stops, come to one of them and double click.
You can see the different ways you can change the color.
Go ahead and select the swatches here and select the swatch from this color group down here.
You see how this new color blends into the other colors.
Now let's make the rest of these colors different colors from that same color group To change the other colors, you can do just what you did, you can double click on one and pick a color.
You can also select the color stop and go over here to the Fill and change it like this.
Now, maybe we want to add another color to add even more interest, just click in the shape,
Adding, changing, and removing freeform colors
you can then do what you've been doing, you can change the color if you want to and drag it around.
I'll try adding one more color.
I don't love this color with all these other colors, so if you want to remove a color, you can just select it and press Delete or Backspace or even drag it right outside the shape and let go.
Now, with a Freeform Gradient, we can add colors just like we did,
Creating contour effects with freeform gradient lines
but you can also add colors along a path.
This is called Lines mode.
You can see an example here.
It's actually really a great way to create a wall of color, essentially.
Colors apply to all the points on the line and can be used to create a contour, for instance, along the edge of the shape.
Let's add a line of color to this top shape.
Let's start the Freeform Gradient the same way we just did, it's just a little practice.
With the Gradient Tool selected, click the shape, to apply a Freeform Gradient select it in the Properties panel.
Try moving some of these colors actually down here because we're going to put the line a little closer to the middle.
And if you want to, let's do this, let's change all the colors to be the same.
Instead of going to each color separately, you can Shift click more than one color stop, then change the Fill color, maybe to this.
Now, to add a line of color, click to add a new color here, and we're going to use this as our starting point.
In the Properties panel, go ahead and select Lines mode.
From here on out, you're going to be working with lines of color.
Now you need to either click to make a new path or you can just select the point we just made and use that as a starting point.
Now, you want to change the color of this point so that when you make other points to make a line, they'll all be the same color.
So change the color of this point however you want.
Now to add another color, go ahead and move up here and click to make a point.
You can see a line connecting them.
If you keep clicking, you keep drawing the line.
You can see that the color actually follows the curve of the shape.
When you're done adding points, if you want to stop drawing, you can press the Escape key.
Now, like any other path, you can edit this one so you can go to the points in the line and move them to kind of refine the color blending.
If you wanted to change any of the colors in a line, you could change it like you've seen, double click on it or go to the Fill.
And if you want to remove one of these, you can select it and press Delete or Backspace.
Now to fine tune the appearance of this gradient,
Refining gradients by switching between points and lines mode
if you want to go and edit the individual color stops again, so you don't keep drawing lines. you want to go back to the default Points mode by selecting Points in the panel over here.
Then you can drag one of these individual points around and see what it does when it gets really close to the line.
The closer these points are to each other, the shorter the transition between colors.
Imagine making two lines of color and putting them really close together, you'll get something like this.
Freeform Gradients are one of those things that I've wanted to do forever.
They open up a whole new world of just making smooth and natural color blending.
Why not try experimenting here?
Why don't you go and create some more Freeform Gradients in other parts of this bird, especially this white shape here?
It's kind of like a blank canvas for you to experiment with and see what you come up with.