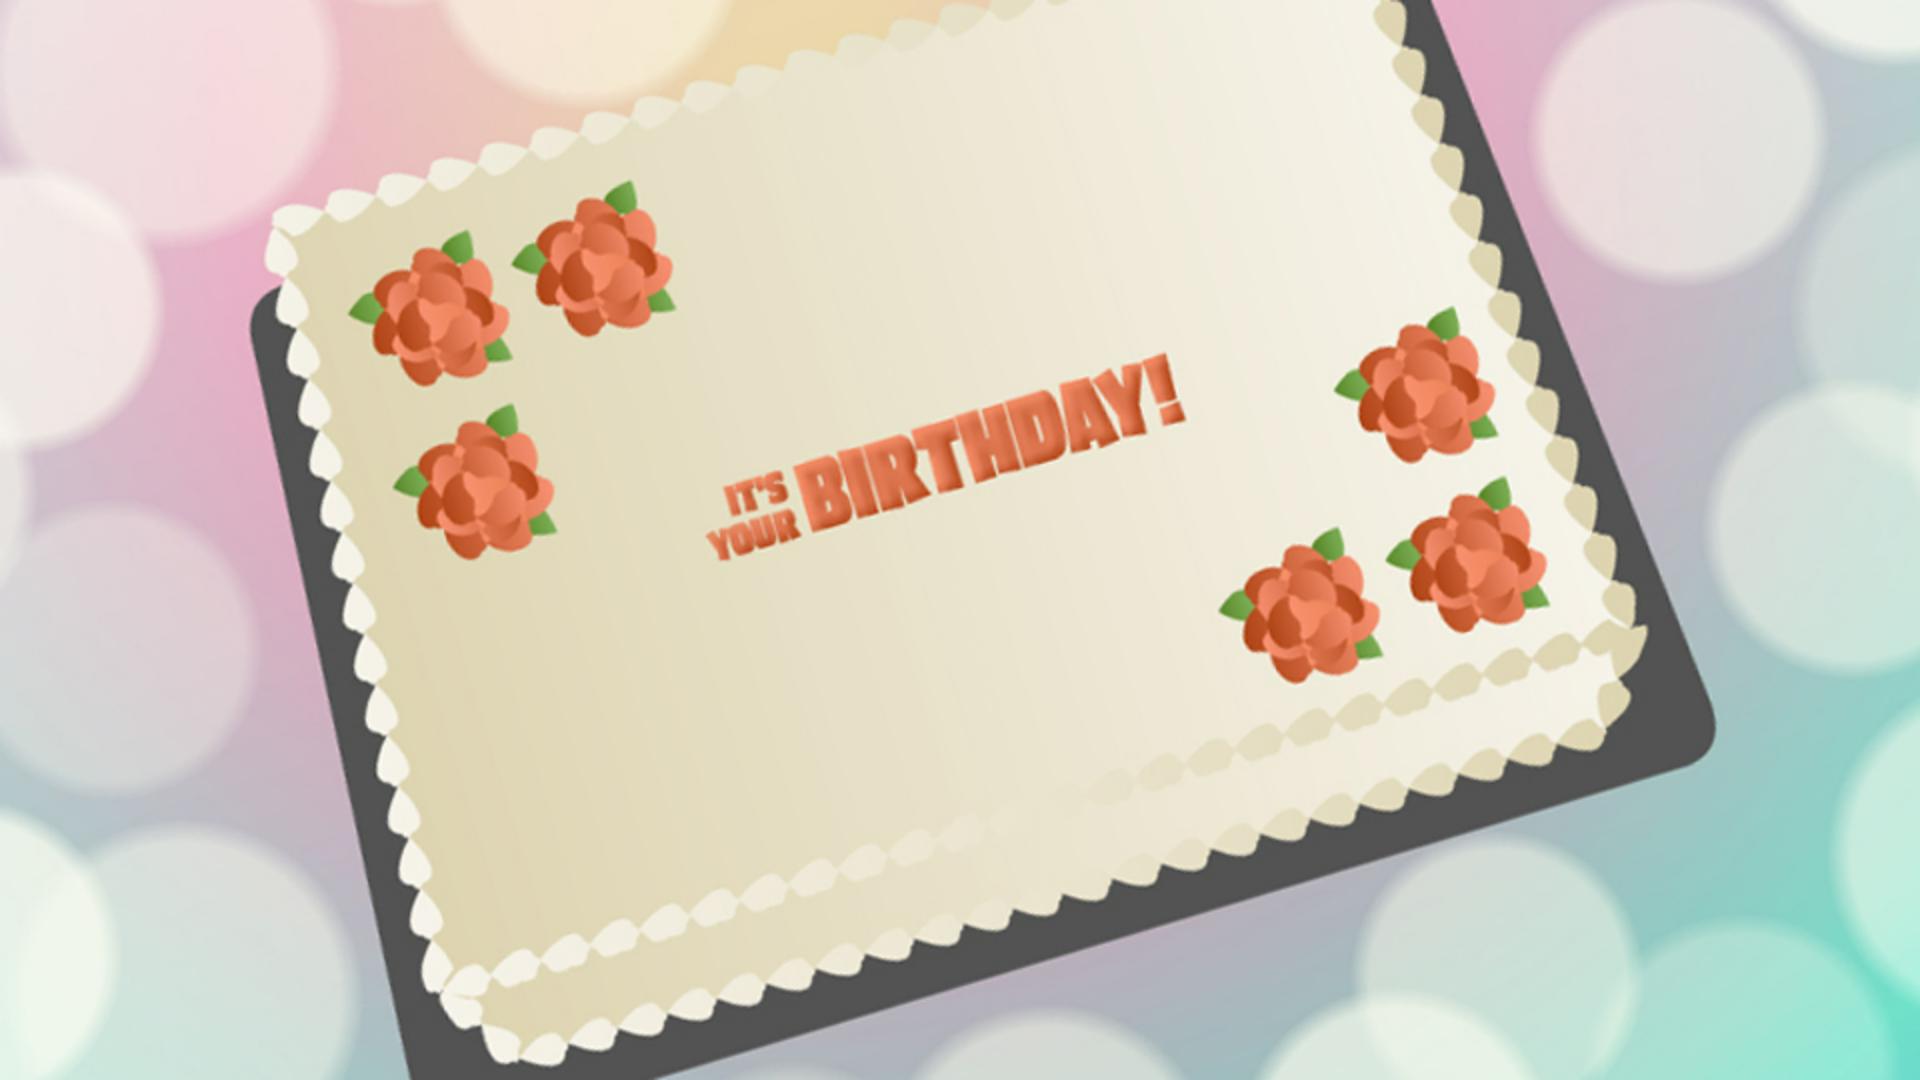
We're animating some text on a birthday cake.
The text has been converted into individual symbols to be animated separately.
Select the three words and distribute them to different layers by going to Modify, Timeline, Distribute to Layers.
You'll want to delete the original layer that's now empty.
Using Distribute to Layers is pretty handy for putting text, symbols or named instances on separate layers because Animate will automatically name the new layers for you.
Let's add a Motion Tween to animate BIRTHDAY!
Hide the other text, select the layer, right-click and select Create Motion Tween.
Animate creates a span that lasts a second which is 24 frames because our frame rate is set to 24 frames per second.
Right now there's no actual motion, we need to make a change to our text to create some motion.
If we want the animation to end in its current position, we will need to add a keyframe at the end.
Position the Playhead at frame 24, right-click and Insert Keyframe.
You can make the keyframe for a particular attribute, like Position, or set it for All if you have other attributes that you might want to change at the same time.
Go back to frame one and drag BIRTHDAY!
to the right while holding Shift to constrain it.
Scrub the Timeline to see how it moves.
Let's go back to frame one and change its opacity in Color Effects by setting Alpha to 0 so that it fades into its position.
At the end keyframe, we'll also need to set the Alpha to 100%.
When we make a change in a Motion Tween a keyframe is automatically added so animating with them is pretty efficient.
Animating can be even faster with Motion Presets.
These presets are Motion Tweens that have the keyframes already set.
All you do is apply one to your symbol.
Hide BIRTHDAY!
and unhide YOUR.
Move the Playhead to frame one, go to Window, Motion Presets or look for the decreasing dots icon in the panels.
In the Default Presets folder is a collection of Motion Presets.
Click on one to see a preview of the Motion Tween that can be applied to your symbol.
Let's use the fly-in-blur-bottom Motion Preset to animate YOUR.
Before we apply the Motion Preset here's an important tip: if we click to apply the fly-in-blur-left Motion Preset now, Animate uses the current position of the text as the starting point.
But the text was laid out in the position where we want the words to appear in the end.
To tell Animate that the position of the symbol is where you want the Motion Preset to end hold down the Shift key when you click Apply.
Unhide Its and apply fly-in-blur-top while holding down Shift and let's remove the Motion Tween we set up for BIRTHDAY!
and instead apply fly-in-blur-right with the Shift key too.
Using Motion Presets we can quickly animate text.
Next, we can add sound, and sync our animation up with the lyrics of a song.


