In this video you will learn how to create custom presets in Lightroom.
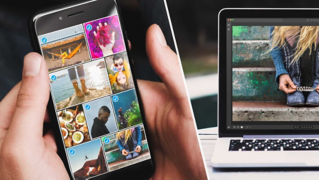
You can follow along with any photo or you can download the sample file from the Adobe page for this tutorial.
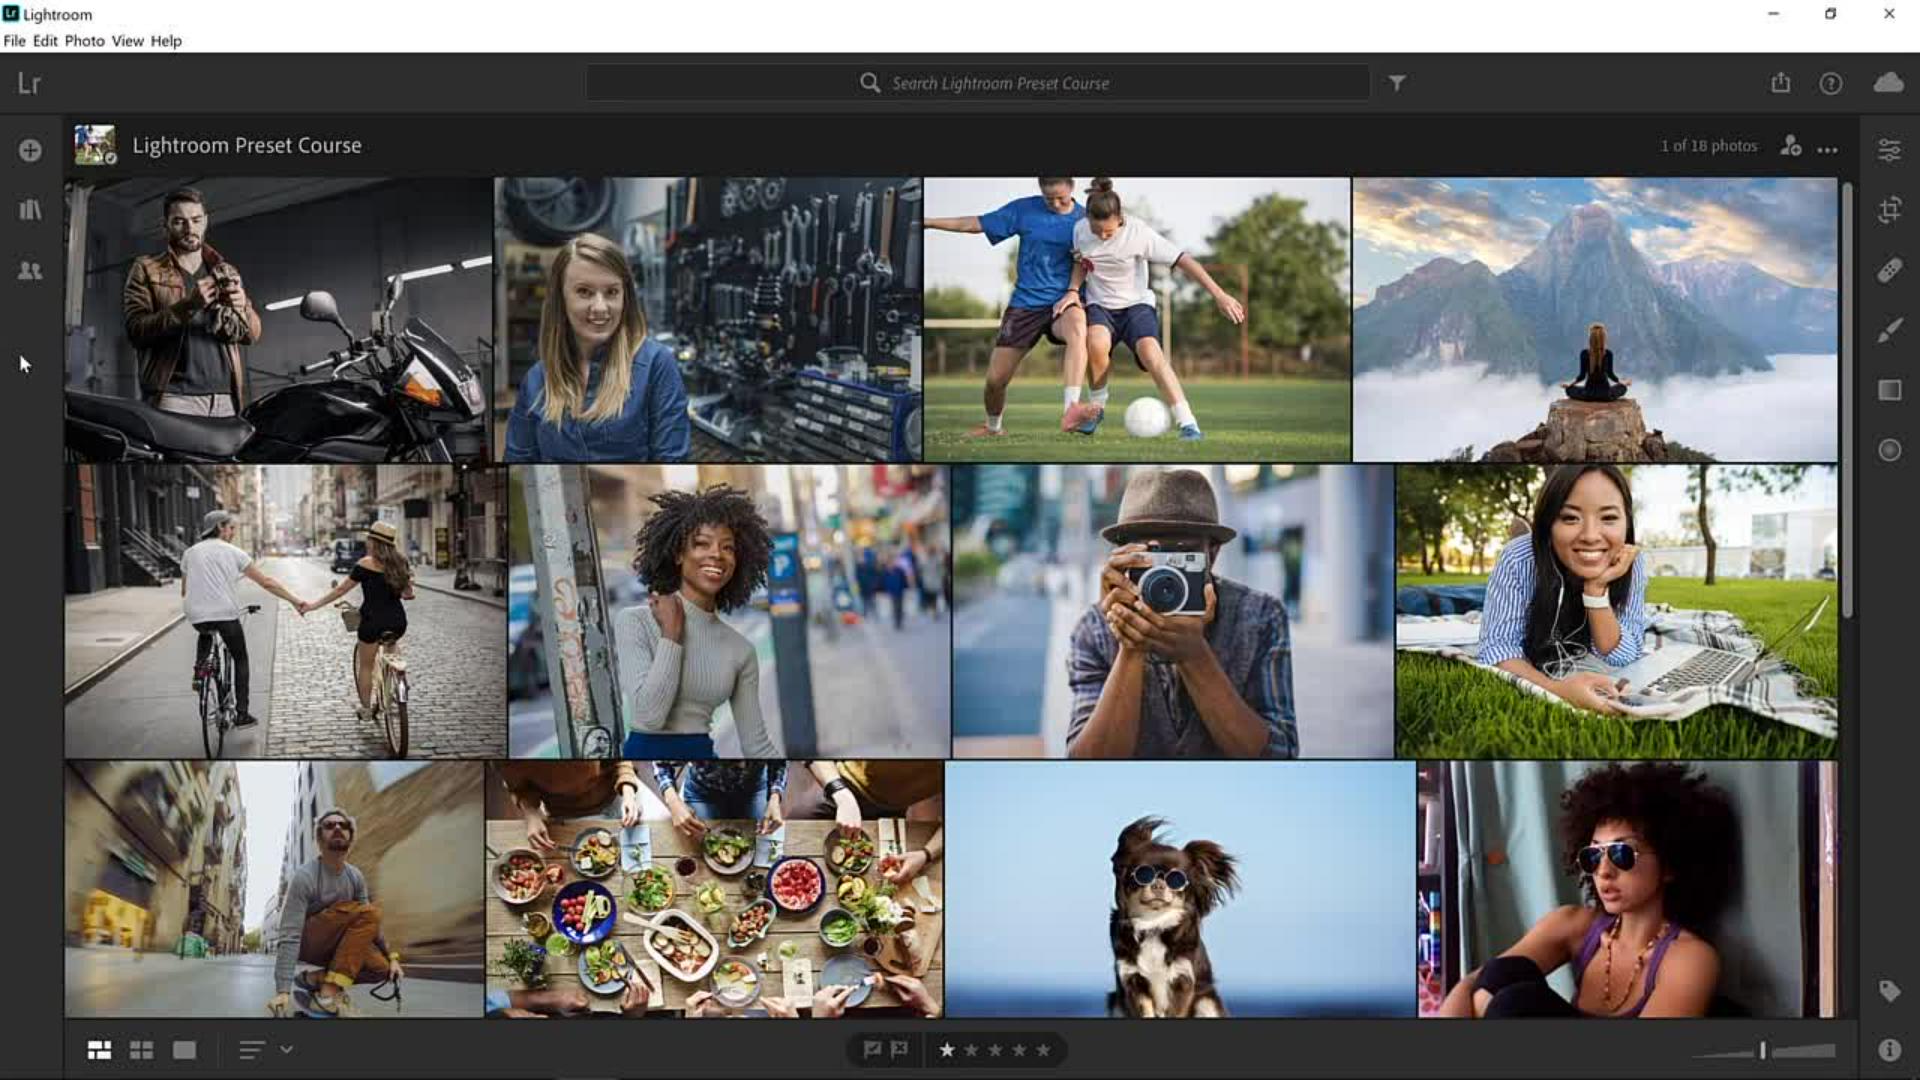
Once you import the sample photos into Lightroom you will see them in the photo grid.
Double click on this one to open it.
Presets are a lot like applying a filter to a photo on a mobile app.
With one click you can dramatically change the look and feel of your photo.
Lightroom comes with a few dozen presets built in and you can download more presets from other creators online, but even better, you can create your own.
A preset is nothing more than a pre-determined position of one or more of the Control sliders.
So, when you apply a cool effect to one of your photos you can save the adjustment as a preset and apply it to any other photo with just a few clicks.
Let me show you how you can do that.
We'll start by applying a grungy teal orange effect to this photo and we'll save the adjustments as a preset.
To apply your adjustments, click on the Edit icon or press E on the keyboard to go into the Editing workspace.
Start by applying a Profile.
With a RAW image a Profile determines how the data in a RAW photo is shown on screen.
Lightroom also has creative profiles that can be used on both RAW photos and the non-RAW photos like a JPEG which is the kind of file that we are working with in this video.
Created profiles allow you to quickly add a stylistic effect without adjusting any of the sliders.
From the Profile dropdown select Browse All Profiles… and click on the Artistic category.
Hover over the profiles to see a light preview of how they will affect your image.
The one that I am going to use for this video is Artistic 04 because it almost already applies the effect that we're going for.
It applies a teal color to the shadows, and it enhances the oranges.
Click on the Back button.
Then from the Light panel increase the Contrast of the image.
We're going for a high contrast grungy effect.
Then reduce the Highlights.
Make the Shadows darker.
Next, expand the Color panel.
From here you can reduce the temp to make the image cooler and increase the Vibrance which increases the saturation, but it protects already saturated pixels and skin tones.
Then I'll go into the Effects panel and I'll make the Texture of the image stand out by dragging the Texture slider to the right.
Also, I'll increase the Clarity which increases contrast in the mid tones, and it enhances the grunge look.
I will also drag the Vignette slider to the left to create a dark vignette and I'll add a little bit of Grain by dragging the Grain slider to the right, also enhancing the grunginess of the image.
Open up the Detail panel and increase the Sharpening.
I'll click on this icon so you can see the original image and I'll click again so that you can see the edited version.
To create a preset out of these settings all I need to do is click on the Presets button.
Then from the …menu select Create Preset… Give it a name.
I will call mine Teal Orange Effect.
Then you can select what Preset Group you would like to save your preset in.
By default, the preset will save under the User Presets group, but you can create a new group if you like.
I'll leave it on the default group.
Then you can select which settings you would like to save.
In this case I would like to save all the currently selected settings, but you could select the single category or even just one slider.
I'll click on Save to save my preset.
Notice now that in my Presets panel I have a User Presets group and inside of that group I have a Teal Orange Effect preset and now you can apply the settings that I used on my original photo to a new image just with one click.
For example, you can click on the Film Script icon and select any other image, like this one here which is also a sample file provided for this video.
Then you can simply click on your new preset to apply their effect.
Best of all, all these presets are editable, so if you want to change something, all you need to do is click on the panel and adjust the slider.
For example, I think that this photo needs stronger contrast.
So, I'll click on the Light panel and increase the Contrast just a little more.
Also, I think that the color is a bit strong, so I can go into the Color panel and reduce the Vibrance.
If you want to update your Teal Orange Preset with these settings, you could right click on the preset and select Update with Current Settings.
Also note that from this menu you could Rename, Move, Export or Delete a preset.
Keep adjusting the sliders any way that you like.
All adjustments are subjective.
Make the ones that look good to your eye and as simple as that, you can apply the same preset to two photos with just a few clicks.
Now that you know how to make your own presets in Lightroom, go ahead and give it a try with your own images.