Introduction
[Brian Matiash]: Have you ever wanted to apply precise edits to very specific parts of your photo using Lightroom masking tools, but you weren't sure how?
Well, good news, because I'm going to show you how in this video.
Hi everyone!
My name is Brian Matiash.
I am a software quality engineer on the Lightroom team at Adobe as well as a photo educator.
Now, as far as I'm concerned, there is nothing more powerful in Lightroom than the Masking panel because you can add, subtract, and refine multiple masks together to make precise edits to specific areas within your photo.
And that's exactly what I'm going to show you in this video.
So let's dive in.
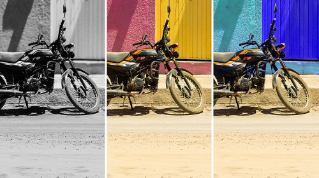
Combining masks using add
To start off, I'm going to show you how you can combine multiple masks together using Add.
What I want to do is I want to kind of draw the viewer's eye further down the frame by darkening the sky.
But I also want to make sure that it kind of bleeds over the horizon line.
So it's not a hard edge.
To do that, we're going to go to masking by clicking on the Masking icon here in the right Toolbar.
I'm going to start by selecting the Adaptive Sky mask, which will make a nice sky selection.
And you can see with the overlay here that there is this kind of hard edge and I can illustrate that by dropping the Exposure.
You can see how the sky is being darkened evenly from top to bottom.
But what I want is for that to transition over the horizon just a bit.
To do that I'm going to click on Add.
And then you're going to see this Masking panel here with all of the masking tools available.
So I'll select Linear Gradient, and then I'm going to click and drag down.
And you can see if I drag down really far you see how it's bringing that reduced exposure onto the mountain.
But I really just want it kind of right around there.
Now to visualize this, you can see the color overlay.
But if I click on this ... and select the White on black and then turn the overlay on.
You can see here how the combination of the sky filter and the linear gradient represents itself on this image.
So that is how you can combine multiple masks together using the Add function.
What if you want to remove multiple masks from each other?
That's where subtract comes in and I'm going to show you that right now.
Removing areas with subtract masking
So here this is a photo of my beautiful wife Ashley that I took in Arches National Park.
And what I want to do is add a nice soft, warm glow behind her.
In the Masking panel again, I'm going to click on Radial Gradient, and I'm just going to draw an oval over her here and position it right around there.
To end the actual glow under the Effects panel here I'm going to go to Dehaze.
And I'm going to move it to the left to apply a negative Dehaze.
So you can see we're kind of getting this glow.
But the problem is that it's on top of Ashley too, which I don't want.
I want the glow to be behind her.
So wouldn't it be great if I can remove one mask from another?
I can do that with the Subtract button.
So again, I've got this radial gradient here.
I'm going to click on Subtract and then I'm select Subject.
Now you can see that what we've done was we cut out or subtracted the subject from the radial gradient.
And if I go here, and I click here and then move it around, you can see how that glow is literally sculpted around Ashley.
Now I can go ahead to Color, increase the Temperature to warm it up.
And then I can also use the Amount slider right here to control the overall strength of that glow.
And if I view the mask White on black again and then turn the overlay on, you can see exactly what we did.
We had the radial gradient and then we subtracted the subject from it.
There's one more way that I want to show you how you can use multiple masks together.
First I showed you Add and then Subtract.
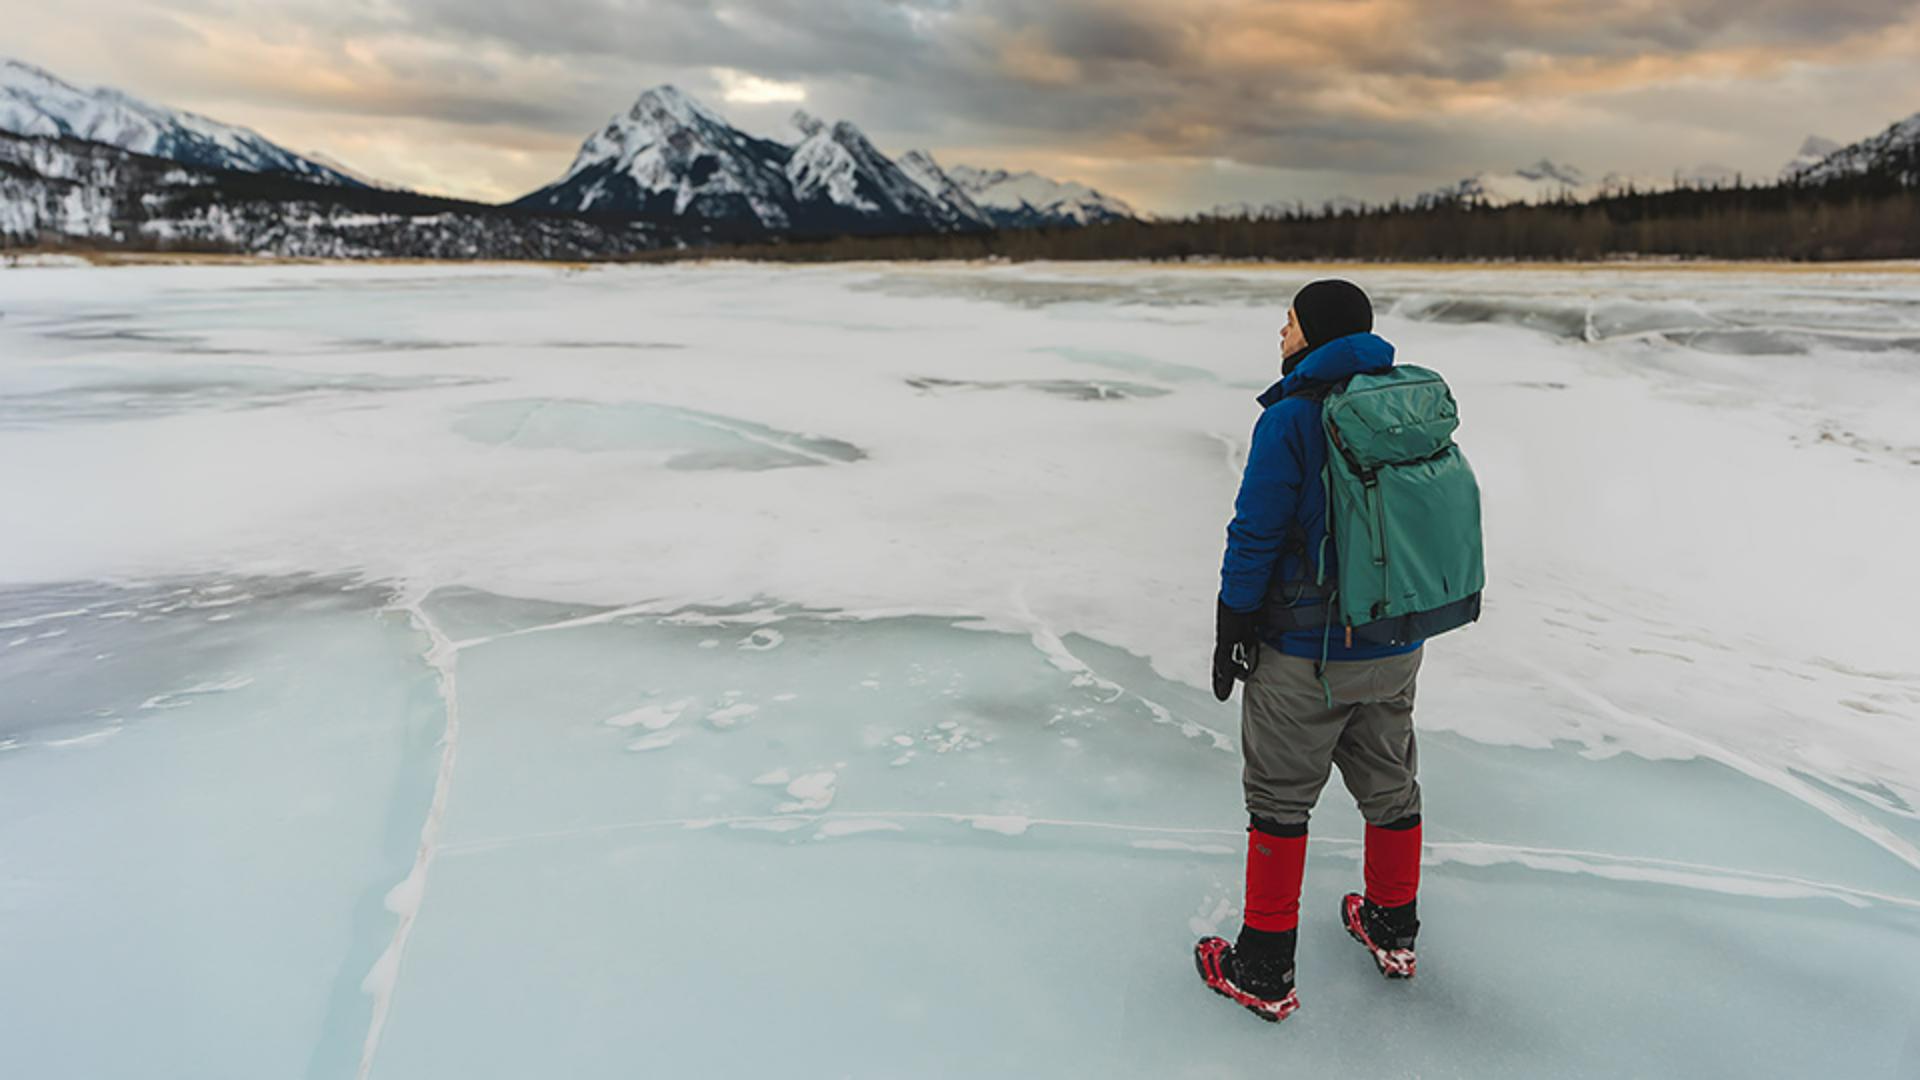
Refining selections with intersect masks
Now I'm going to show you Intersect.
Intersect is basically making a selection within a selection.
Let me show you what that means.
Here's a photo that I took of myself standing on Abraham Lake, which is frozen in Canada.
Let's say I want to change the color of my gaiters and my micro spikes.
This is a perfect example to show you how Intersect works.
The first thing I'll do is select Subject, which Lightroom does an awesome job of selecting me as the subject.
And now I said that Intersect is making a selection within a selection.
So the first selection, the primary selection, is me as the subject.
And now I want to make a selection within this selection.
Specifically the red of my gaiters and my micro spikes.
To do that I'm going to go to the ... on the mask level.
Then I'm going to select Intersect with mask using, and for this particular use case, I'm going to use Color range.
Then I'm going to go ahead and click on the gaiters which you can now see the color red because we're using the Color range is selected, and then I'll use the Refine slider to really dial in only the colors that I want.
And now what I can do is go to the Color panel here, I'll turn off Use fine adjustments, and then I can use this Hue control to change the color.
So maybe I want them o be more green or yellow whatever you really want it to be.
So that is how you can Add, Subtract and Intersect multiple masks together.
Now what I want you to do is go ahead and experiment and have fun and try using all of these different masking combinations with your photos to get really refined results.
Thanks a lot everyone.