Quick actions in Lightroom on the web are AI-powered editing tools that enable users to intuitively make complex photo adjustments quickly and easily, and with little editing knowledge or experience.
Hi, I'm Glyn Dewis and in this video, I'm going to show you how you can use the Quick actions in Lightroom on the web to very quickly make some dramatic changes, in most cases with just one click.
With this image open in Lightroom on the web, I'll jump over to the Quick actions, which I find over on the far right of the screen.
When I click on that, Lightroom then analyzes the image to see what it contains, and then after a moment or two, it then presents us with Quick actions specific to this particular image as we can see here.
I'll start off right at the top with Auto light & color to give this image the very best starting point.
I simply click and it's done.
Moving down we have Presets available that Lightroom has determined could potentially be ones to consider for this particular image.
And to see what each will do, I just click on the thumbnail to apply it.
I think my favorite for this image is Futuristic.
I really like the look of that one.
Further down, we come to the Remove section and we see Background people.
With this, Lightroom is able to automatically detect unwanted people in the background of a photograph and remove them whilst preserving the subject and scene and all we need to do is simply click to turn on this toggle switch.
When we do that, we see that Lightroom has identified background people and placed a red overlay on top of them.
To remove the people, all we need to do is click on Remove All.
But what if there were some people you wanted to keep in the photograph?
Well, all you need to do is click on the Remove icon on top of the red overlay covering those people, and then click on the Trashcan on the right-hand side.
This looks good to me now, so I'll click on Remove All, and Lightroom then takes a moment to remove the people and they're gone.
As we move further down, we see Subject, Background, Sky, Mountains, Water and Natural ground.
These are areas that Lightroom has identified within the image and automatically created masks so that we can now make adjustments just using a slider.
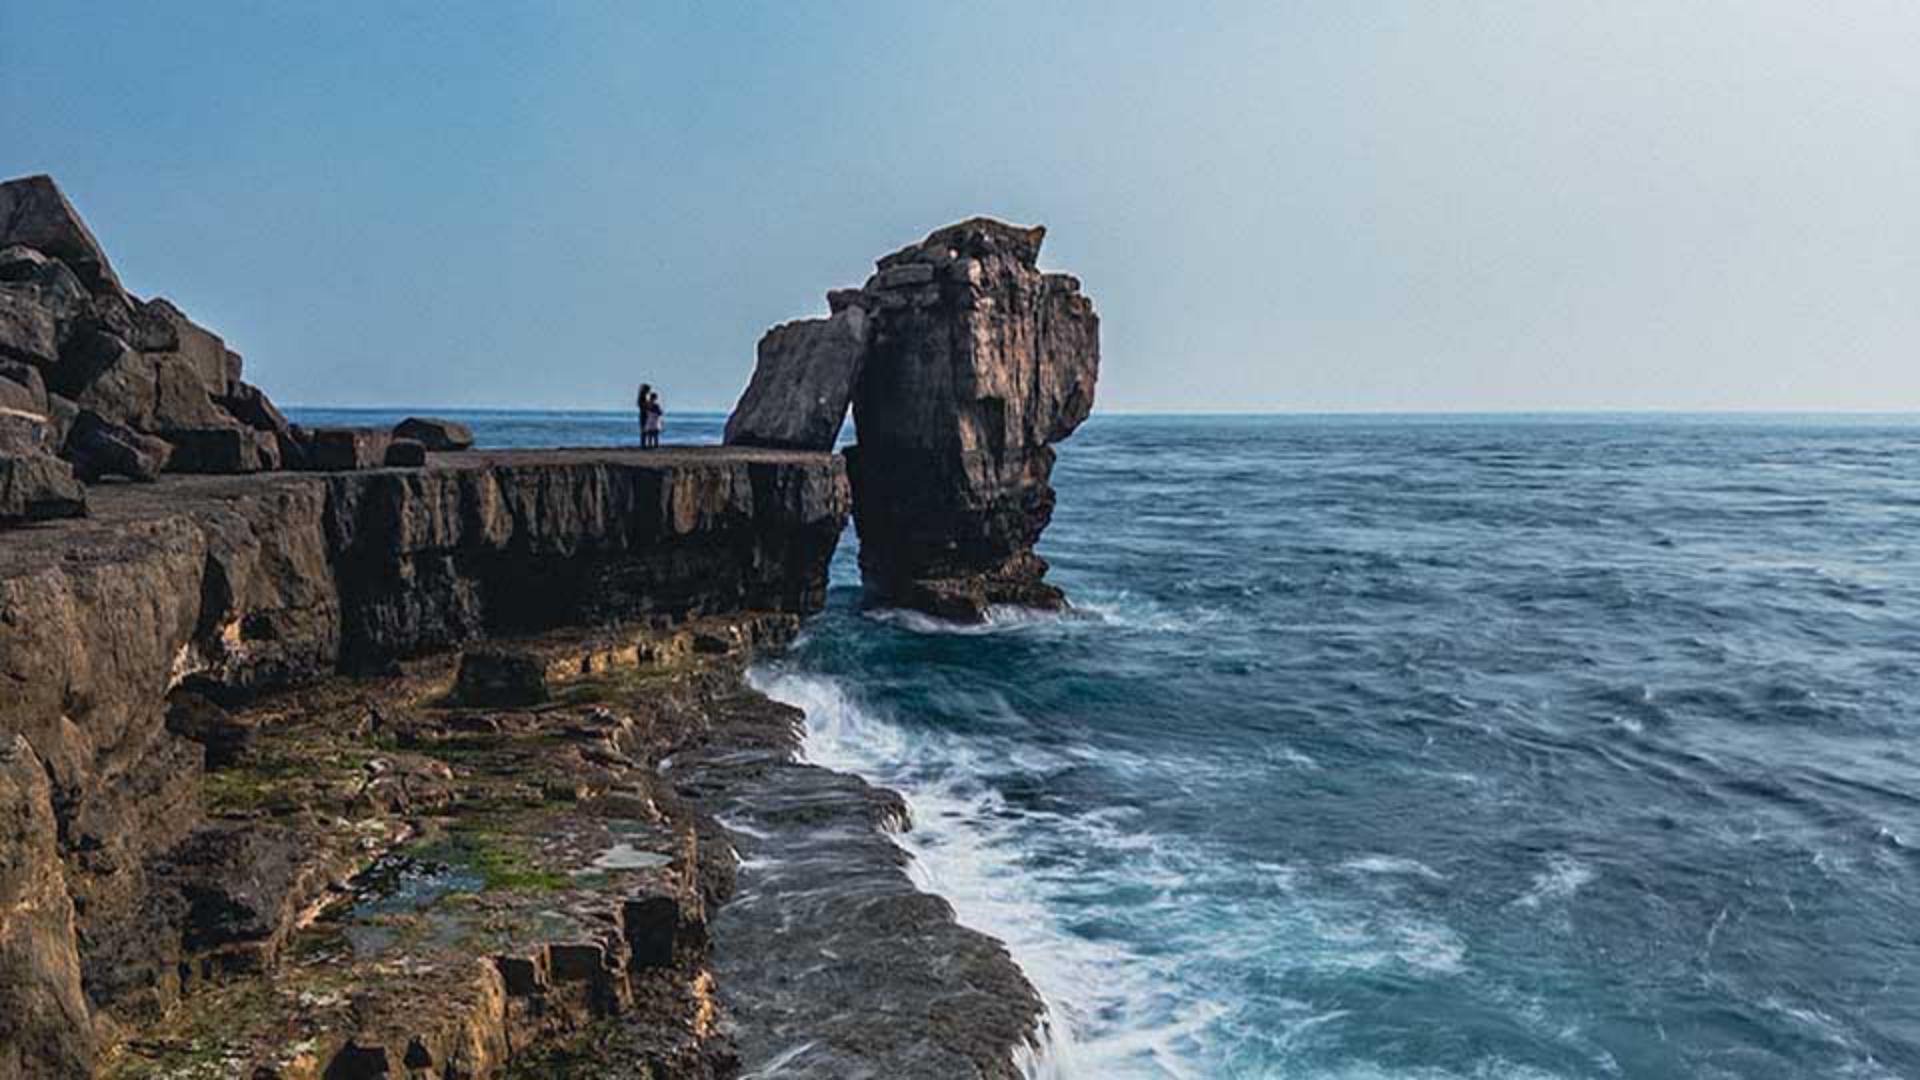
For example, Lightroom identifies the famous Pulpit Rock as the main subject of this photograph, which is perfect.
I can then use this Emphasis slider and drag to the right to emphasize the subject, or I can drag to the left to de-emphasize the subject.
I definitely want to draw attention to it, so I'll drag to the right to about there.
I'll bring up the Background, so we'll drag the Emphasis slider a little to the right to about there but now with the sky, I definitely wanted to make it more dramatic.
So I can use the Emphasis slider, which looks good, but let's take a look at the presets that Lightroom is suggesting.
This is the Blue drama presets.
I'll take a look at the other preset.
So to remove this one, I click here on the right.
This is the Stormy preset, and this is the Evening preset.
I think I'll actually stick with the original Emphasis slider.
The Mountains here includes all of the rocky area, and it does look a little bit flat to me, so I'll drag the Emphasis slider to the right, which definitely adds more impact to it.
It looks a lot more rugged now.
The Water section here always impresses me how with just one slider, we can emphasize or de-emphasize the sea.
Natural ground, I'm going to maybe leave that one, but the Blur, I love this for really creative effects as you can see here.
In this image, I don't actually want it though, so I'll just click on the Undo icon here at the top of the screen to remove it.
One thing to mention here is that with Quick actions, the ones that Lightroom gives to you are specific for that particular image. if this photograph had included people closer up, Lightroom Quick actions would mean we'd have controls for hair, skin, clothes, and so on.
But let's take a look at the before and after using the Show Original icon at the top of the screen.
This is before and this is after.
A big difference made very quickly and easily using Quick actions.
This is just an example of how we can very effectively use Quick actions to make, as in this case, a dramatic difference to an image, even though the adjustments couldn't have been simpler.
So now you've seen what Quick actions are capable of, it's over to you.
I think you can have a lot of fun with these.


