[In this movie, we will be covering: the problem] [with fast shutter speeds - applying Pixel Motion Blur] [Shutter Angle Shutter Samples - Vector Detail the old Timewarp method] >> Another nice addition to After Effects is the ability to add Motion Blur to already shot - or already rendered footage.
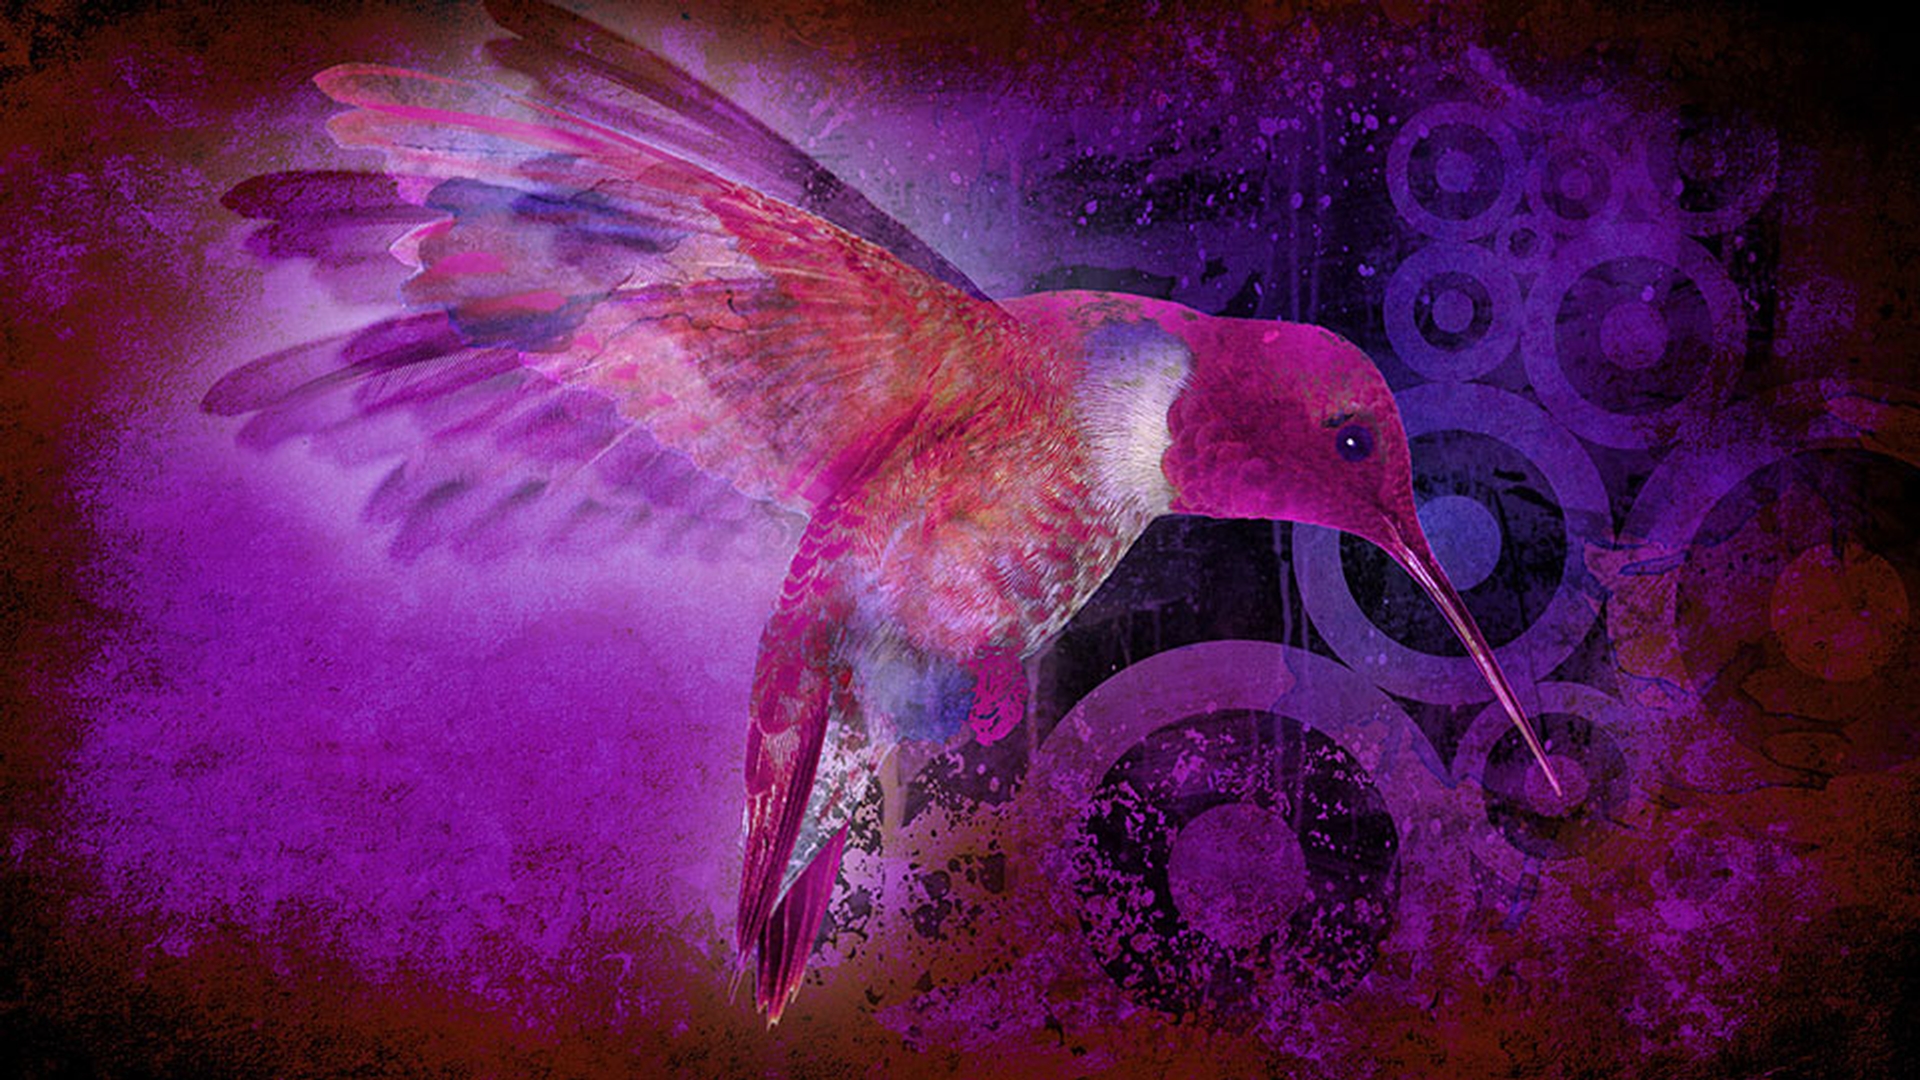
Now here's a little shot of a hummingbird, shot with a Canon 5D, and unfortunately, the shutter speed was too fast, - it was set at 1/300th of a second, when it should probably have been say - 1/50th or 1/60th of a second to get more of a motion blurred filmic look.
As a result, the wings - on the hummingbird look quite strobbed and are a little bit jarring to watch.
And if we were to single frame through this, I'll select the Timeline panel - and use Page Up and Page Down, you can see the wings do indeed move - a fair amount from frame to frame.
Sometimes it looks still, - sometimes they look blurred.
And this is what creates - a very jarring final image when it's at motion.
Let's pick a place where the - humming bird's making a particular move such as right here - where it lunges into the feeder.
To smooth out this movement, you can now use a brand new effect - called Pixel Motion Blur.
I can never remember - what category it's in, so I'll just search inside - the Effects Control panel.
And there it is underneath Time, - not underneath the Blur, Pixel Motion Blur.
I'll add this to my layer - and now you see how the hummingbird has been changed - and distorted a little bit to give some natural blur to the image.
I'll go Page Up for one frame earlier, - Page Down for one frame later.
And now I get a much more - fluid movement blurred as the hummingbird lunges - into the feeder.
Now that his head stopped moving, you can see that portion of him - is sharp again.
Let's go ahead - and cue up a RAM Preview of this.
You'll notice that it's not necessarily - the fastest effect in the world.
So again, don't apply - to every piece of footage, only use it when you need it.
But once we have this playing - back at full speed and I'll jump ahead here in a moment, you'll notice that the final result - is much smoother.
And here we're playing back at full speed - with the new pixel motion blurred footage.
And you'll notice that it is a lot more fluid - and a little bit easier to watch.
I might even go for a little bit more blur - in this to smooth it out even more.
Now just for reference, this 7-second clip - took a few minutes to render.
So again, - it's not an effect you apply lightly but it can really make - some footage more watchable.
Now that we've looked at this, let's go study - Pixel Motion Blur's parameters.
They're pretty simple Shutter Angle, 180 degrees is the typical filmic look - of a half duty shutter on a film camera.
If you want to more blur, you can crank this up - to particularly high numbers.
So just 720, - you create a very blurred looking image.
But I go back to the filmic 180, Shutter Samples - is how many intermediate points in time After Effects is going to create - to attempt to smooth out this image.
For example, if I was to go down - to Shutter Samples of only say 2, now I'm gonna see a lot more ghosting and more artifacts as it attempts - to blur out this hummingbird, not quite as nice looking.
Particularly in here you see a ghost - of its back as it moves forward.
But with more Shutter Samples - that looks a bit smoother.
You can go even higher - to smooth it out even more.
If you're still noticing strobbing, - go for a higher value.
But keep in mind the more shutter samples - takes longer to render.
Finally is Vector Detail.
This is actually derived - from the Time Warp and pixel motion portions of After Effects - that does what some people call optical flow.
It takes pixels from the frame - before and after and tries to calculate where those pixels would've been - at intermediate points in time, the more vector detail, the tighter mesh - of pixels that are calculated.
So if I'm having trouble with some distortion - in the looks of this hummingbird, and let's find a frame - little bit earlier in time where things may be looking - a bit odd or stretched.
So when he first lunges into the feeder.
Here, we've got some problems - with the ghost of the wing there.
You can try increasing the Vector Detail - to get a cleaner render of the image.
Again, it's not a parameter - that you just blindly increase to see if it looks better - because, one, it's gonna take longer to render, and two, - it can introduce artifacts of its own but you can see - where it has cleaned up the render of this single frame - compared to the default value, which is now looking - a bit distorted by comparison.
And again, you really - should look at these things at speed rather than looking - at one frame at a time.
A lot of sins you see - on individual frames are forgiven by the eye when everything - is put together in full motion.
Pixel Motion Blur - is not an entirely new effect.
There's been third party solutions.
There's been - a solution inside After Effects, you go to Effect, Time, Timewarp, change the speed to 100 percent, enable Motion Blur, - and change the Shutter Control from Automatic to Manual, and you'll get a very similar effect - to using the Pixel Motion Blur effect.
The nice thing about Pixel Motion Blur is it's now in one simple effect instead of this big effect - you had set up by hand.
So another way of rescuing - poorly shot footage in After Effects. [next movie: Layer Snapping - previous comp snapping behavior] [the Align panel snapping in 2D snapping in 3D - toggling the snap mode] -


