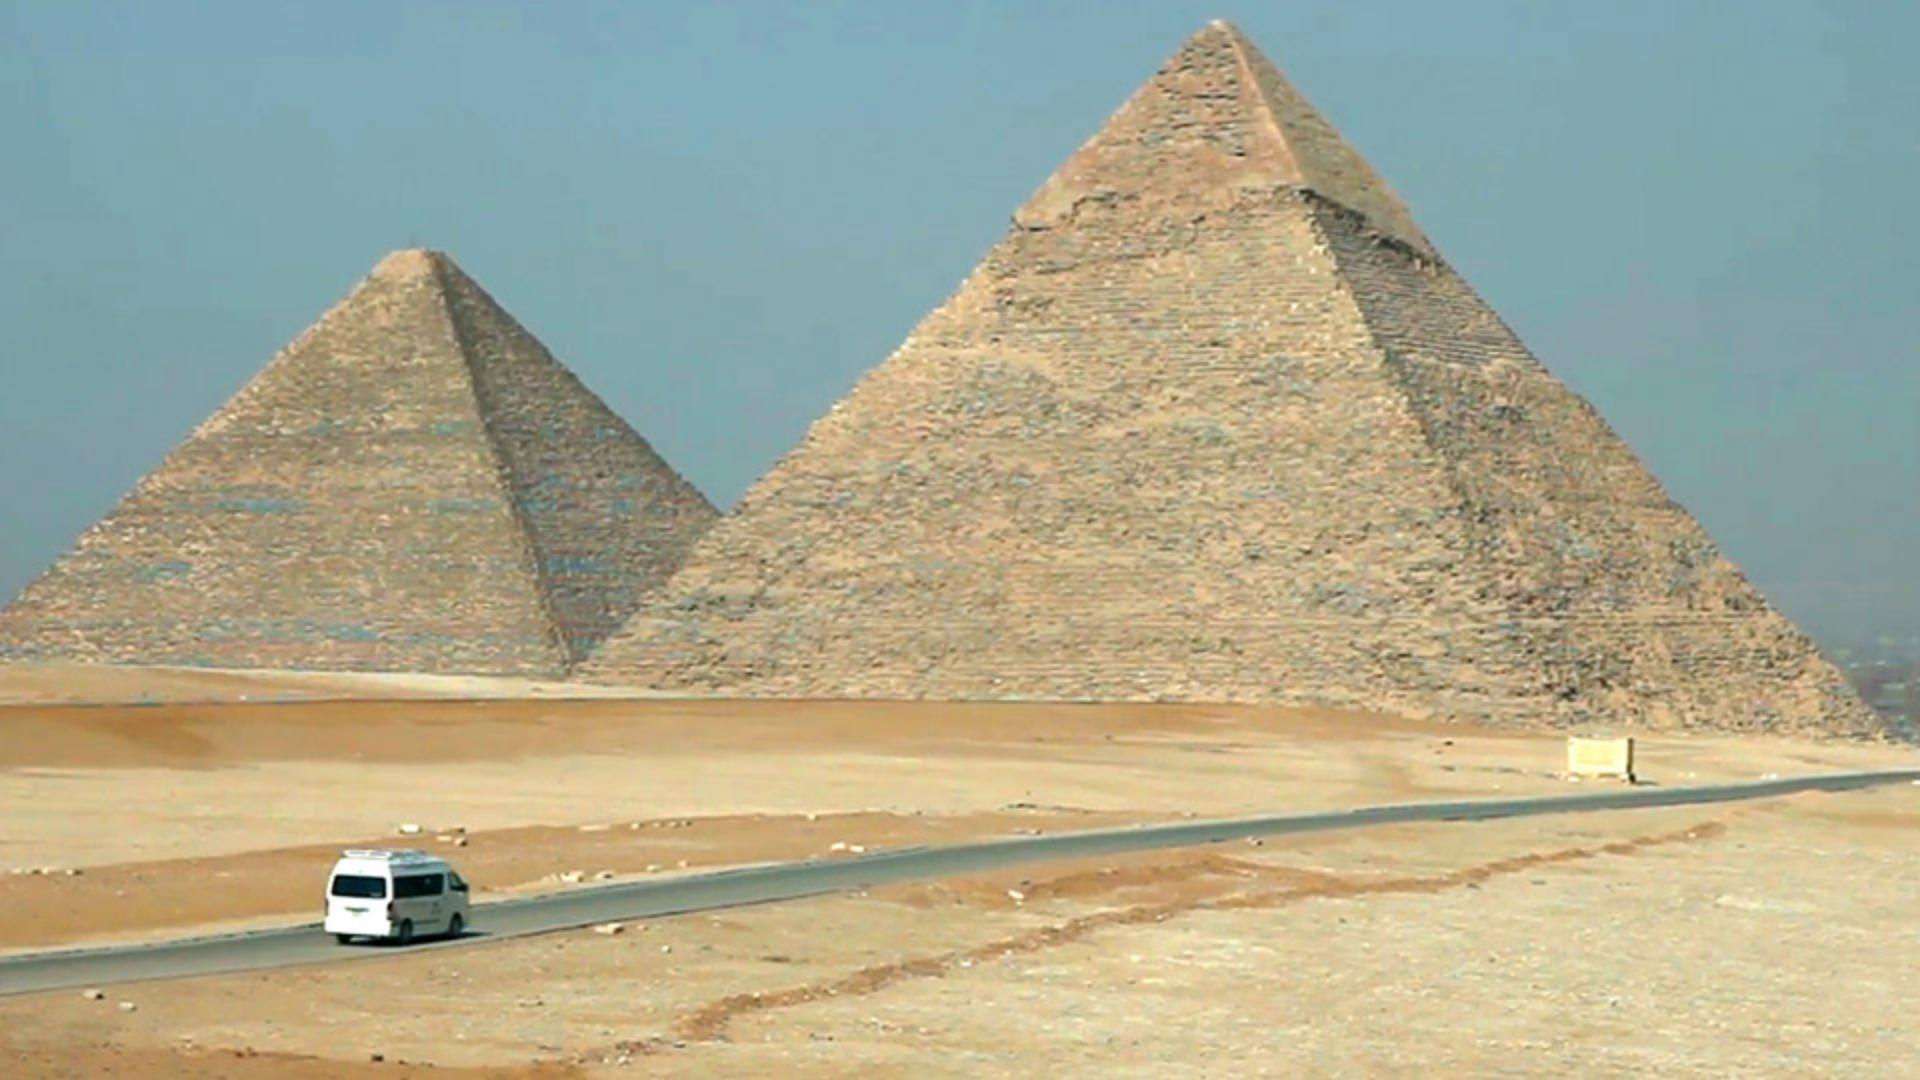
We've all had that situation before where we've saved up to take an amazing trip and we have this one piece of footage that would be amazing if not for people standing in the way, or, in this example, this van driving down this isolated road.
Now to show you the clip that we're working with, I'll click on the Timeline and press the Spacebar and you'll notice not only is the van traveling down the street, but we're also panning and moving the camera around.
So traditionally, to remove this van out of that shot would be quite a bit of work.
But we're going to use a track mask and content aware fill to fix the situation relatively quickly.
So, I'll press the Spacebar to stop playback and I'll start by actually moving my Current Time Indicator to frame 0.
First thing we need to do is select the frames that we would like to have filled with content aware fill.
And I'll do that by creating a mask.
So, I'll select Layer 1 in the Timeline, go up and grab the pen out of my Toolbar and I'll just click, and then click again.
Click down here making sure a little shadow is also in the mask.
I'll click over here.
I'll click out here just to make sure everything is in this election and I'll click there.
Now the van is selected, I'll go grab my Selection tool and under my mask settings, I'll click on the dropdown and change it from Add to None so I can follow the mask as we track things.
To do the track, I want you to right click or control click directly on the word Mask 1 and that'll open the Tracker here.
Now under the Method I'll click on the dropdown and choose Position, Scale & Rotation.
And I want to analyze to the right.
So, I'll click this inner right most arrow and I'll sit and watch as all these frames are loaded.
Now, if the mask ever travels to a place I don't like or gets too close to the van, I can stop the analysis by clicking directly on the button again and just repositioning the mask as I see fit.
So, I'll just do a minor adjustment there and I'll continue the analysis.
Now notice in the Timeline we're only analyzing the first four seconds of this clip.
I gave you the entire clip, so if you want to analyze the entire thing, that's fine.
But honestly once you understand how this workflow works over any section of video, you can apply it to multiple sections of video.
Plus, using the work area gives you the ability to just apply this effect to one specific set of frames without necessarily having to edit or pre-edit the video clip that you're working with.
So, once it's done with that analysis, I'll go ahead and press the Stop button here, and you can see...
Yeah, way past four seconds I've done my analysis so I'm fine.
We're only going to fill in the first four seconds here.
So, let's move our Current Time Indicator to actually four seconds in the Timeline and change the mask dropdown from None to Subtract.
So now there's a nice big hole where the van used to be.
Make sure Layer 1 is selected by clicking on it in the Timeline and go up under Window and go down to choose Content-Aware-Fill.
And you'll see the panel pop up in the lower right corner and I'll make the panel a little larger here and I'll go ahead under the Fill Method we're replacing an object, so I'll choose Object.
And under the range, we only want to work in the Work Area.
So, then all we have to do is press Generate Fill Layer'.
And it's going to take a little while to analyze these frames.
So, once the analysis is complete, you'll see the area where the mask is get filled in with content aware fill.
So, I'll rejoin you through the magic of editing in just a few seconds.
So, once the analysis is complete, you'll see the filled in area here.
Let's preview our clip.
I'll click in the bottom of the Timeline to deselect and make the Composition panel bigger by making the Timeline smaller and then I'll press the Spacebar.
And you can see that content-aware fill has done an amazing job of analyzing the video clip and replacing the suspect frames with filled in frames.