Introduction
The Clone Stamp Tool in Photoshop for the iPad is very similar to the same tool in the desktop version of Photoshop.
But there are some differences in how it works.
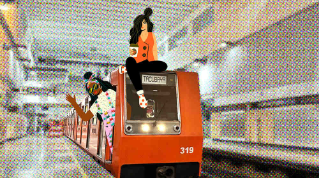
In this tutorial, we'll remove the person from the scene using the Clone Stamp Tool and do it in a way that is nondestructive and that can be easily modified.
Setting up the clone stamp tool for nondestructive retouching
I'll begin by tapping the Add Layer button in the Taskbar on the right side of the screen to add a new empty layer above the image.
Next, I'll go to the Toolbar on the left side and I'll long press on the Spot Healing Tool to reveal the tool's flyout menu.
Then I'll select the Clone Stamp Tool.
In the Tool Options bar for the Clone Stamp, I'll tap the three dots at the bottom, and I'll open up the Sample menu, and I'll choose Current and below.
This will allow me to sample from the underlying image detail but place the new retouching on the layer that is above the main image.
I'll tap on the three dots to close that menu.
I'll use a two-finger gesture to zoom in for a closer view of the area I need to work on.
I'll tap the Brush Size control in the Clone Stamp options and I'll set the Size to about 100 Just below that, I'll check the Brush Hardness and make sure that it's set to 0, so my Clone Stamp Brush will have a soft edge.
The next option is for the Opacity.
And I'll leave that set to 100.
The Crosshair near the bottom of the Clone Stamp options
Choosing and managing clone source areas
is one of the ways that you can specify the clone source area.
These are the pixels that are copied by the Clone Stamp Tool and then used to paint over and hide another part of the photo.
If I tap on this to activate it, it turns blue which means I can tap on an area in the image to set that as the clone source I'll tap on the side of the redwood tree a little ways above the man.
Now that the Clone Stamp source is set, I can begin brushing over the person to copy the sampled image information.
As I do this, you can see a crosshair that indicates where the pixels are being copied from.
If I want to set a different clone source point, I need to tap on the Crosshair in the Tool Options bar again to activate it and then choose a different area to copy the detail from.
And I'll continue to clone some of the sample tree detail over the person.
If you look at the layer thumbnail on the right, you can see that the retouching from the Clone Stamp is being placed on that separate layer.
You can also use the Touch Shortcut in Photoshop on the iPad
Using the touch shortcut to speed up cloning
to switch back and forth between setting a new source point and brushing in the copy detail.
Let's check that out.
Pressing and holding on the center of the Touch Shortcut will change the tool functionality to Set source mode.
And you can see a blue label in the upper right, that indicates this change.
And then you can tap on an area to choose that as a new clone source.
So, I'll come up here a bit higher on the tree and set that as the source.
And when I release the Touch Shortcut the tool returns to the normal Clone Stamp functionality.
And I can brush over the man and cover him up with the new tree detail that I sampled using the Touch Shortcut.
This method is much faster than using the Set Source Tool in the Tool Options bar.
And it's similar to using the Option or Alt key in Photoshop on the desktop to set the clone source.
So, I'll sample again in a few other areas.
And continue to cover the person up.
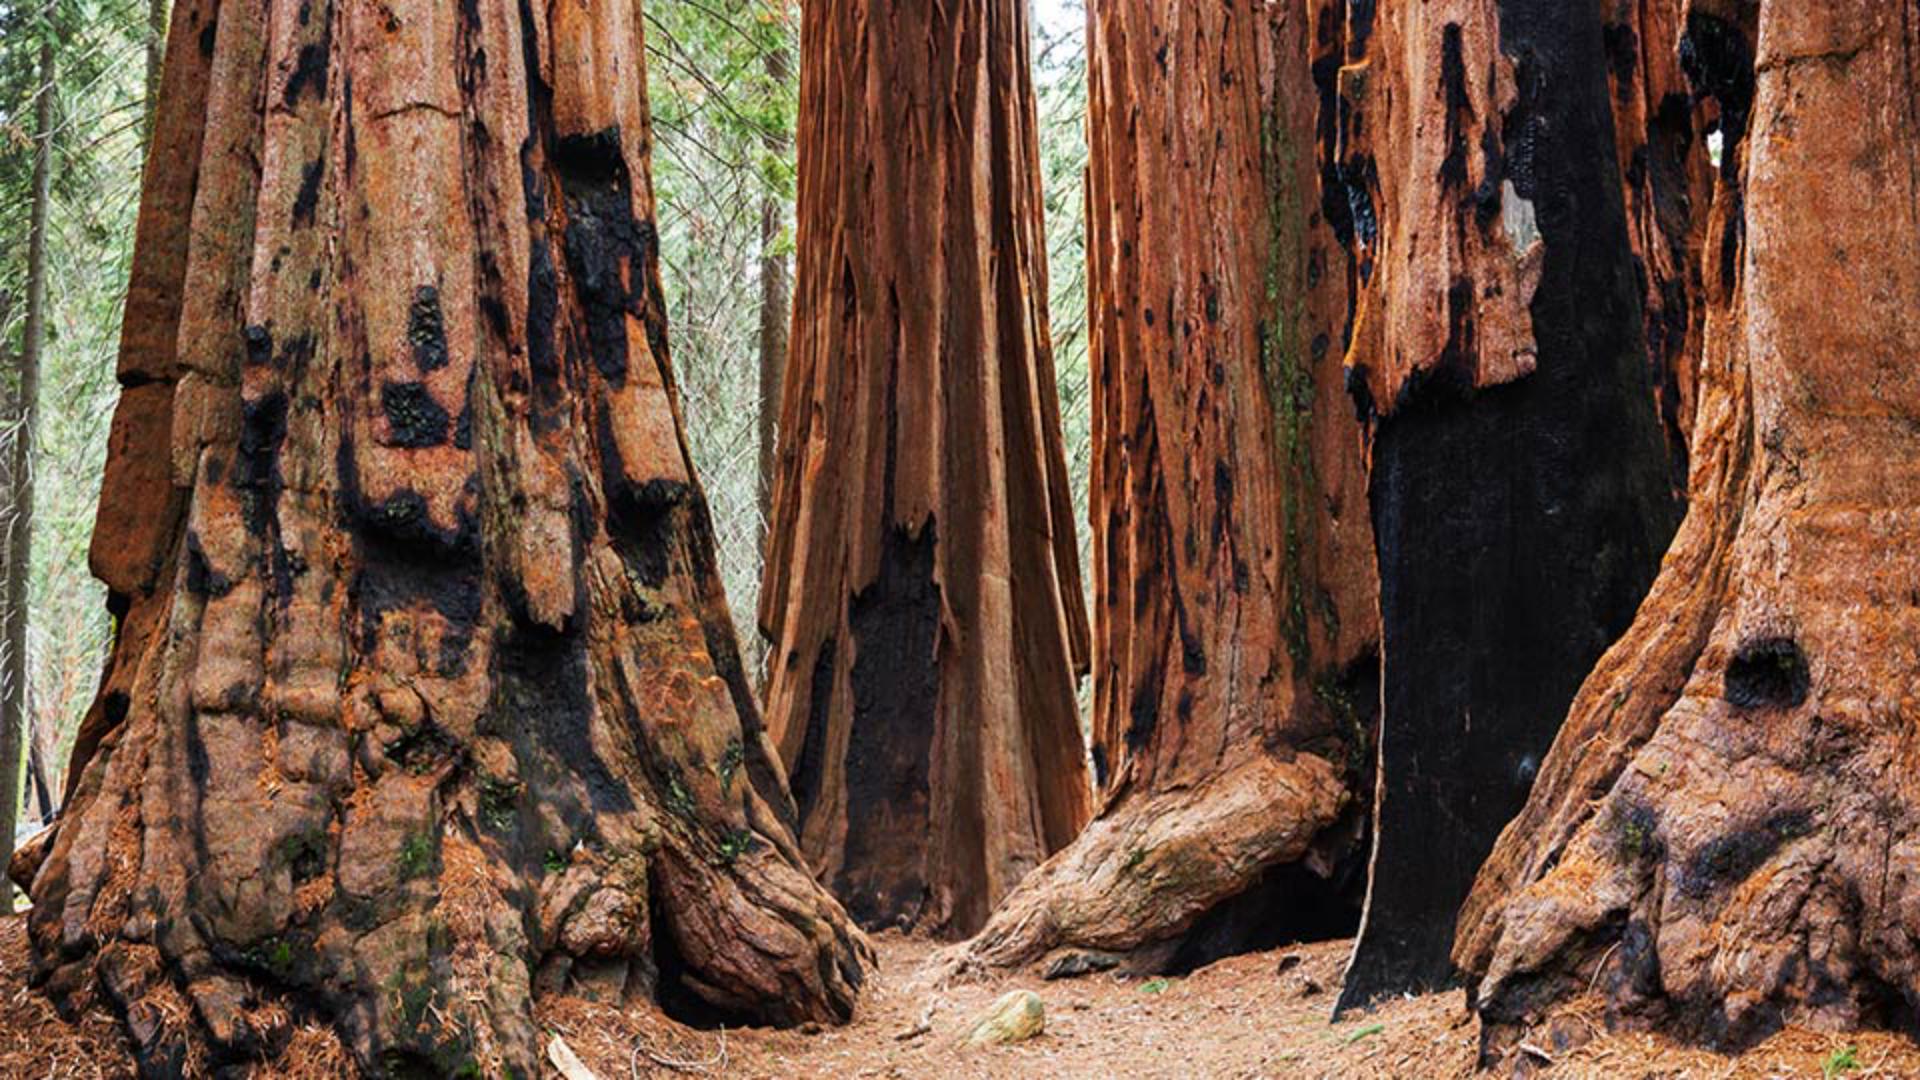
And I'll come down here and carefully retouch near the edge of this other tree root in the foreground.
I'll press on the Touch Shortcut again.
Just to sample from another area.
And I'll come in and cover that up.
There we go!
That's looking a little bit better now.
Reviewing and refining the retouching on a separate layer
I'll come over to the Taskbar on the right side of the screen and I'll tap on the Eye icon to turn the visibility for the retouching layer Off and then On again.
And I like to do this just to see how convincing the retouching is.
And to see if there are any areas where I need to go back and make changes.
But overall, that's looking pretty good.
Keeping your Clone Stamp retouching on a separate layer above the photo means it's not permanently applied to the image and you have the flexibility to go back and erase areas that are not perfect and make improvements until you get it looking just right.