Try these tutorials with Premiere
Create and edit films and video.
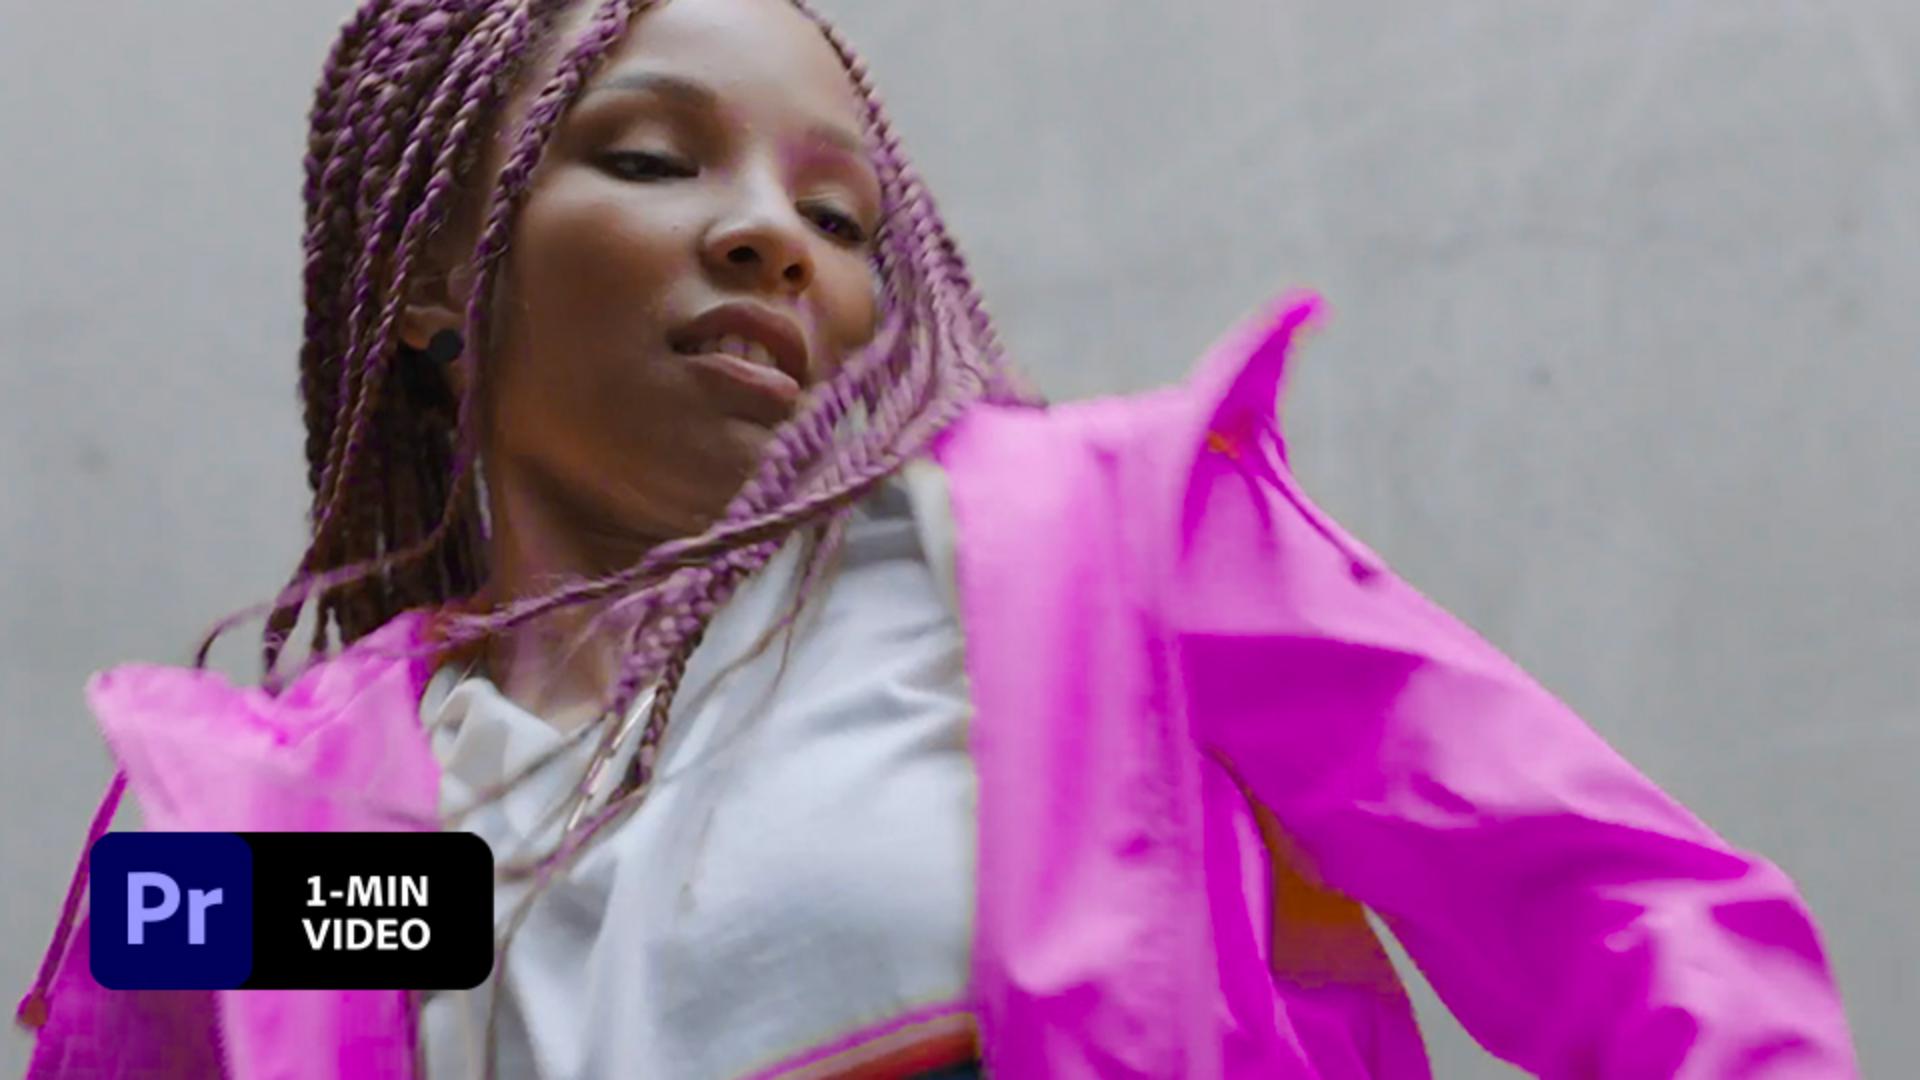
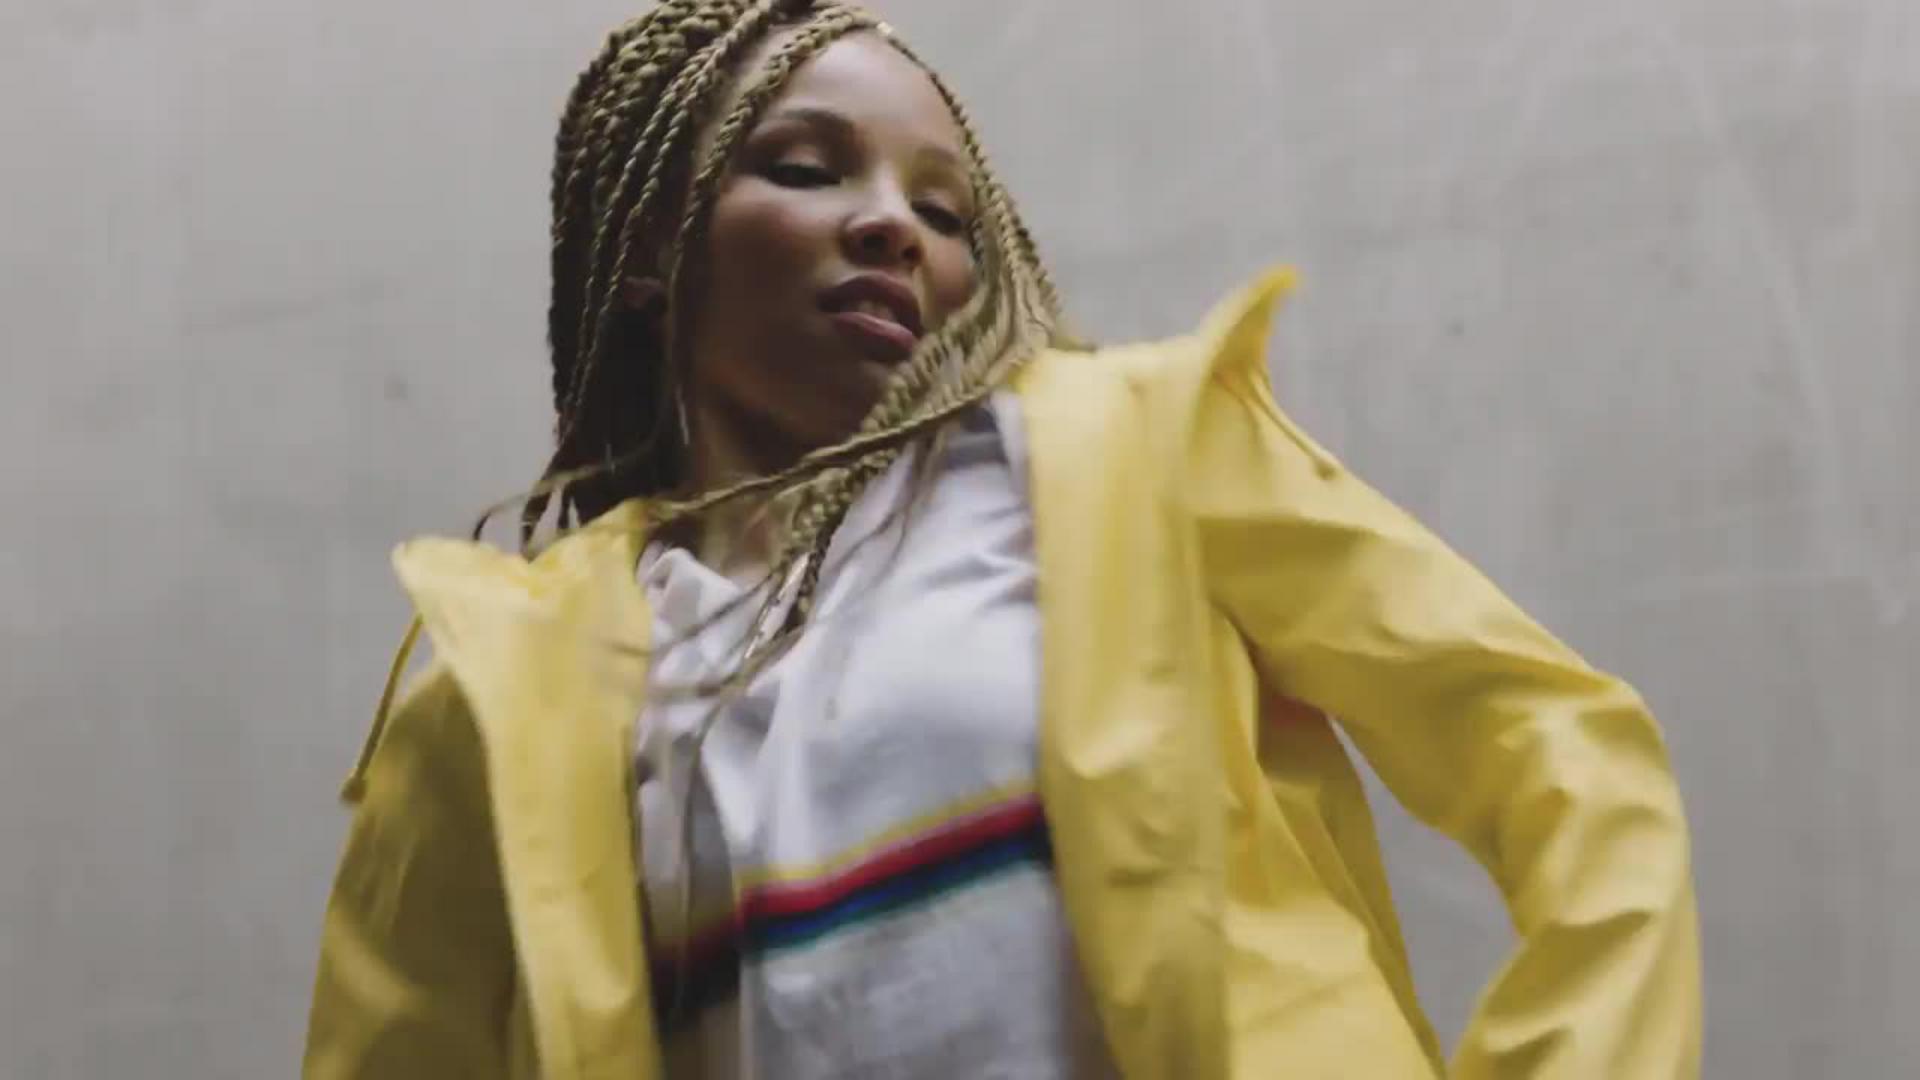
Change the color of an object throughout a video to add a touch of artistry. See how Plant and Gruenwedel animate color in Adobe Premiere.
Kendall Plant and Stefan Gruenwedel work on the Adobe Studio team. Plant is a designer, art director, and content creator. Gruenwedel is an editor who focuses on instructional digital video content.
This sample file has Adobe Stock images you can use to practice what you learn in this tutorial. If you want to use the sample file beyond this tutorial, you can purchase a license onAdobe Stock . Check out the ReadMe file in the folder for the terms that apply to your use of this sample file.
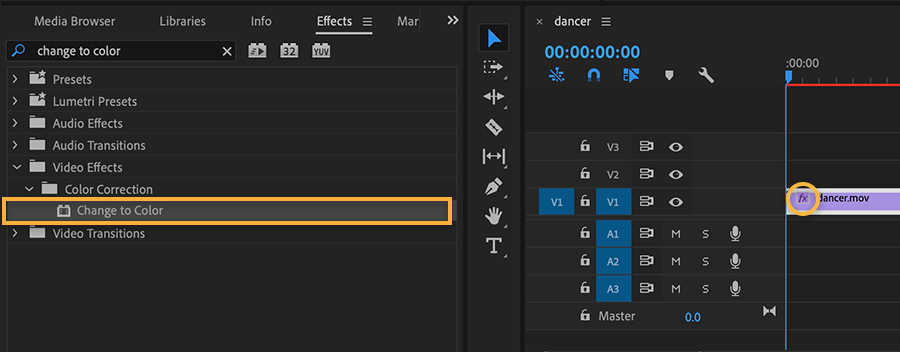
Open the Effects panel (Shift+7), enter change to color in the search field, and drag the Change to Color effect to the clip.
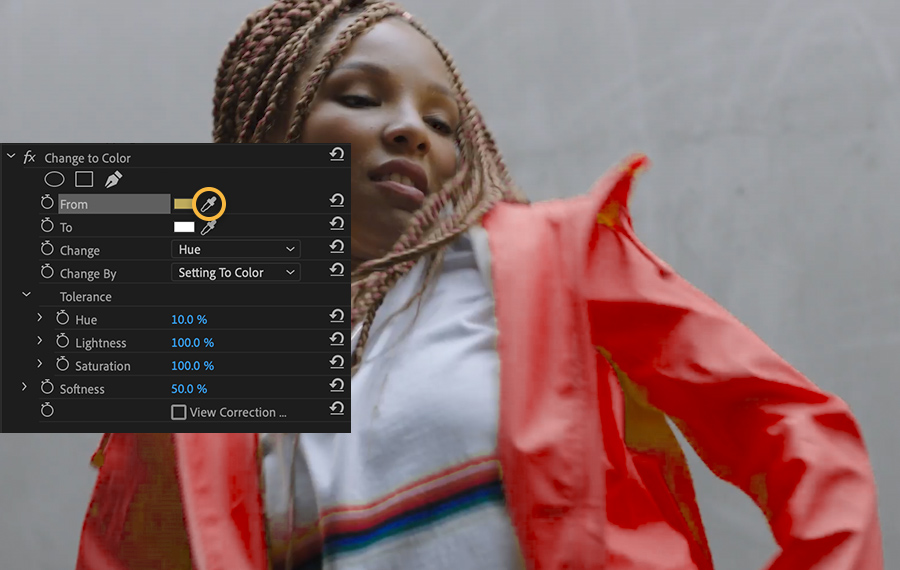
Open the Effect Controls panel (Shift+5). In the Change to Color section, use the From eyedropper to sample the color you want to replace. The color changes to red by default.
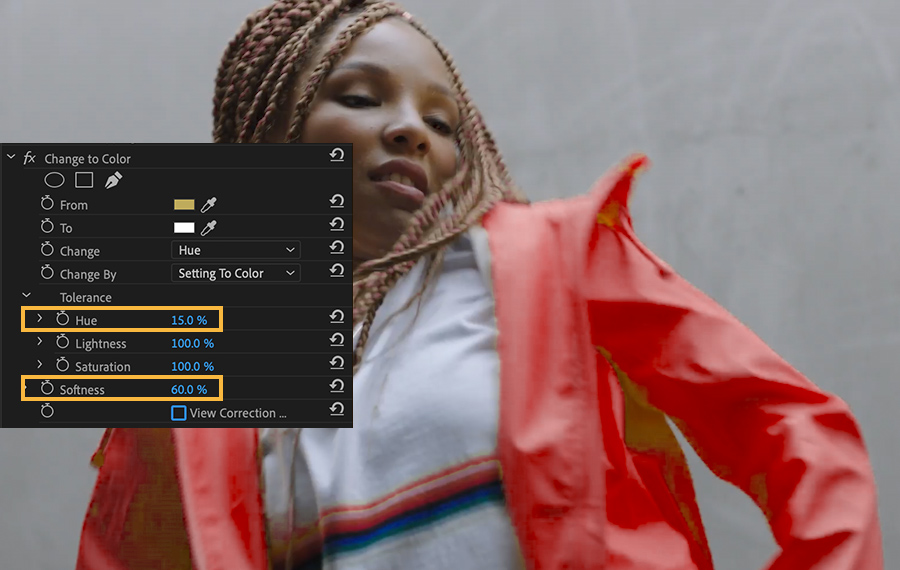
Make slight adjustments to the Tolerance (Hue) settings and Softness to fine-tune your color selection.
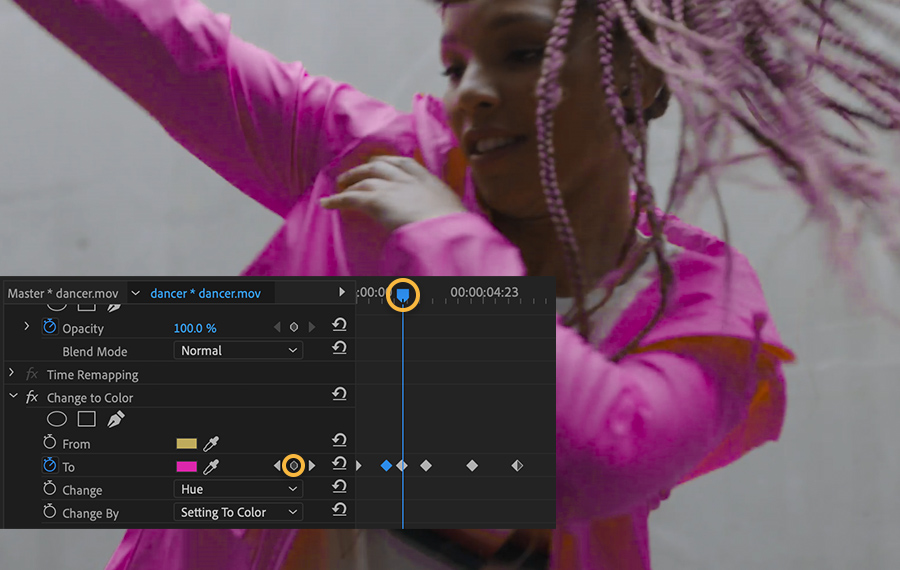
Click the To color chip and choose a new target color. With the playhead at the start of the clip, click the stopwatch next to To. This creates a starting animation keyframe.
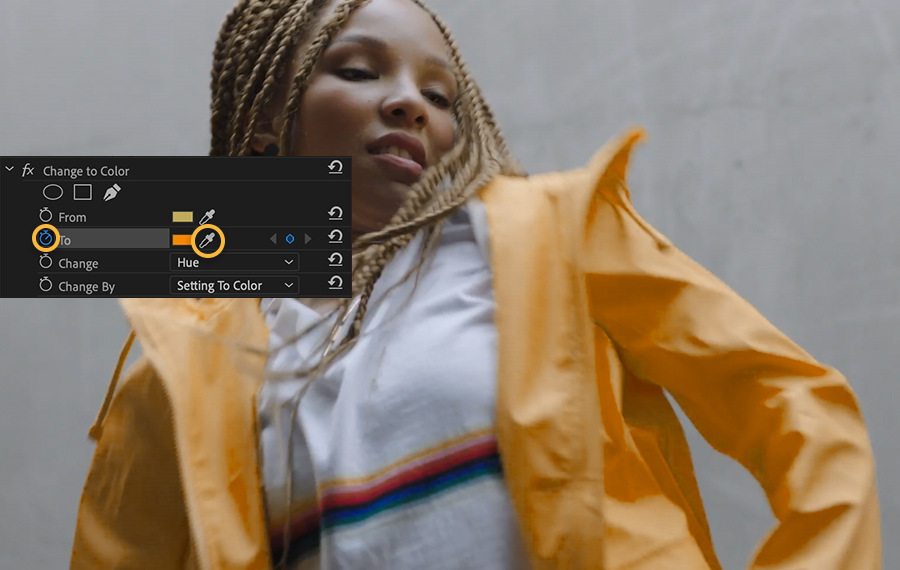
Advance the playhead and pick another To color to set a new keyframe. Continue moving the playhead and setting a new color at various intervals to animate the color flow throughout the shot. Press the spacebar to preview the final effect.
Match coloration changes to a beat to add dynamic style to your videos.
Note: Project files included with this tutorial are for practice purposes only.