1. Identify the parties involved.
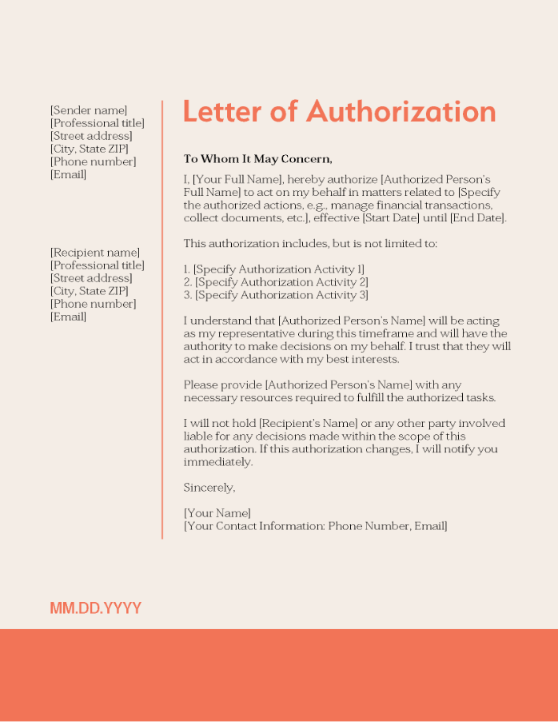
Begin by naming everyone involved. State your name and address along with the individual you are authorising’s name, address, and other relevant information. Putting the identification at the start of your authorisation letter sets a foundation that will clarify who is involved and under what capacity.
2. Specify the authority granted.
Next, detail the specific actions the authorised person can or can’t perform. Ensure that you’re as clear and meticulous as possible in your authorisation letter to avoid any confusion or ambiguity.
3. Define the duration of the agreement.
The start and end dates for your letter of authority are useful if you need to put a limit on your letter. It can prevent the authority from becoming open-ended and should clarify if the authorisation is for a single transaction.
4. Include any necessary details.
You might need to include additional information in your letter of authority for the arrangement to work, but this will depend on the details of your authorisation. For example, if you’re giving permission to access your bank account, you might choose to limit how much money can be withdrawn, or which accounts can be accessed.
5. Sign the document.
Finally, both the person granting the authorisation and the authorised individual(s) should sign the document. You may also need to have the signatures notarised, as this will add an extra layer of validity. This can be especially important if you need to authorise more significant transactions.
If you’re creating a letter of authority, you can use Adobe Acrobat for business, for writing, formatting, editing, and signing the PDF securely.