Understand how emphasis in photography informs visual storytelling.
Explore different tactics to help you to direct the viewer’s eye to the focal point of any image. Get tips on how to captivate an audience and tell a story.

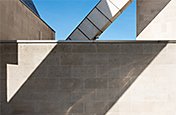
Image by Andrew Griswold
Grab and hold attention with this principle of art and design.
You sit, camera in hand, at the edge of a field gazing at two Welsh corgis herding sheep toward an open gate. Your composition will influence the story your images tell. Zoom in on the dogs to convey intensity and determination. Snap an image of the scattered herd of sheep with the gate in the distance to show the enormity of the task or the desolation of the environment. Use a long lens to focus on heat waves to emphasise the extreme conditions in which the dogs are working.
These are examples of photography emphasis. Emphasis draws viewers into your image and holds them there long enough to tell your story. It adds visual weight to your main subject and tells viewers what to focus on. Unlike documentary photography — which gives a raw view of things — emphasis in photography intentionally chooses the centre of interest to determine the story.
“I do the most photography when I’m travelling,” says photographer Jonathan Lo. “Oftentimes you want to document things that might get lost in a faraway shot. I think by emphasising things and capturing them in a specific way, you’re able to document the feeling of the moment.”
How to bring emphasis to your main subject.
An understanding of photography composition will help to bring emphasis to your selective focus. These same principles apply to many visual arts and are true of graphic design and fine art — they apply whether you are using a digital or SLR camera.
Composition is how you arrange visual elements in your photo, including the main subject. All the technical know-how, like understanding ISO or shutter speed, may help you to capture nice exposures, but composition knowledge will help you to pull the viewer into your image. “Things that I always look for are light, composition and subject matter,” photographer Andrew Griswold agrees. “You can get a good image with one or two of those things, but when you blend all three of those together perfectly, you get a great image.”
These elements of photography composition will help you to capture the story you want to tell in a portrait or landscape orientation and many are applicable whether your images are colour or black and white.
Light
Shine a light on your subject or cast shadows in the other areas of your image. Dark areas can make your image more dramatic or mysterious. Shadows help create a third dimension.
Texture
Use more interesting textures on the spot where you want the viewer to look, with smoother surfaces in the background. The contrast will draw their attention.
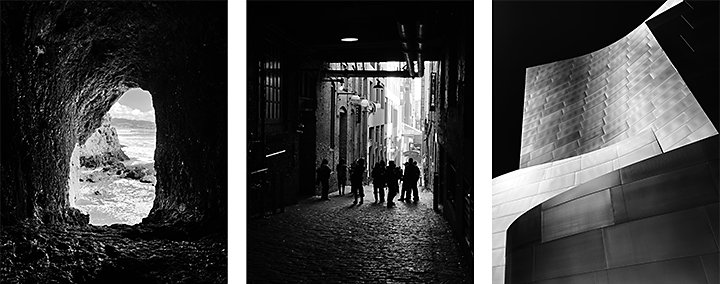
Images by Bernard Antolin
Angles
Different angles of a model, as well as various camera angles, can bring attention to the many aspects of your subject in portrait photography. Shooting straight on brings the viewer into the scene, while a side view can make viewers feel they are sneaking a peek as an onlooker. A subject seems small when shot from above and imposing or larger than life when photographed from below. A tilted angle can feel foreboding or whimsical.
Rule of thirds
Use the rule of thirds to put the main or interesting part of your subject in the crosshairs of the three-by-three grid that divides your image into equal parts. “People always talk about the rule of thirds and those are now baked into cameras on phones,” says Griswold. “Using those grids and by stretching and playing with them, you can start to get more creative with how you break things out and direct the viewer’s eye.” While a symmetrical image may be perfect at times, putting your subject to one side or in a corner can add intrigue.
Depth of field
Use a shallow depth of field to bring the focus just to your main subject. “I think when you’re dealing with product photography, depth of field really comes into play,” says Lo. “But it also matters for a lifestyle shot. The elements in the background should not fight with the main subject that you want to put in front. Depth of field can help to blur a background so that there’s still texture, but your eye doesn’t get distracted by it.”
Distance
Put distance between your subject and the other elements in the image or physically move closer to the subject (or zoom in), to adjust emphasis in a shot. Use a telephoto lens in landscape photography where you want to emphasise a mountain towering over a scene.
Focus
Make sure your subject is the main (if not the only) thing in focus to easily grab the viewer’s attention. By blurring the background of an image using a bokeh effect, your in-focus subject won’t compete with anything for attention.
Contrast, clarity and sharpness
You can bring up the contrast, clarity and sharpness to make the subject stand out. Perfect silhouettes capitalise on contrast by setting the main subject in front of a light background.
White space and minimalism
Use white space (or negative space) to bring a minimalist look to images, so the subject is the only thing to focus on and there’s no visual clutter.

Image by Andrew Griswold
Cropping
If your in-camera composition isn’t drawing the eye as you hoped, you can always adjust it. Crop your image in a way that gives extra attention to your point of interest.
Colours
Contrasting colours between your background and your subject can emphasise your focal point. Employ complementary colours on the colour wheel, like an orange kayak on a blue lake or a girl in a red dress sitting on green grass, to draw the viewer’s eye to the main subject. Giving your subject a pop of colour is a time-tested technique to immediately draw the viewer’s attention to your subject, especially if you turn a colour photo into black and white but leave the subject in color.
Visual weight and scale
Make sure your subject has enough impact in the image — taking up an appropriate amount of space in your shot. “Everything in the photos should balance each other, whether that’s people in the shot or people in an environment,” says photographer Bernard Antolin. A small subject can stand out when contrasted with a massive crowd or a towering building can pack a punch when passing crowds are shown like ants at its base.
Framing
Frame your subject with another object, shape or line. Frames can be more than a window or a door. Foreground elements such as branches or leaves, an arch or culvert or a stairwell can also provide structure for your centre of interest.
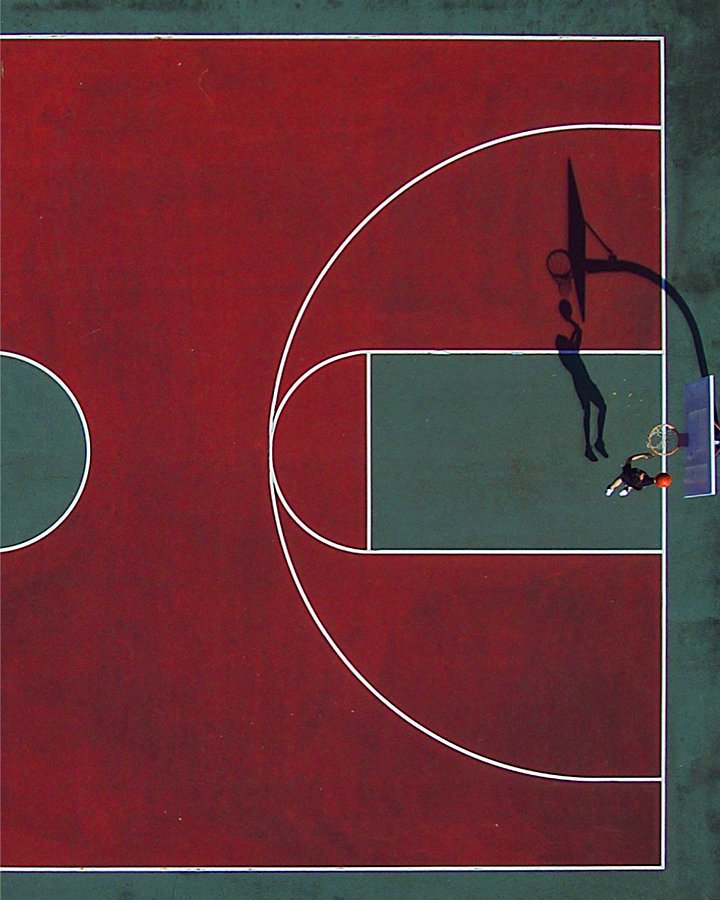
Image by Andrew Griswold
Shapes
Shapes anchor images and make viewers notice how they complement or bring balance to your subject. Triangular shapes can act as arrows that point. Circles can highlight a subject in an image.
Leading lines
These vertical, horizontal, diagonal and converging lines guide a viewer’s attention to your centre of interest. “Most people read top left to bottom right. That’s how the human eye and the human brain work naturally for many viewers,” observes Griswold. “I can use a beam of sunlight to direct people’s eyes toward something that I’m trying to show off.”
Focus on the four Cs.
If you can’t remember that entire list, commit these aspects of emphasis to memory:
Colour, Composition, Cropping, and Contrast.
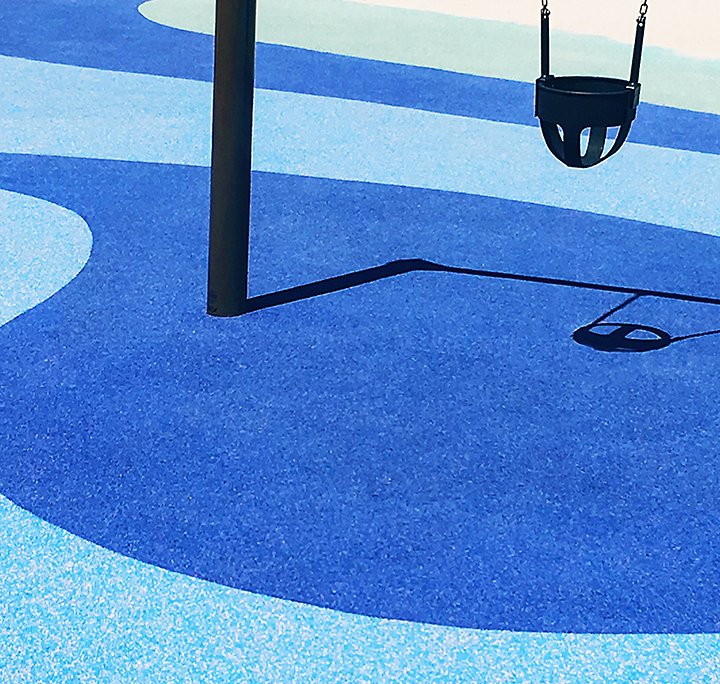
Image by Jonathan Lo
Use these four principles of art as building blocks for your photographic creations. As your comfort level grows, add more photography skills. Light, an important aspect of emphasis in photography, can be a good place to start.
“Light can make a very boring object look stunning,” observes Antolin. “If the object is positioned in the right way and lit properly, it all comes down to that.”
Practice makes perfect.
All these principles will help you refine your image composition and emphasise your focal point, but they will take time to perfect. As you develop a photographer’s eye for emphasis, try these strategies:
- Train your eye to recognise moments where you can really bring the emphasis to something, even if you don’t have a camera in hand.
- If you’re stuck on something, step back for a moment and look at what elements are competing with each other for attention and then adjust accordingly. Move around the scene to find a different vantage point.
- If you aren’t sure where the visual weight is or where the strongest point is, turn your image into grayscale and see what aspects you’re drawn to first.
“With composition, I think you just find it over time, the more you shoot,” says Antolin. “Just shoot as much as you can and then find your style.”
No matter what type of photography you want to pursue, try these principles and strategies behind emphasis techniques and soon you’ll be able to tell compelling visual stories.
Contributors
Do more with Adobe Photoshop Lightroom.
Edit photos easily with Lightroom presets, Super Resolution, easily share photos from any device and access your projects anywhere with cloud photo storage management.
You might also be interested in…
The art of still life photography
Improve your composition skills by learning the art of still life photography.
Uncover hidden shapes with geometric photography.
Learn photography techniques that showcase the geometric patterns in everything around us.
DIY photography techniques and ideas.
Learn workarounds for photography projects with tips from professional photographers.
Lightroom vs. Photoshop: When to use each image editing program.
Learn the differences between these industry-leading photo editors and discover your ideal editing workflow.
