PHOTOSHOP FEATURES
How to use frequency separation to retouch photos like a pro.
Discover an advanced skin retouching technique in Adobe Photoshop.
Free trial|Free trial Photoshop {{buy-now}}|Buy now Photoshop
What is frequency separation?
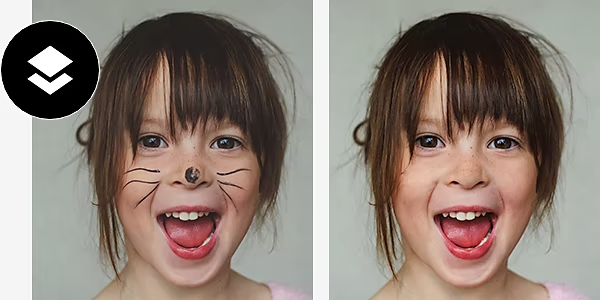
Frequency separation is a technique used to separate colour information from the other details of your image so you can adjust details and colours independently of one another. Usually, this is a high-frequency layer and a low-frequency layer. High-frequency information usually refers to fine details within an image, like hair, texture, pores, lines and skin features. Low frequency, on the other hand, contains information about shadows, tone and colour.
With frequency separation, you can retouch either the high or the low frequency without affecting other areas — but it doesn't apply any actual edits to your work. Instead, it allows you to break an image apart so you can work on different sections, like modifying skin texture independent of colour or shadow.
Here are some examples of tools and techniques you might use in tandem with frequency separation for retouching work.
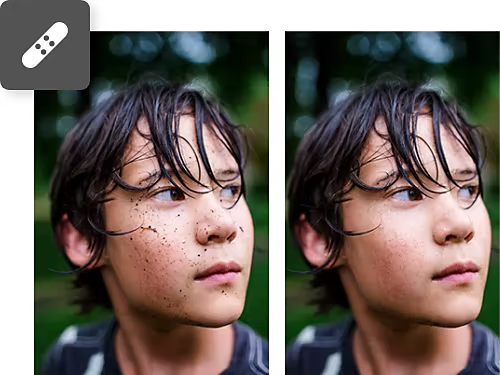
Retouching and editing tools for any context.
Whether you’re working with people or products, you always want your photos to put their best foot forward. Techniques like frequency separation create a canvas for you to work within precisely so you’re able to make fine adjustments with other tools.
Layering tools.
Once you’ve used frequency separation to parcel out areas of your image, you can then use layers, blur effects, shadow and colour features and blending to help you to change the shape and tone of any image.
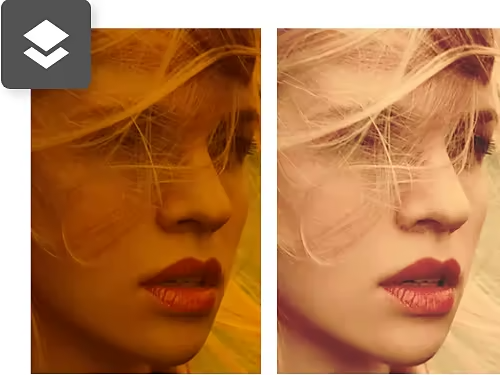
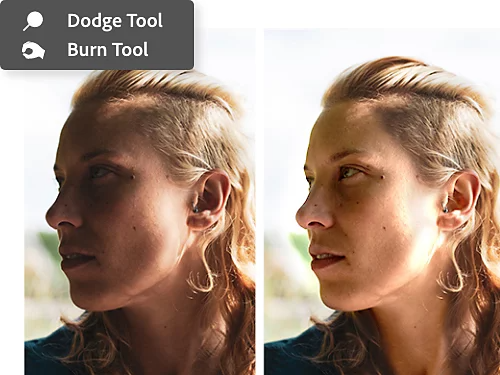
Dodge and burn.
Once you’ve separated your frequencies, you can use the Dodge and Burn tools to control lighting and shadows — giving you fine control over your canvas and making edits and retouching efforts more rapid.
Ready, set, action.
Frequency separation can take a lot of steps, but it’s an opportunity to learn Photoshop actions — a feature that allows you to record a particular set of operations so you can do complex edits and techniques in a single click. They’re handy when you need to make a series of edits that are the same every time.
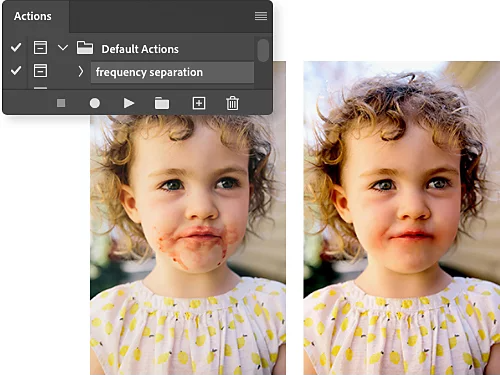
When would you use frequency separation?
Here are some common examples of when you might need to separate the details of an image from its colour information.
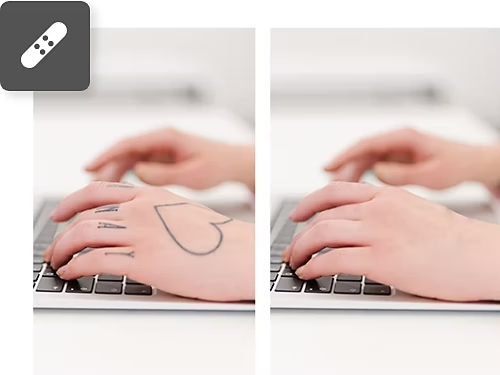
Erase pimples and blemishes.
Everyone is unique and different and that’s what makes them interesting. You don’t need to remove every feature of a person, but, if you’ve got pimples, a blemish or a tattoo that’s distracting from what you’re trying to convey with your subject, retouching can be a powerful tool.
Make a product shine.
Sometimes when you highlight a product, there might be distracting textures, writing or blemishes on it. With frequency separation, you can separate out what you don’t want and leave what you do.
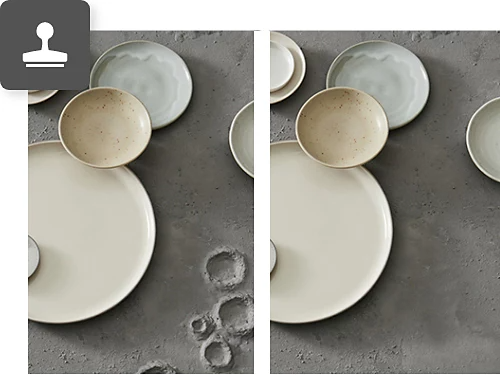
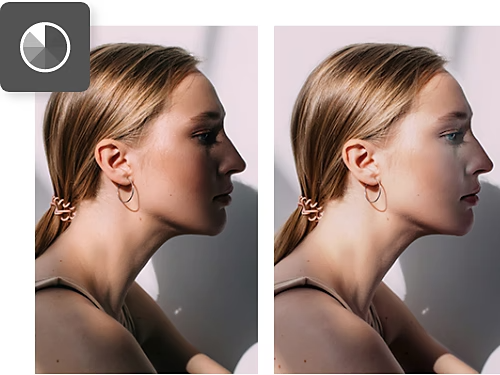
Enhance your subjects.
Portrait retouching is about more than removing things you don’t want. Sometimes you want to enhance rather than remove. Everyone has qualities that make them captivating and bringing them to the fore can make your people pop.
Follow these steps to create a frequency separation action.
Using actions, learn how to create frequency separation and create an automation you can reuse. Once you’re finished, you’ll have a layer for making adjustments to wrinkles, skin and other fine details and another for making adjustments to shadow and colour. The Dodge, Burn, Blur and Healing Brush tools are all useful ways to retouch once you’ve completed these steps.
- Start it:
Select Window › Actions and click Create New Action in the sidebar that appears. Name your action and select Record and this will begin the recording for the frequency separation. - Layer it:
With your image open, right-click the layer and select Duplicate Layer. Then click the lock icon in your background layer to allow it to be modified. From there, name the top layer “Skin+Texture” and the bottom layer “Shadows+Colour.” - Group it:
Combine the layers into a group by selecting both and navigating to Layer › Group Layers. - Filter it:
Select the Shadows + Colour layer, use Filter › Blur › Gaussian Blur, set the radius to 5px and click OK. - Apply it:
Select the "Skin + Texture" layer. Select Image › Apply Image. Choose Shadows + Colour in the Layer selection menu, Subtract in the Blending menu and set Scale to 2 and Offset to 128. Click OK. - Blend it:
In the Layers panel with Skin + Texture selected, select Linear Light in the Blending modes menu. - Replay it:
Congratulations, you’ve set up your two layers for retouching. Click the stop icon in the Actions sidebar and the action will be saved so in the future all you need to do is open an image, click the action and you’ll be ready to work.
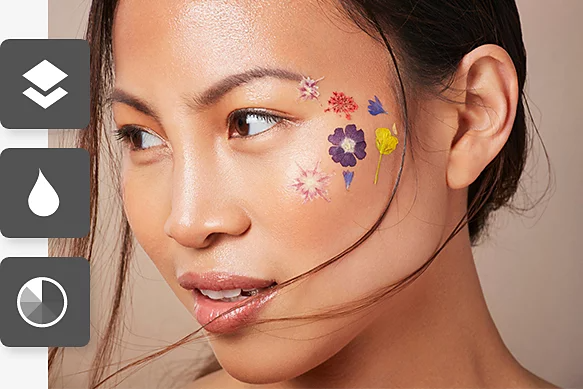
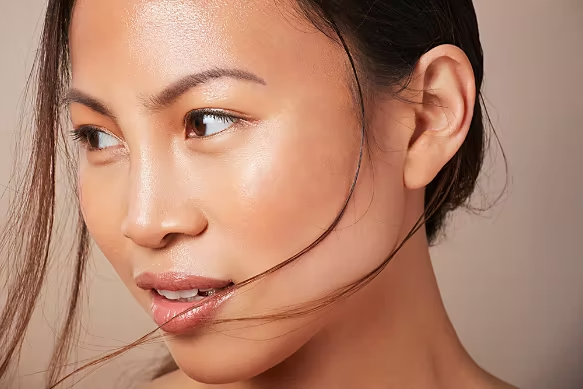
Learn more about making your photos shine.
You’ve cracked the seal on the basics of photo retouching. Below you’ll find more tutorials that will help you to take control when you’re editing.
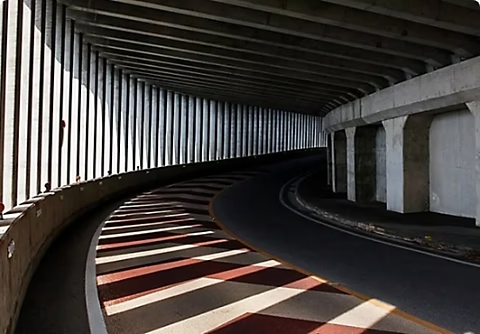
Shadows and light.
Discover how to adjust tonal range and other elements of shadows to create photos with depth and mystery.
Shadows and highlights for beginners|Shadows and highlights for beginners
Saturation and colour.
Adjusting colour isn’t just about picking the right colours. How much light, depth and intensity a colour has makes a huge difference and this tutorial can help.
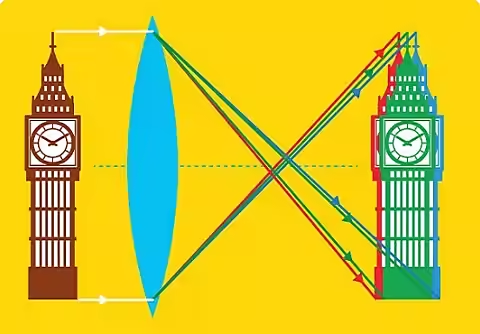
Fix colour artefacts.
Unwanted or unnatural colours, also known as chromatic aberrations, can often distract from a photo. See how to remove them in Adobe {{lightroom}}.
Get flippy with it.
Sometimes inverted colours are just what the doctor ordered. See how you can do a quick flip in seconds with Adobe Photoshop.