Introduction
Nowadays, we're all taking so many more photographs, not just with our main camera, but with our mobile devices.
And with so many photographs, we need to keep things as organized as possible.
Hi, I'm Glyn Dewis, and in this video, I'm going to show you how easy it is in Lightroom on the web to organize your photographs into albums and folders.
I'll also show you a really cool way that you can share your photographs with others.
Understanding albums and folders in Lightroom on the web
Here I am in Lightroom on the web, and we find albums and folders over on the left-hand side.
An album is exactly that - it's a collection of images, all together in one place, meaning they're organized in one location and so easy to find.
Here you can see albums of my own.
For example, here's an album that contains portraits that I have taken for my World War II veterans project.
Here's another album I have that contains images making up my portfolio.
We can also keep things even more organized by using folders.
You can see here that I have a folder called Portfolios, and this includes different albums that I have.
Creating an album or a folder is very easy.
Creating albums and adding photos efficiently
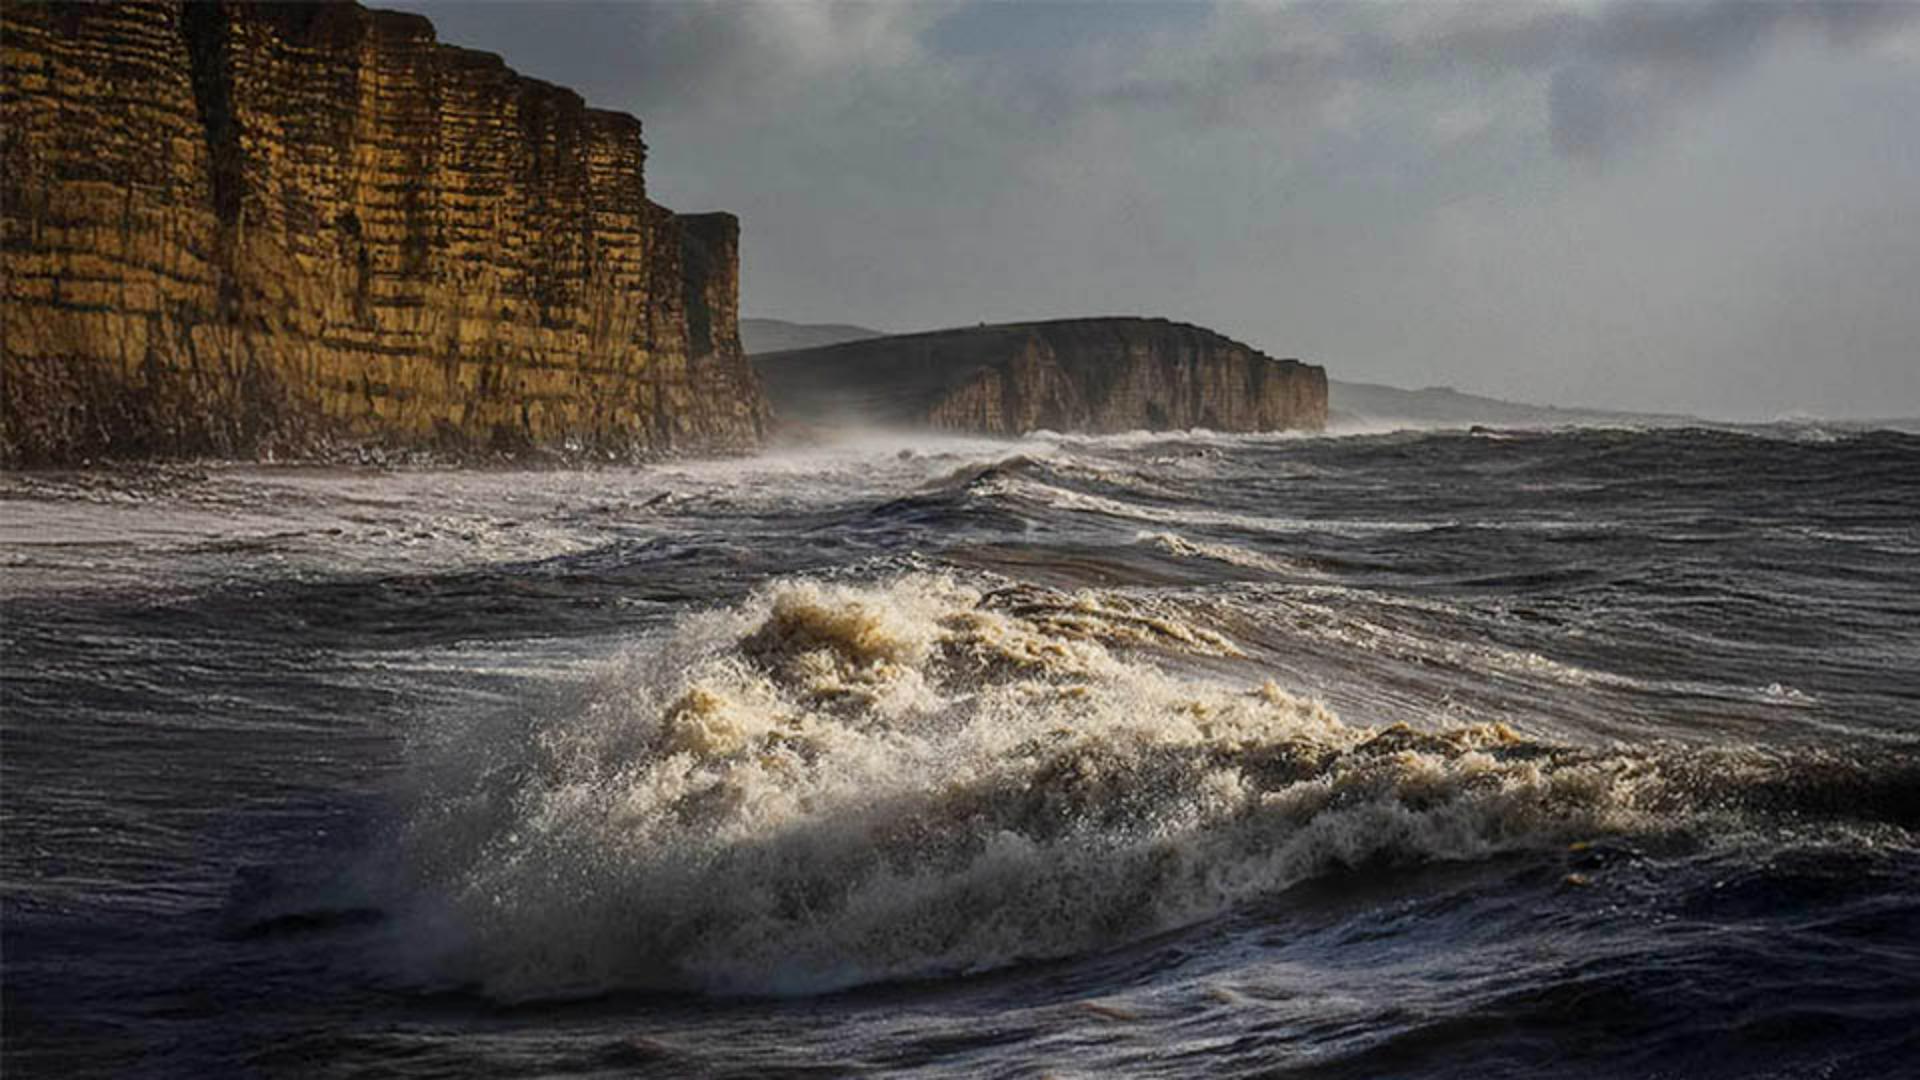
For example, here I have a series of seascape photographs that I've taken with my iPhone.
So, I'll click on the + icon and choose Create Album and I'll name this one seascapes.
We can see the new album here.
Now I'll click on one of the seascape images and manually drag and drop it on top of that album.
That image is now added to the album, as you can see here - if I click on it to open it.
I could also select multiple images and drag them into the album.
But let me show you another way to add multiple images into an album even easier.
I'll go to the three dots - the ellipsis in the upper right - click on it and choose Delete Album.
That deletes the album, but not the photos.
The originals are still here in the All Photos view, nice and safe.
This time I'll select the first image on this row, and then I'll hold down the Shift key on my keyboard, and then select the last image on the far right.
Doing this selects all of the images.
Then, I'll click on the + icon and Create Album.
And here I again name the album.
But this time Lightroom tells me that the 11 selected photos will be included.
I click Create, and here's the album with all of the images inside.
Sharing albums with others
Now, here's the really cool part - I can share this album with someone else.
Let me show you what I mean.
I'll click on this icon to share the album.
From here I can click on Invite and all I need to do is to add the email address of the person that I want to share it with.
I can even choose if that person is able to view the album, add images to it, and even edit images within it.
Here's the link that has been created of this album, and if I click on it, it opens up a new web browser and this is what the person you've shared it with would see.
They can click on an image to open it up and even add a comment.
Back in Lightroom, though, there're even more options.
Public sharing options and customizing shared albums
If I make the album Public, I can then use this generated QR code to go straight to the album.
There are also lots of other options, such as allowing the images to be downloaded and exported.
We can also Customize the look of the album, change the template, add text and a whole lot more.
To stop showing an album, just go to the album Sharing icon and choose Stop Sharing.
It's as simple as that.
Now you know how to organize your photographs into albums and folders, and also how to share them with others.
So, give it a try.
Make an album and share it with a friend and see how seamless and easy it is to do.
Thanks for watching.