Introduction
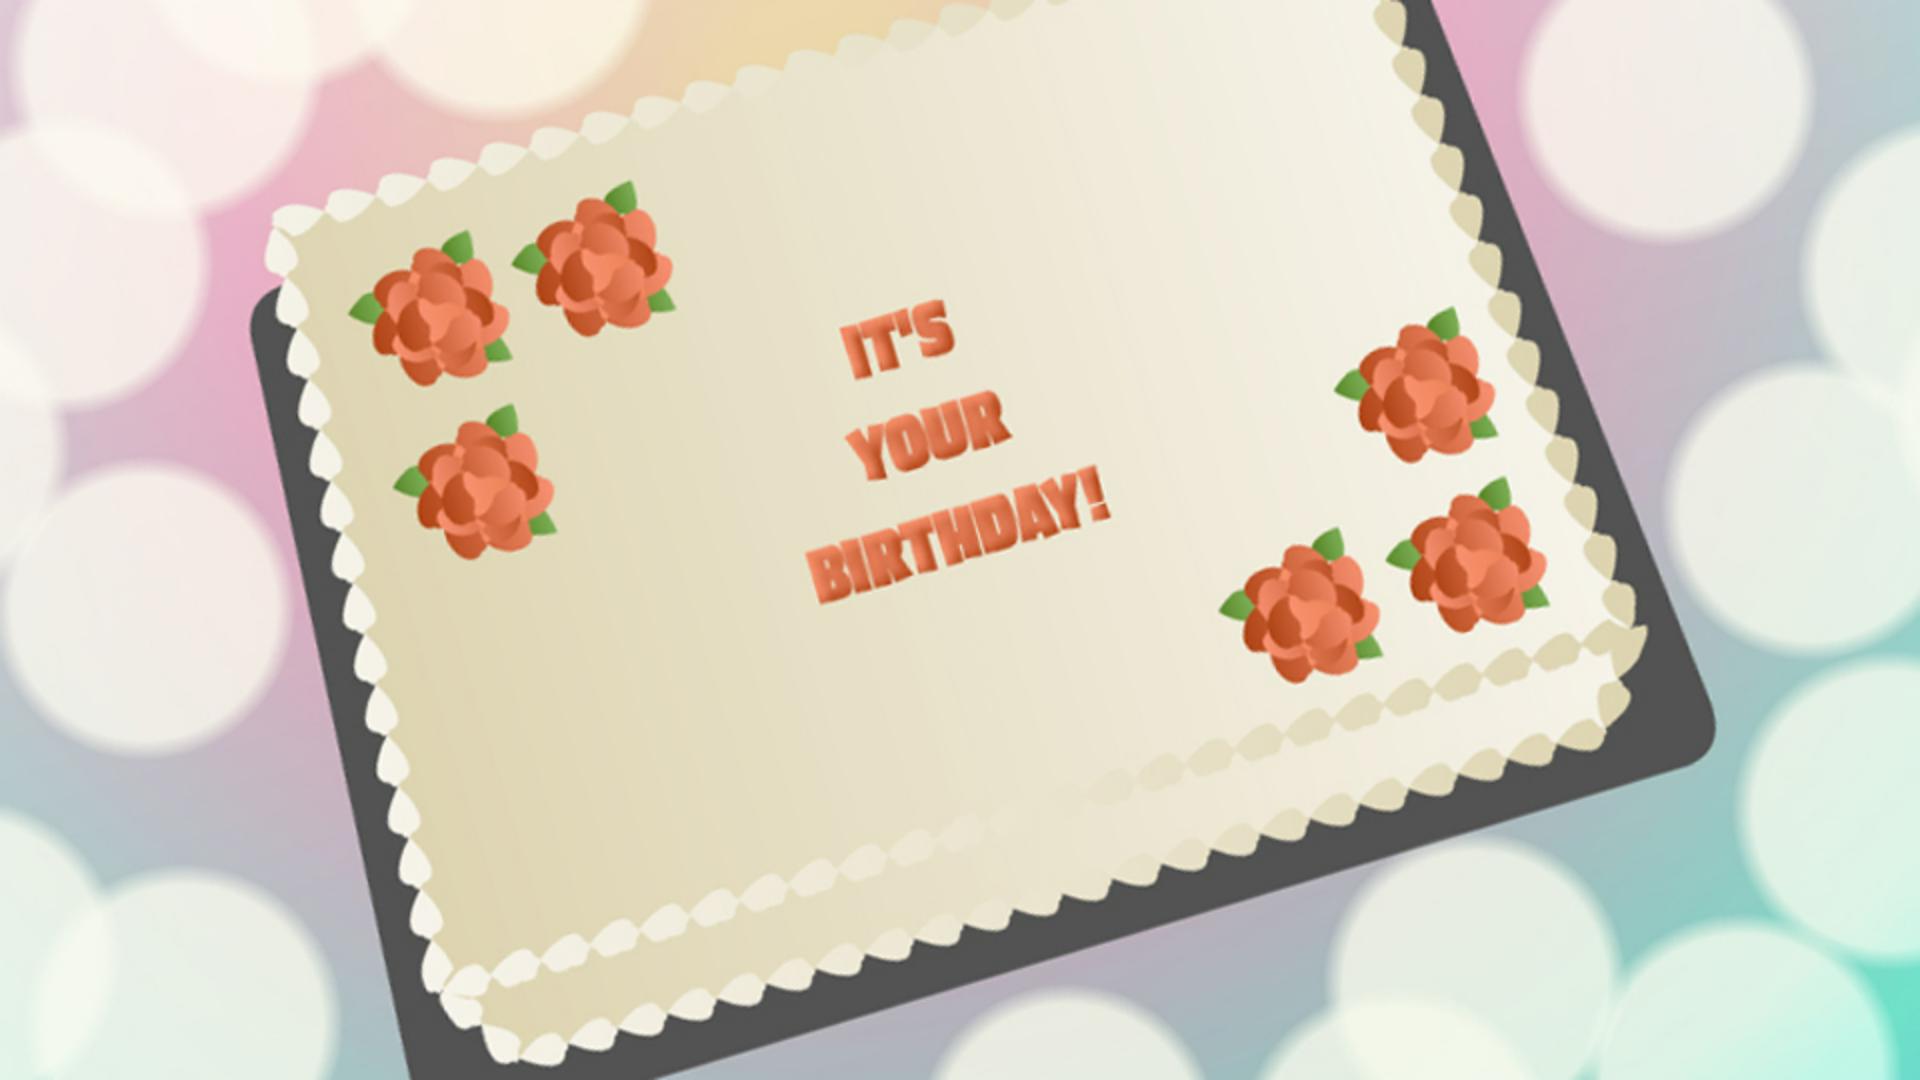
Previously, we made a frosted sheet cake with a frosting flour on a cake board with a colorful background.
Now let's use symbols to add a bokeh effect and get set up to do some animating.
A bokeh is an effect produced by a lens in the out of focus areas of a photo.
We can simulate the effect by reusing a graphic that we turn into a symbol.
Creating a bokeh graphic symbol
On a new layer, start by making a circle with no stroke and setting the Fill to a Radial gradient.
Make the Fill a pale yellow at about 80% opacity with the outer edge fading up to 0%.
Let's turn it into a symbol by going to Modify, Convert to Symbol... or by pressing F8.
There are three different kinds of symbols Movie Clip, Button, and Graphic.
A movie clip has a Timeline independent of the main Timeline and can be controlled with code.
Movie Clips have additional options like Blend modes and Filters that can be applied.
A Button can show different states and respond to activity like rollovers and mouse clicks.
A Graphic symbol is in sync with the main Timeline and is good for creating multiple instances that reference the same image.
We're not using Frame picker or Lip Syncing here but they are features you can only access with a graphic symbol.
Let's make our simulated bokeh a graphic symbol ALT drag, Option drag on a Mac to make copies of it to fill in the margins.
Reusing and transforming symbol instances
Instances of a symbol have less effect on file size than duplicate objects.
We can change their size, their color and their opacity while they reference the original.
Select some and open the Transform panel.
Make sure the Width and Height are constrained and change their sizes.
Adjust positioning as needed.
Then we can select all of them and use the advanced layers to apply a blend mode.
Applying blend modes for visual effects
Blend Modes create interesting effects by blending overlapping objects.
Animate takes the object color and blends it with the underlying color using the mode you select.
In the Properties panel on the Frame tab go to the Blend section.
Some blend modes like Multiply result in a darker effect.
The Blend mode Multiply multiplies the color of the underlying object by the color of the object which has the Blend mode applied to it.
Unless the blend object is white, the result is going to be darker.
Screen is kind of the opposite.
It multiplies the inverse which results in a lighter color unless the blend object is black.
If we use the Blend mode Overlay, we get a combination where the dark colors get darker and the light colors get lighter.
Overlay keeps our bokeh light and helps it blend into the darker parts of the gradient background.
We want to make some text to animate.
Preparing and formatting text for animation
You can animate text on a layer without converting it to a symbol.
Because advanced layers treat content on a layer like a symbol.
First, set the text then Align and Distribute it.
In the Properties panel in the Character section set the Render setting to Anti-alias for animation so that the text animation will be smooth instead of jerky.
We do want to add some effects and animate the text.
Adding effects to text and getting ready to animate
So let's convert each text block to a symbol and add the effects we want.
Add a little Bevel filter to make the text look slightly raised.
Now the text is ready to animate.