Try these tutorials with Lightroom Classic
Enhance, organize, and share more photos on desktop.
With Adobe Lightroom Classic and Adobe Photoshop, you can create new preset filters and transform your images into anything you can imagine.
In Lightroom Classic, find and select the group of raw images you want to modify.
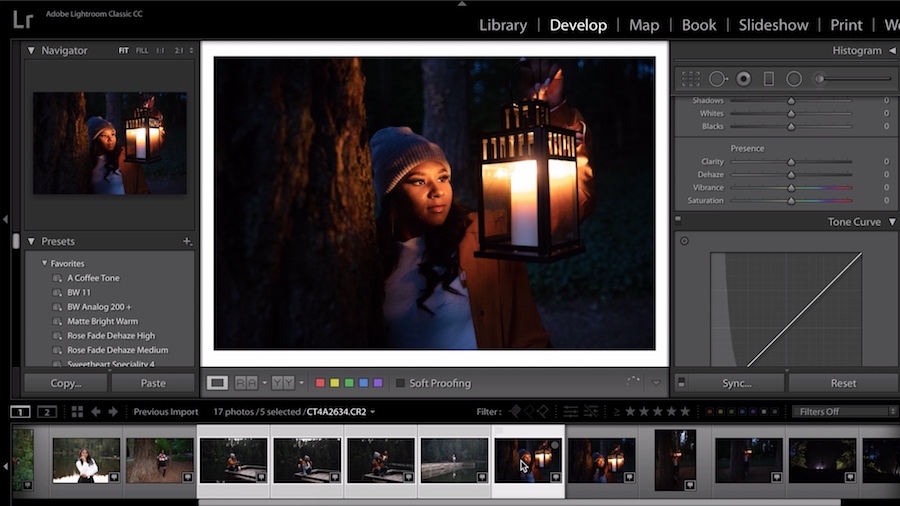
You can start with an existing filter if you’d like. Make sure Auto Sync is on, then in the Presets panel find the filter you like best, and easily apply it to all your selected images.

Go to the panel on the right and customize your preset filter. Then either update it in the Presets panel, or create a new one.

Open your image in Photoshop and create new layers for further refinements, and ensure you’re not making any permanent changes to your original file.

Save your image as a .psd for further editing options, or to export it to the format you need for delivery to your client.

Your final photo is now finished, and you’ve created a useful new preset filter for your future money-making projects!